First up is the roof paneling. I’m using 6mm Russian birch plywood to cover the walls and ceiling. I used a combination of measuring, cardboard templates, and iteration to fit the panels. As others have pointed out, there are no straight areas on this van, just lots of curves and sweeps to be fitted around.
A track saw makes nice cuts to get the panels sized up. Then the jig saw comes out with a fine blade to do the curves.

Once the panels have been fit to the van, they are removed again and sealed with Minwax Polycrylic sealer. I put one coat on the back side and two coats on the visible size. Some sanding before and between the coats makes a nice smooth panel to cover up the insulation.

The panels are secured to the ceiling with 3/4″ Lath screws, which are self tapping into the metal ribs. Before covering up the ribs I made a “story stick” with the layout of all the holes in the rib so I could avoid them when securing up the ceiling panel.

Next the front panel had to be fit. It was a bit more complex as it had to fit the already cut out fan location in the ceiling.

Ceiling panels all installed.
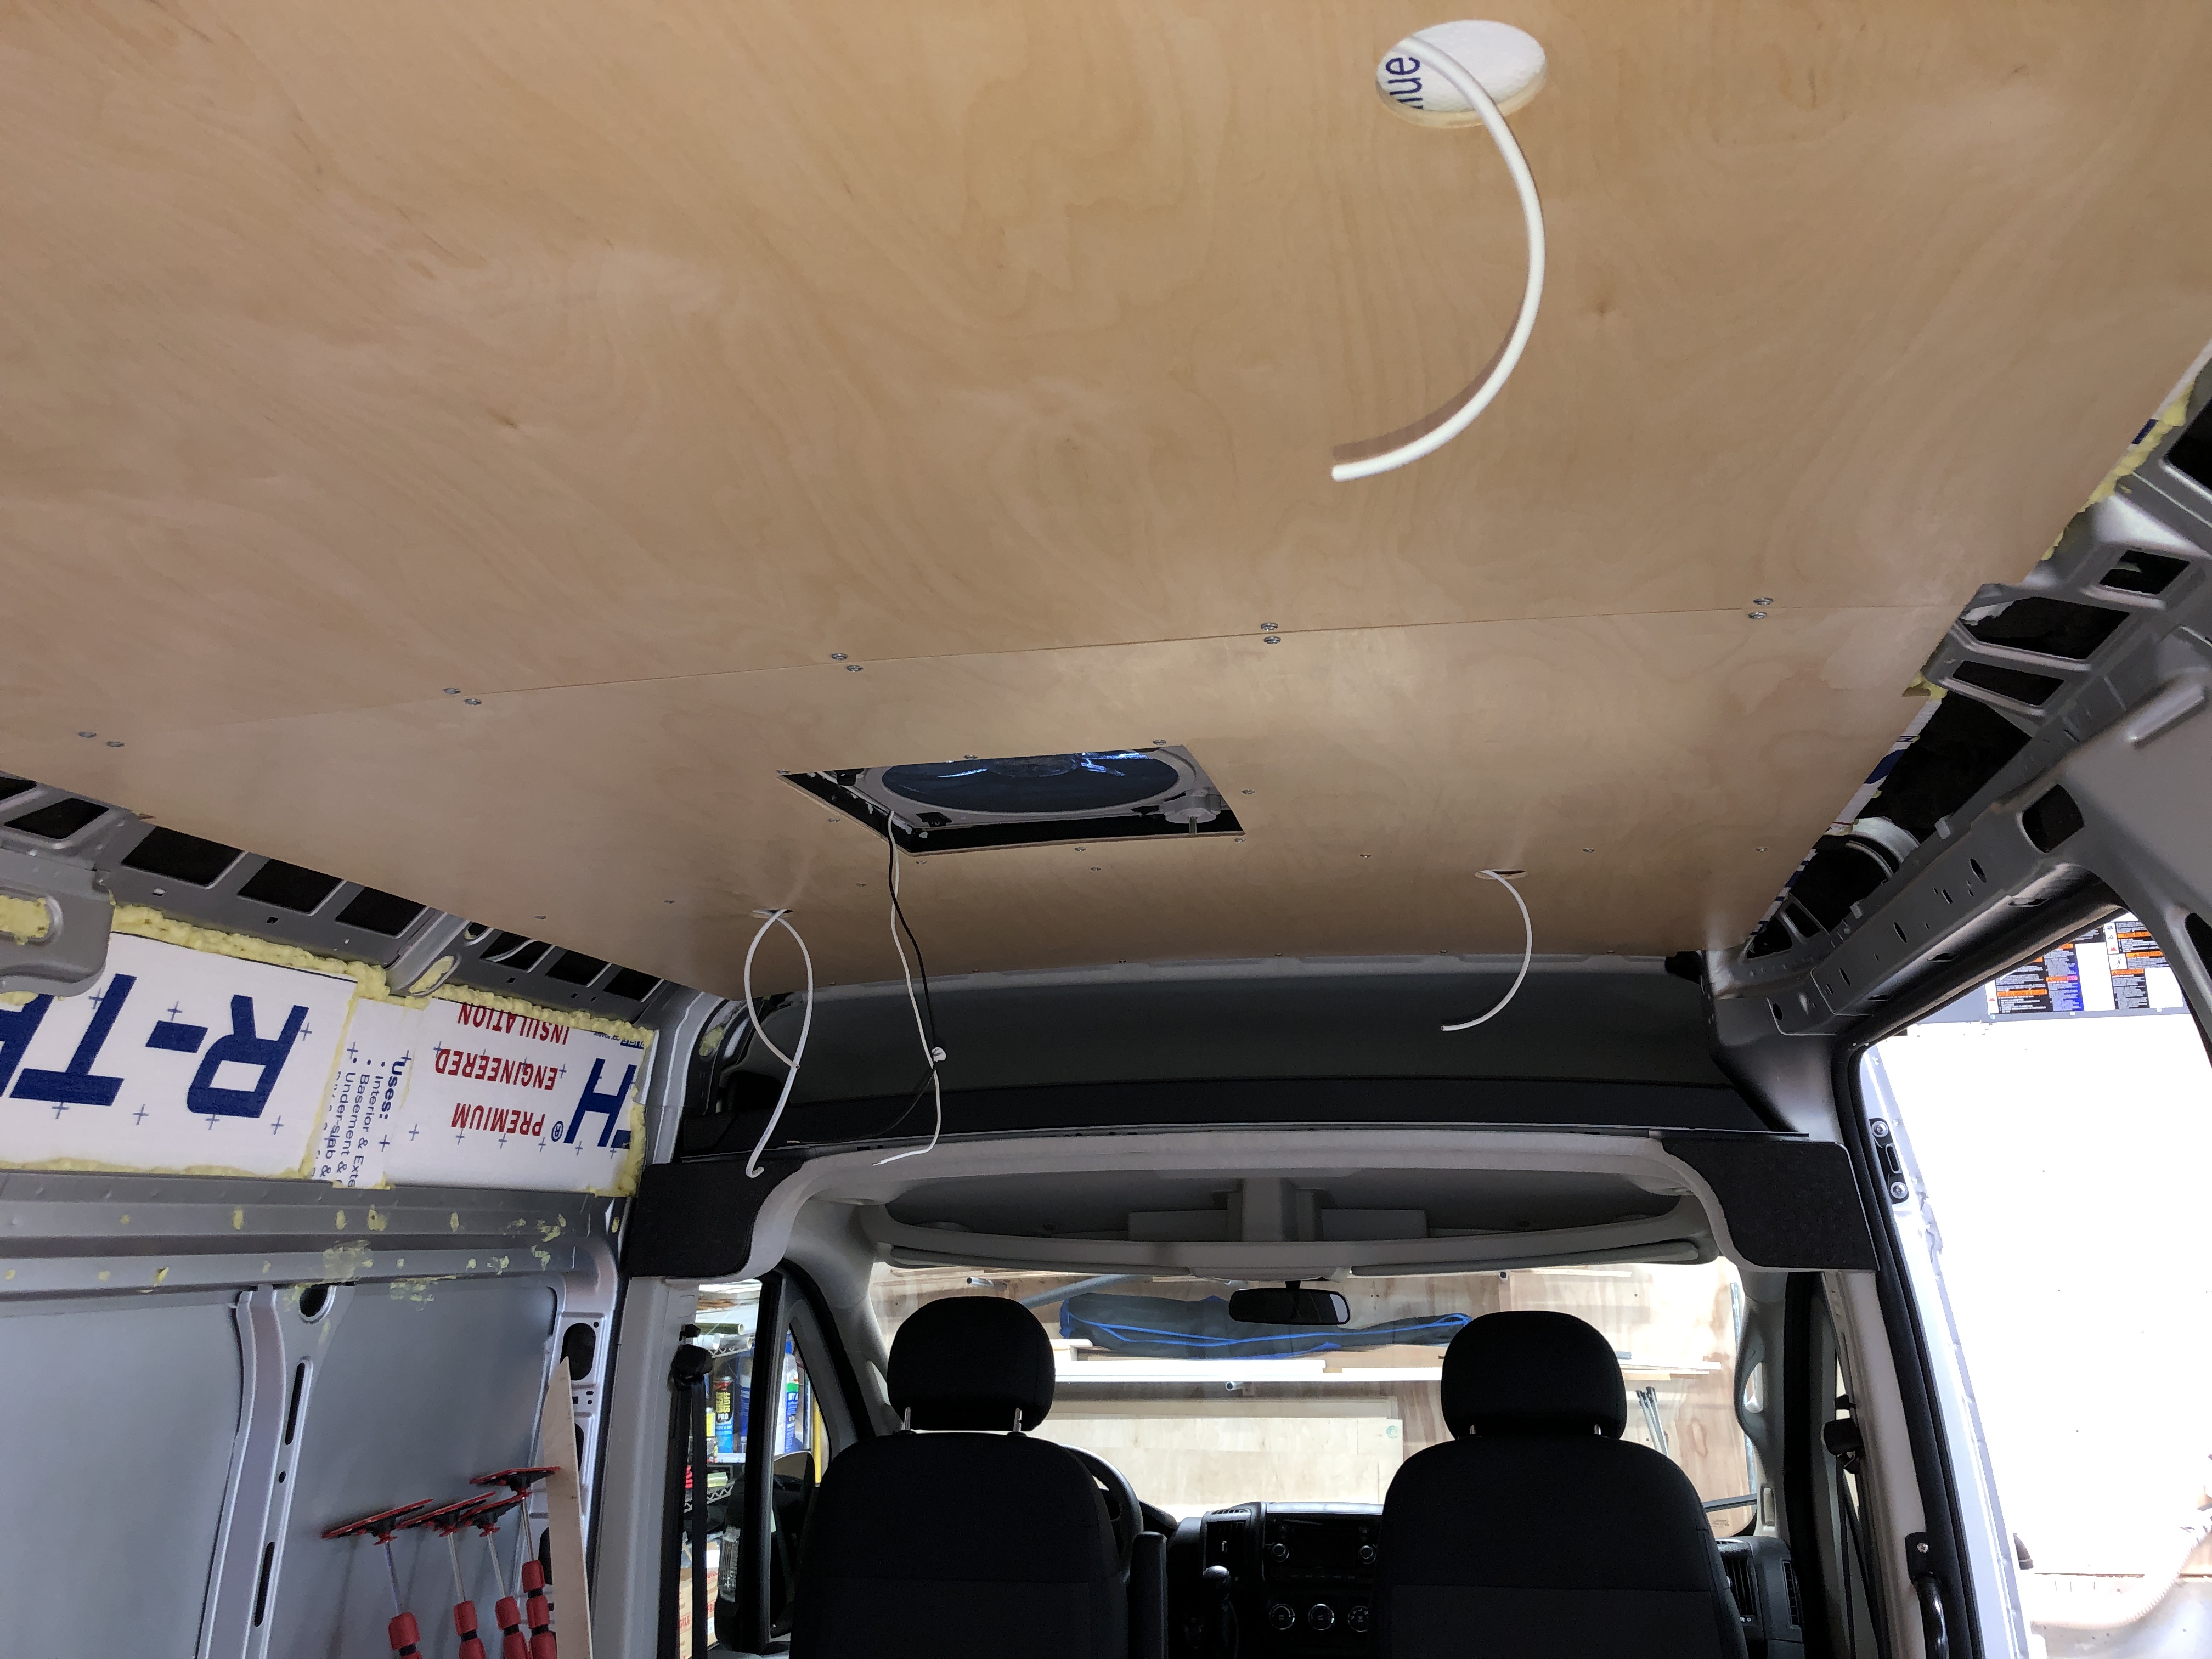
Front edge of ceiling matching up to the over cab headliner. The wood strip I glued in place holds the edge of the ceiling panel up.

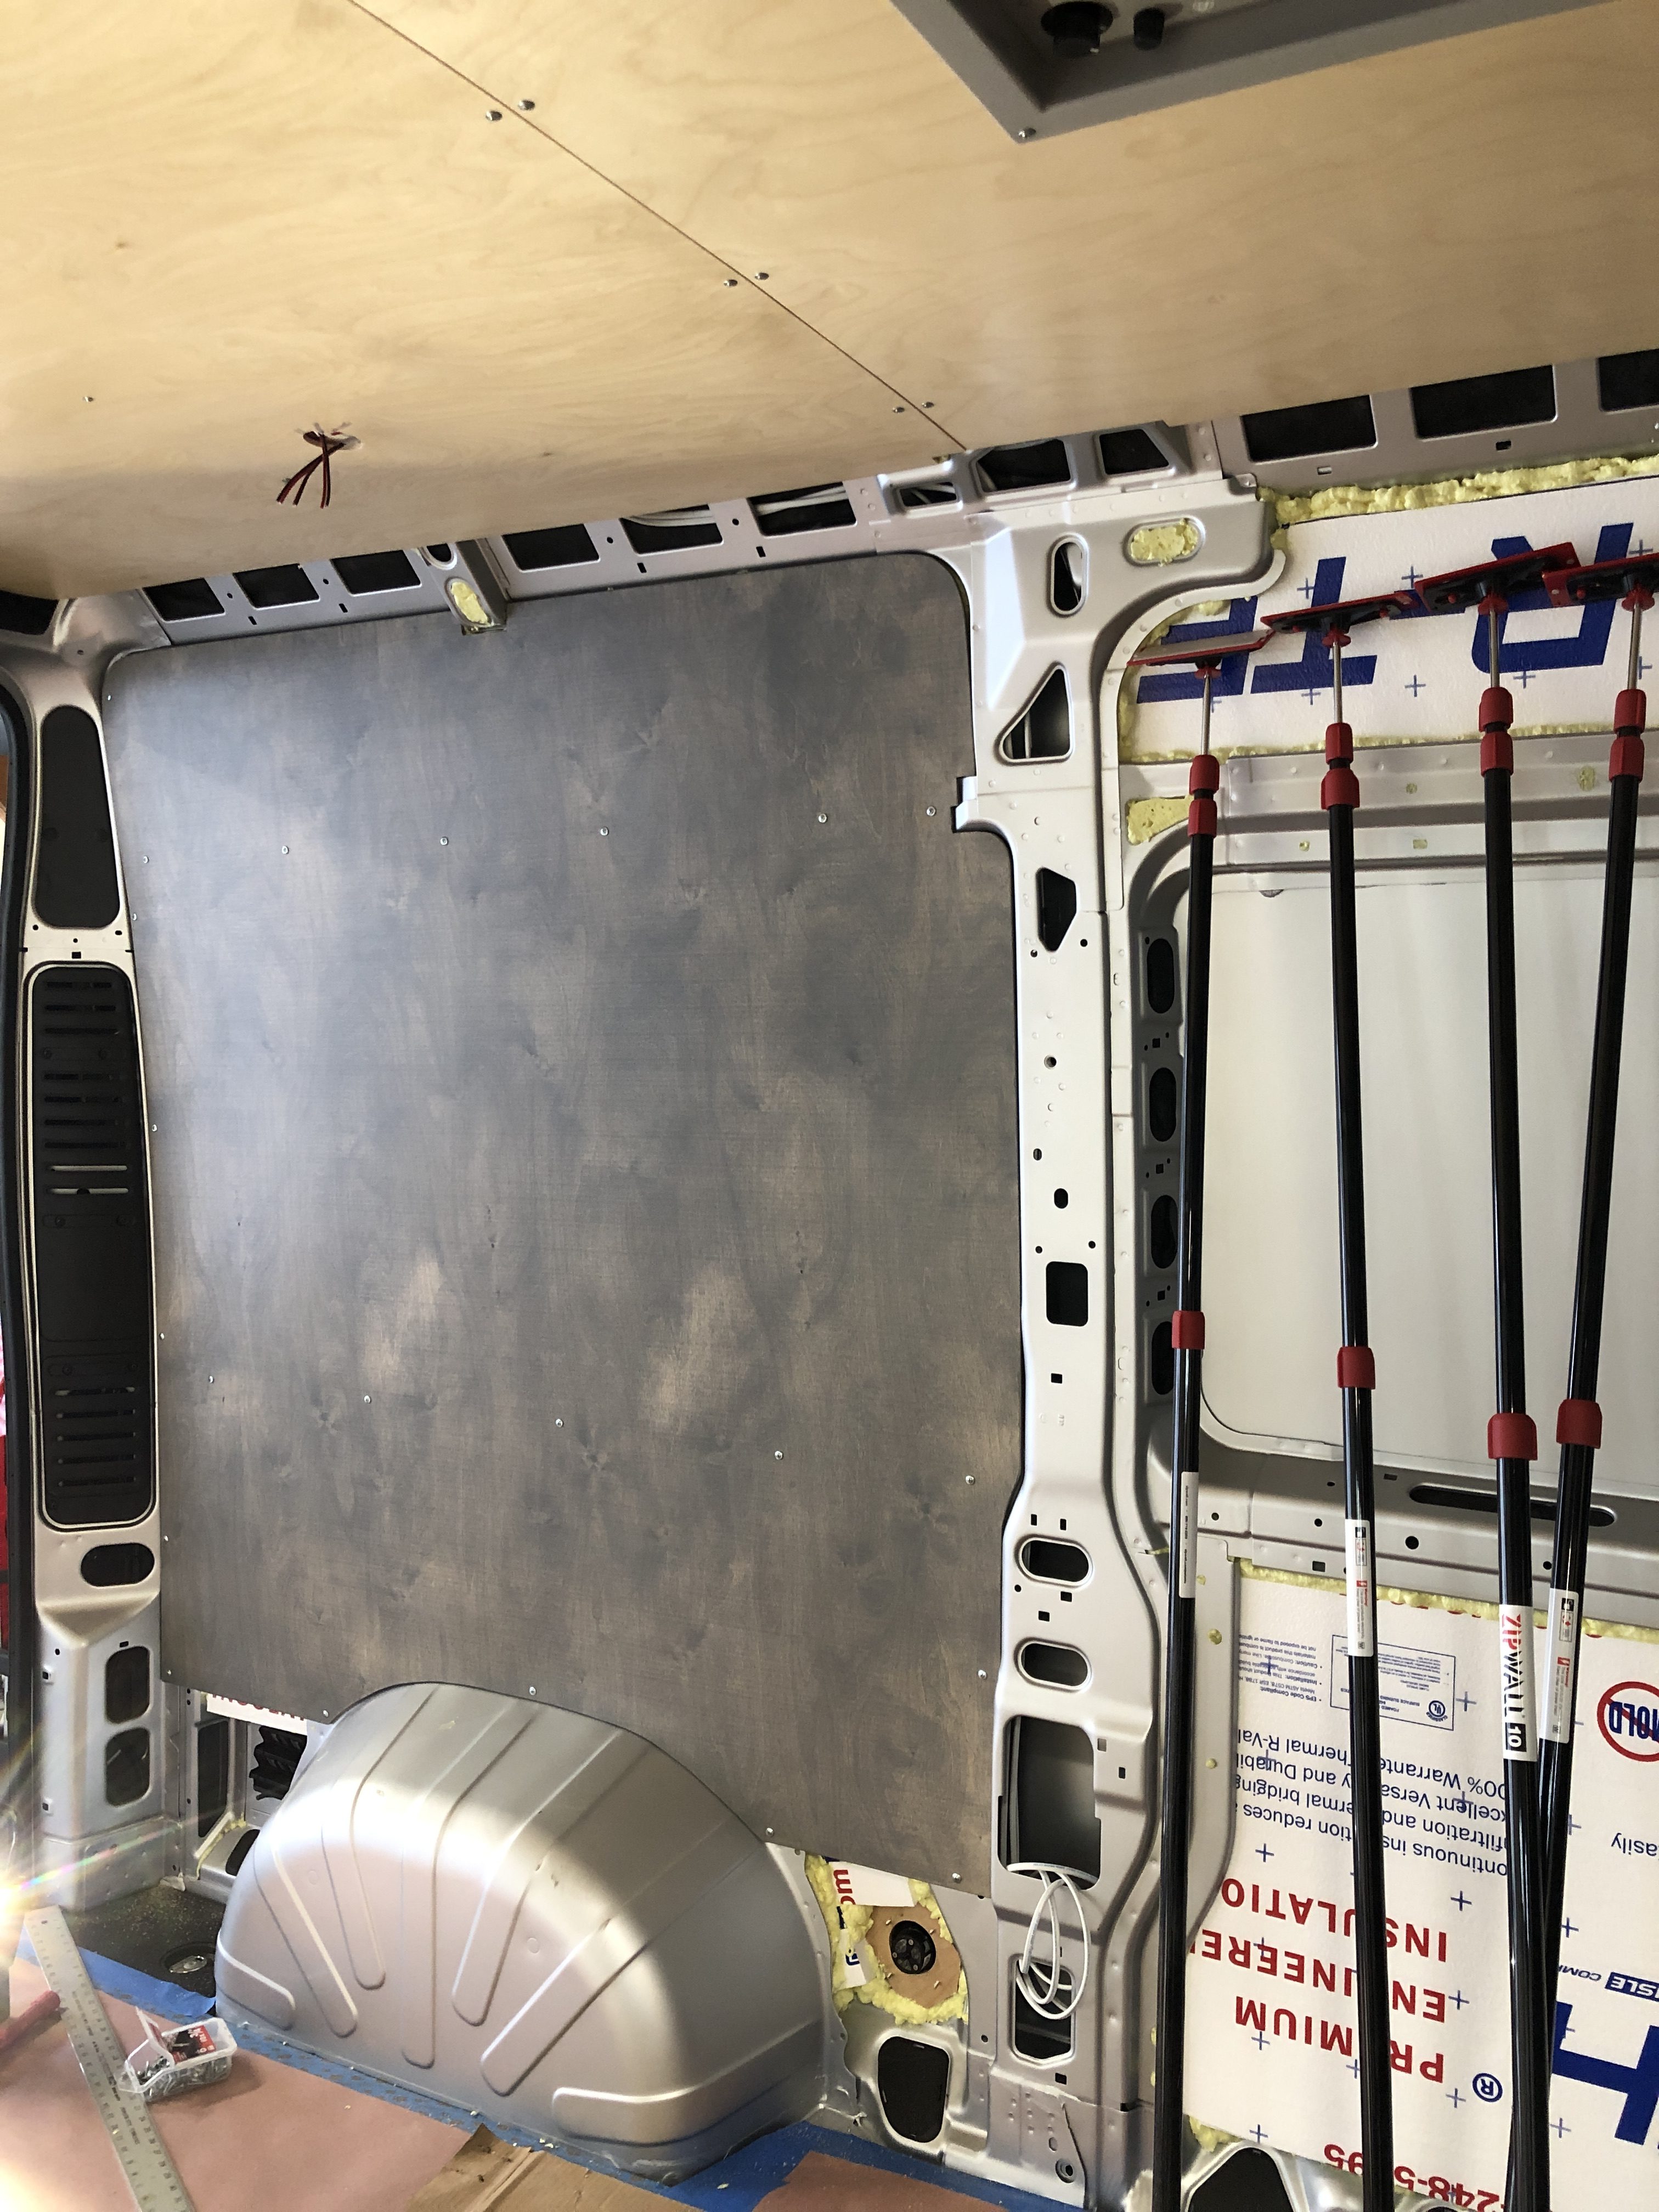
Wall panels being fitted. Lots of cutting to fit around the strange stringer shapes. These zipline poles sure are coming in handy to hold things in place while fitting and installing.

First wall panel stained and installed.