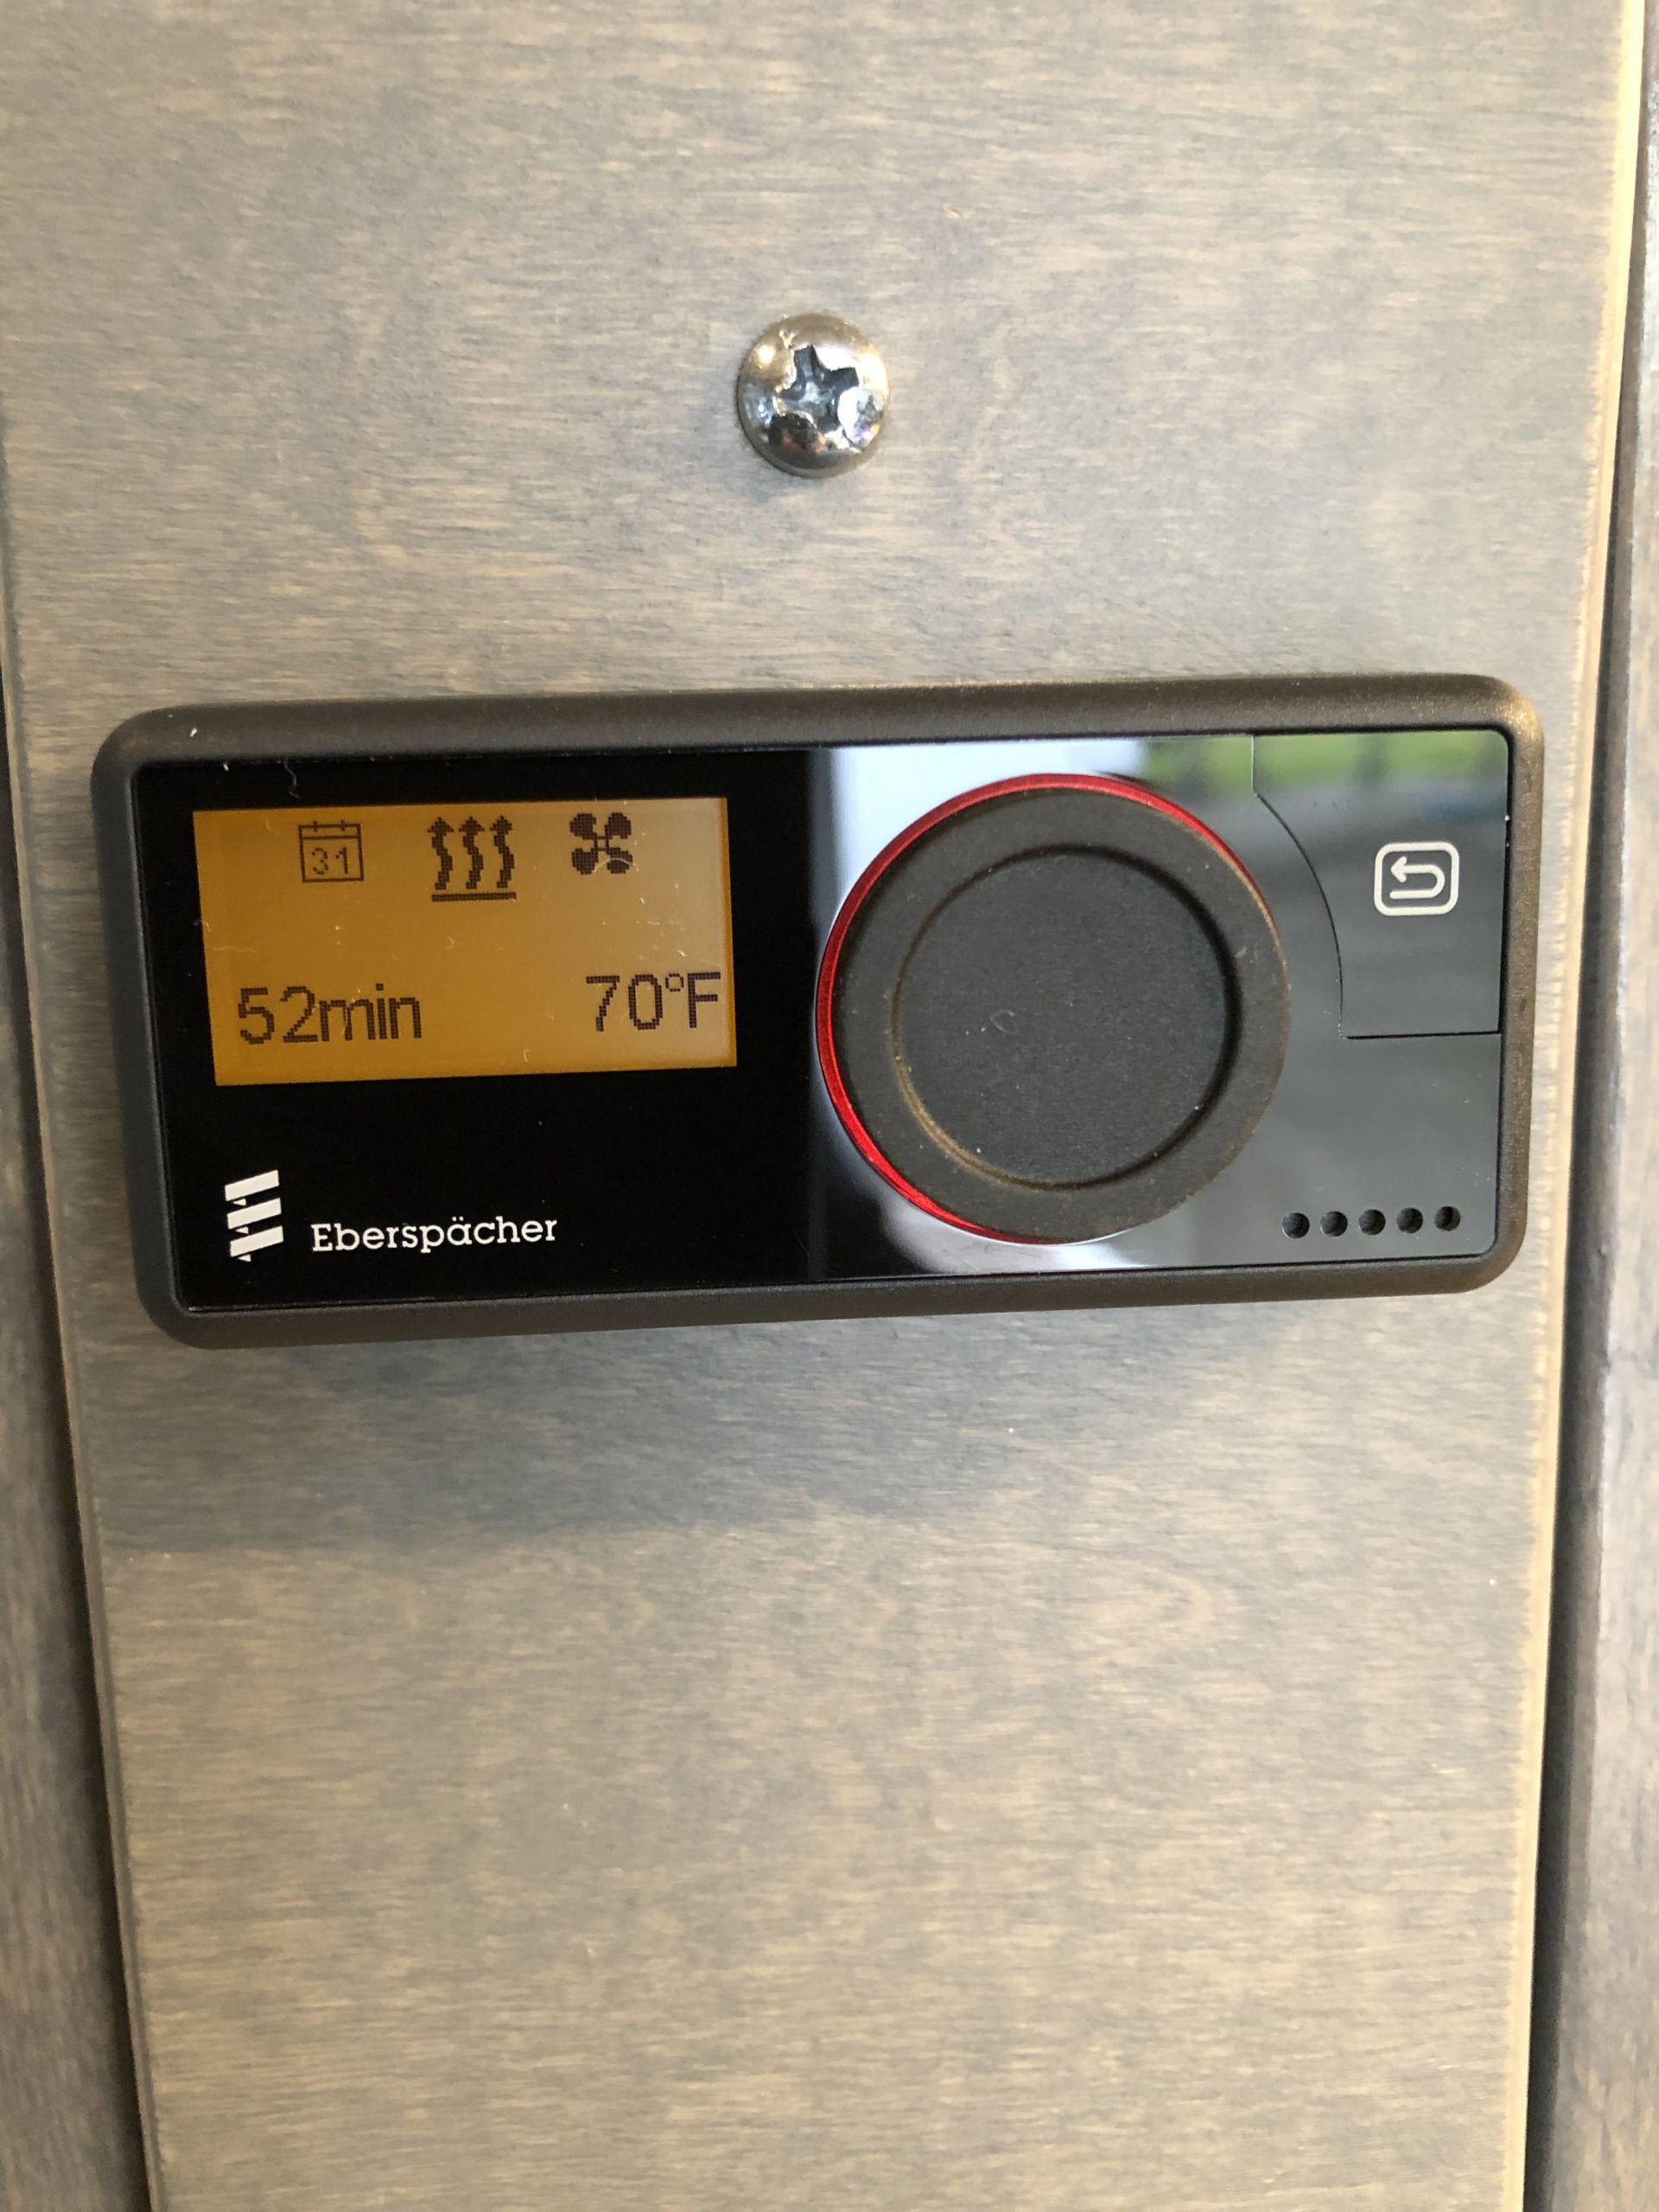
After 2 years of use we decided that having just an electric heater was not working for us. We found too many times we didn’t have shore power hookups but needed a bit of heat. After reviewing the options I decided on the Espar B4L M2 heater. Features included: Runs on Petrol (regular Gas for
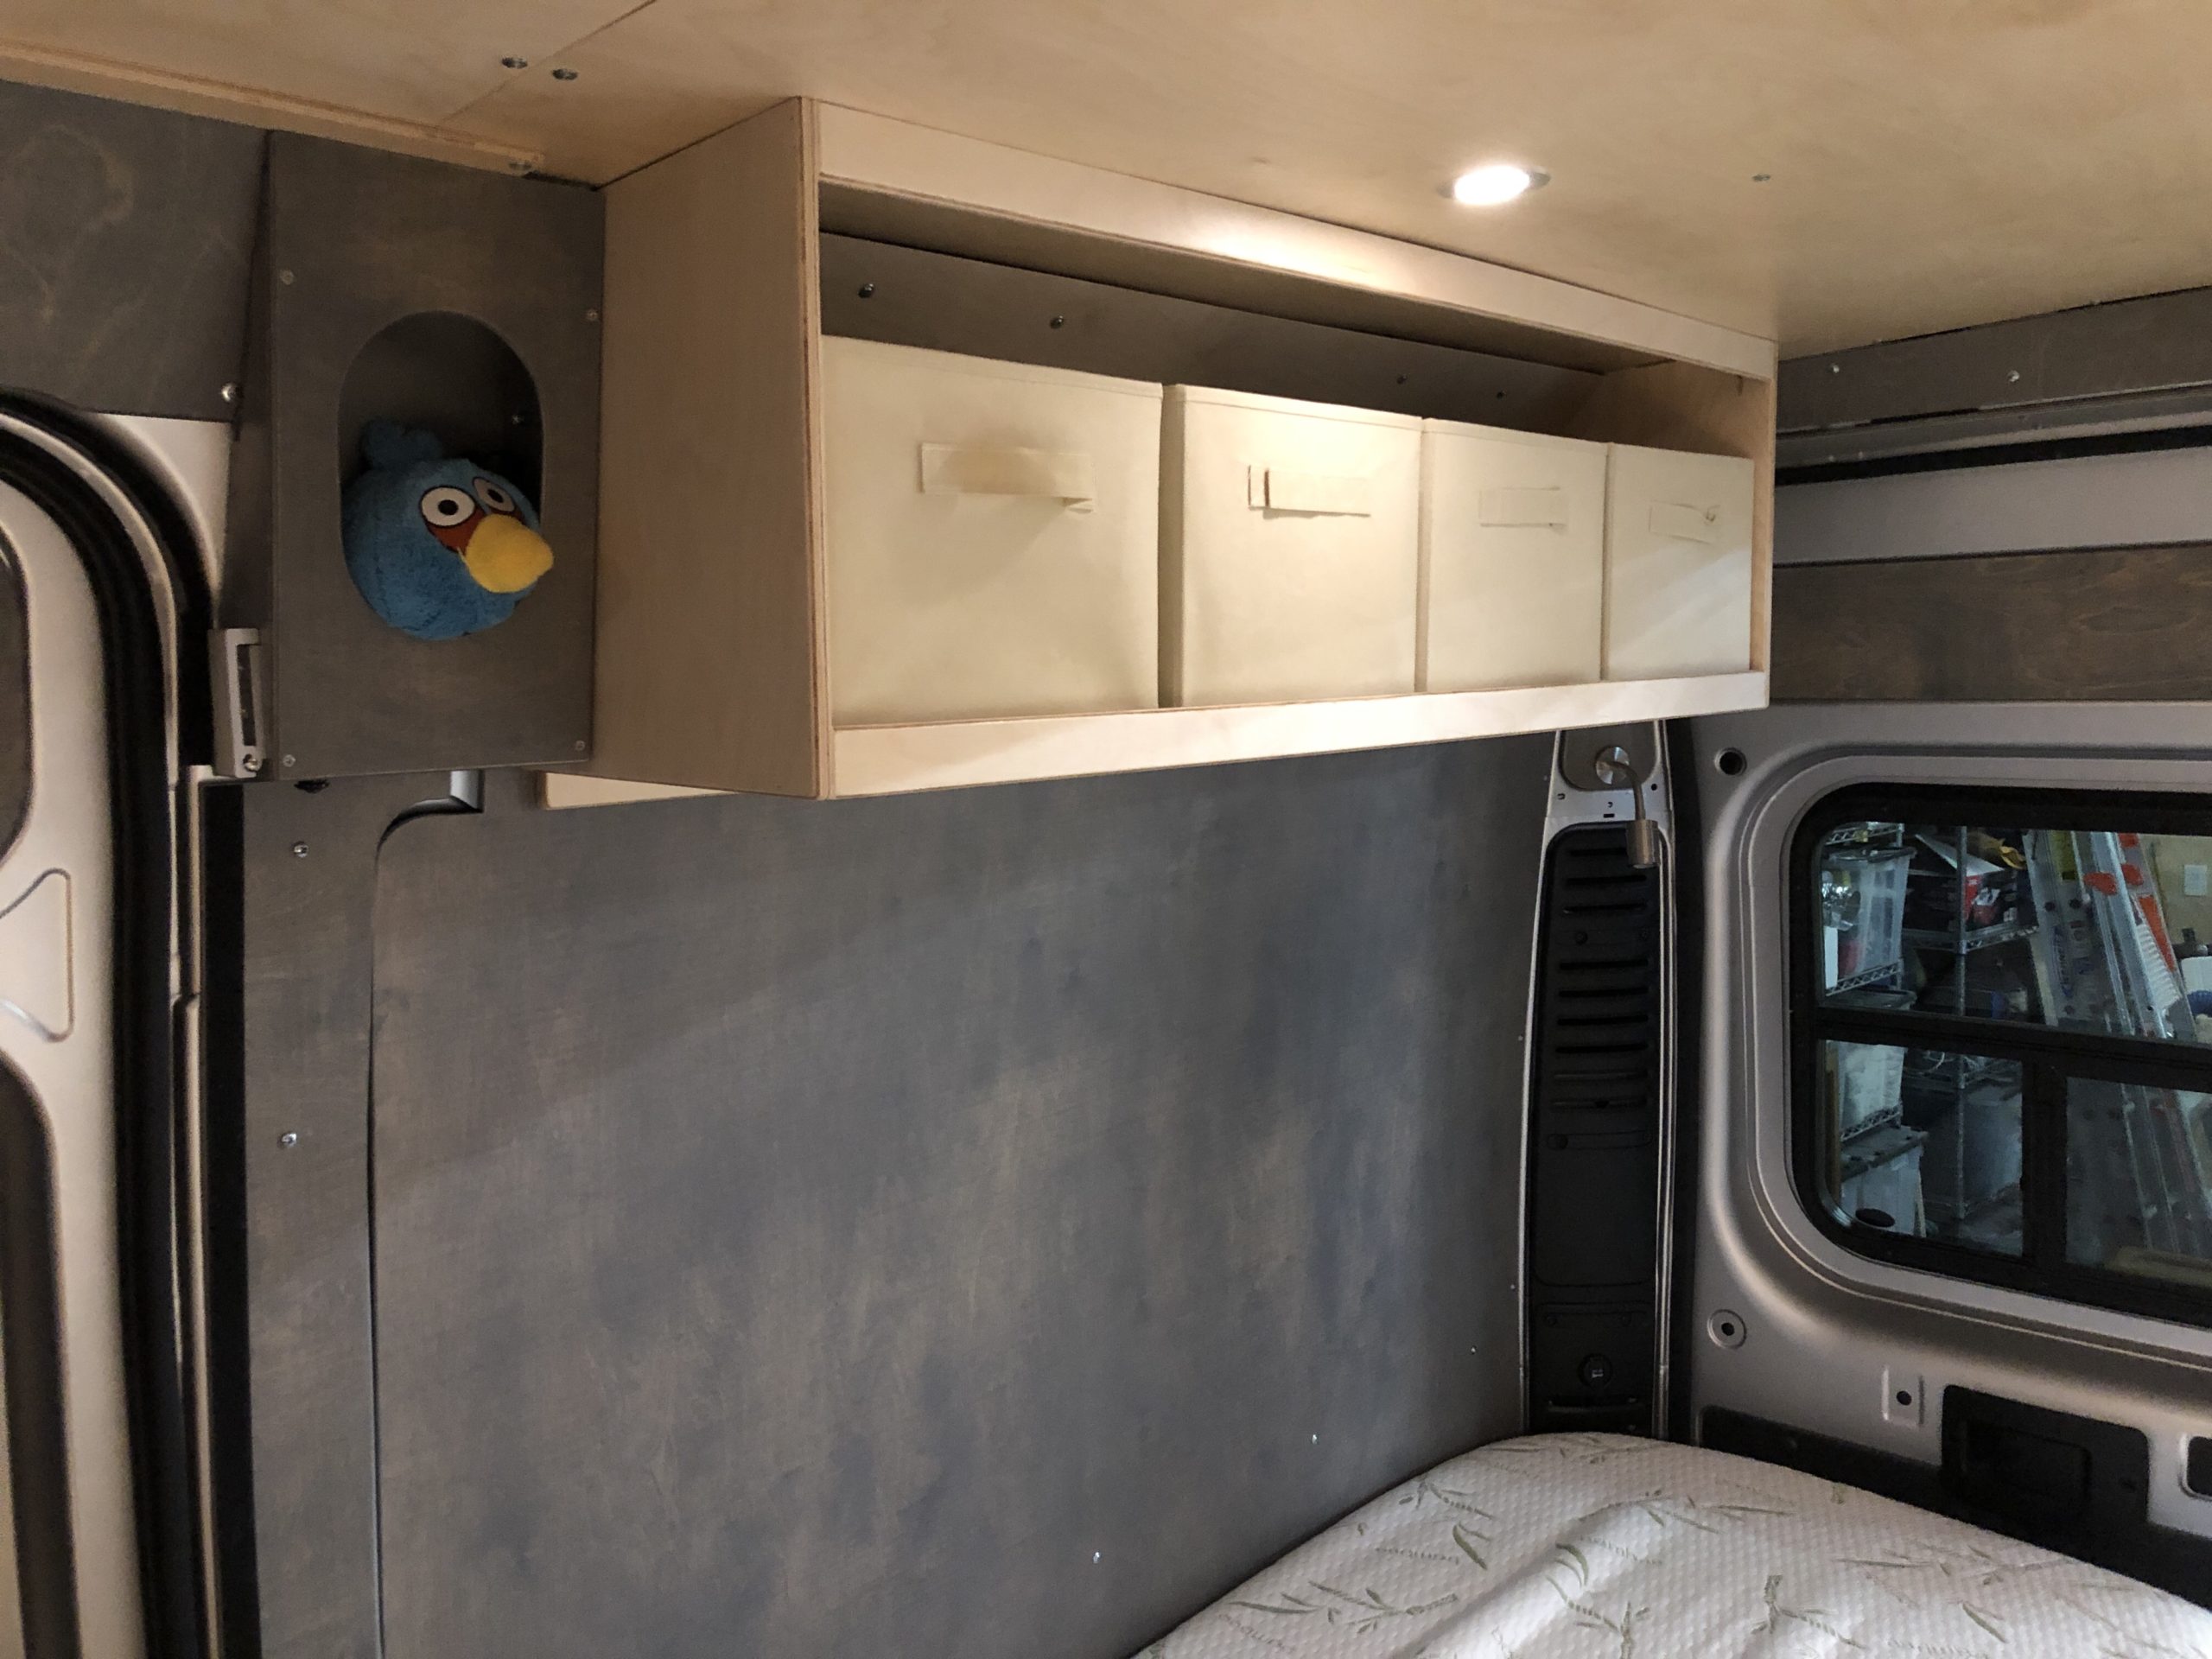
After the first year of using the van we decided we needed a bit more storage that we could access above the beds vs having to always lift up one bed to get underneath. I got some fabric bins from Amazon and build a shelf to store them. They are sized so that they stay
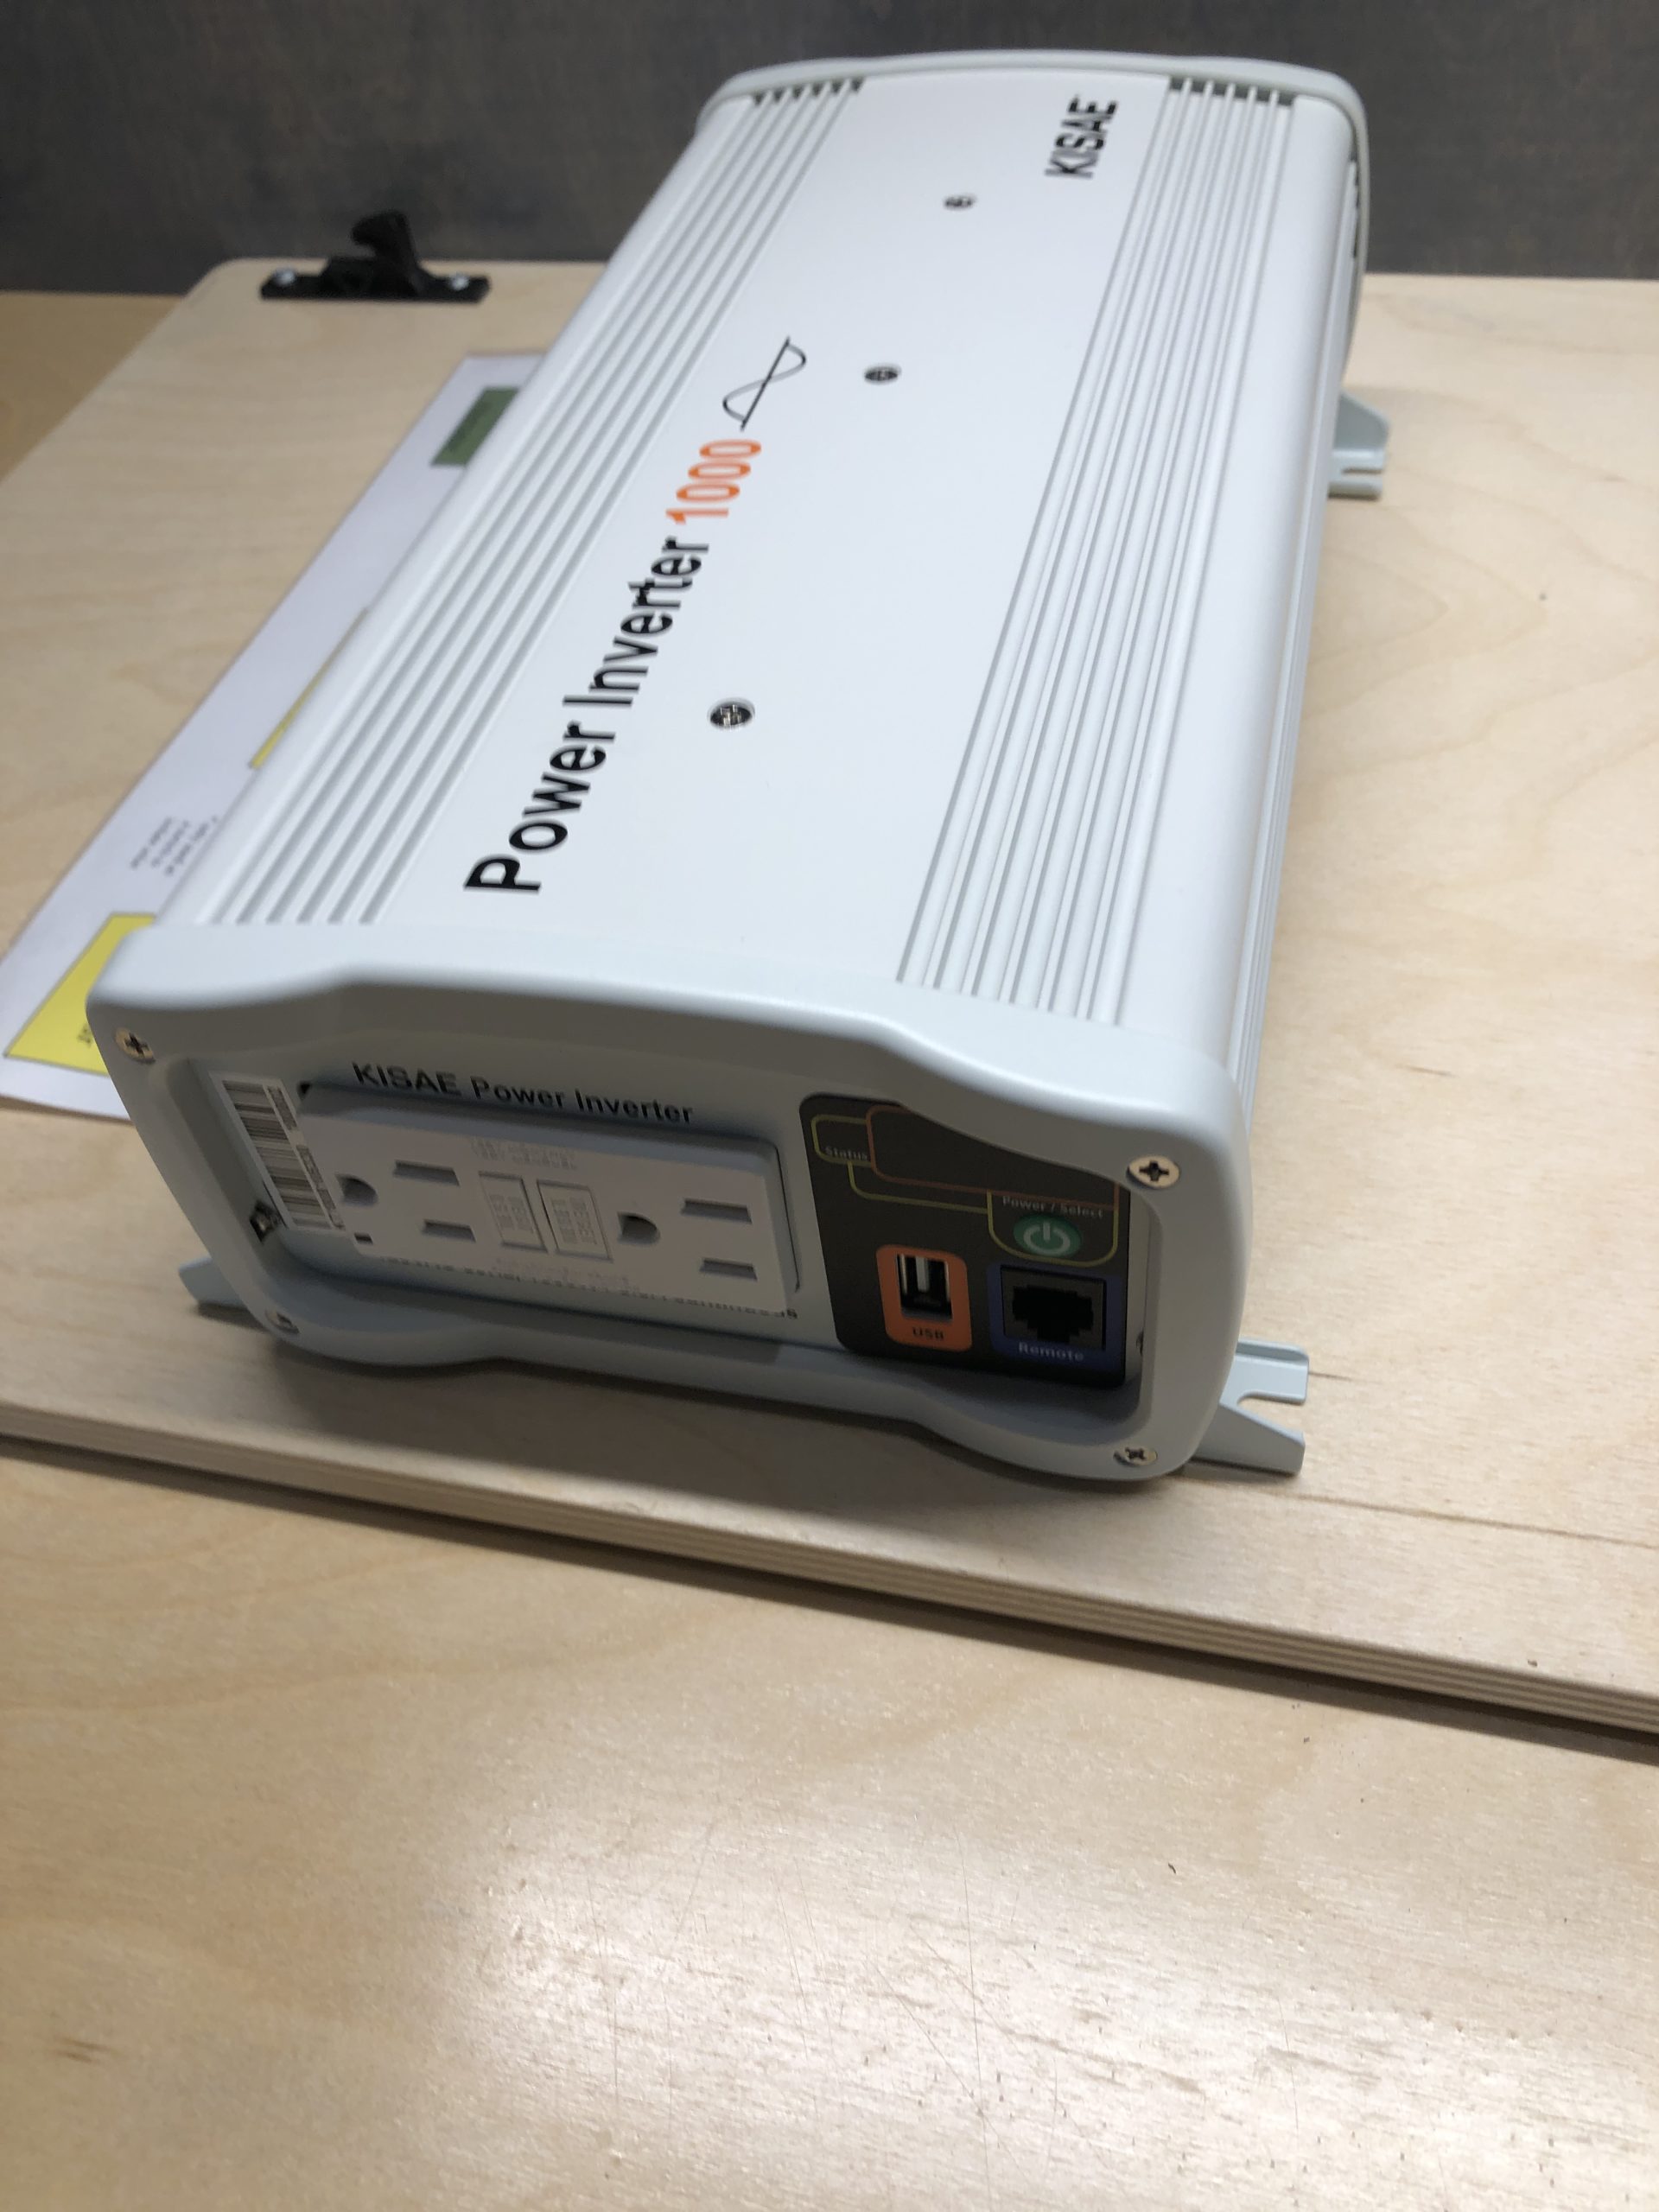
One of the things I did during the initial build was to use a fairly cheap MSW (Modified Sine Wave) inverter. At the time I didn’t really know what type of devices I would end up wanting to power. I picked up an induction cooktop for times when we don’t want to light up the
The horizontal panel above the cab (where the overhead storage bin is located) has a nice sharp unfinished sheet metal edge. I first tried to glue some vinyl material around that edge and tuck in into the seam, but the glue didn’t hold. Next up was to get some actual panel edging. This worked much
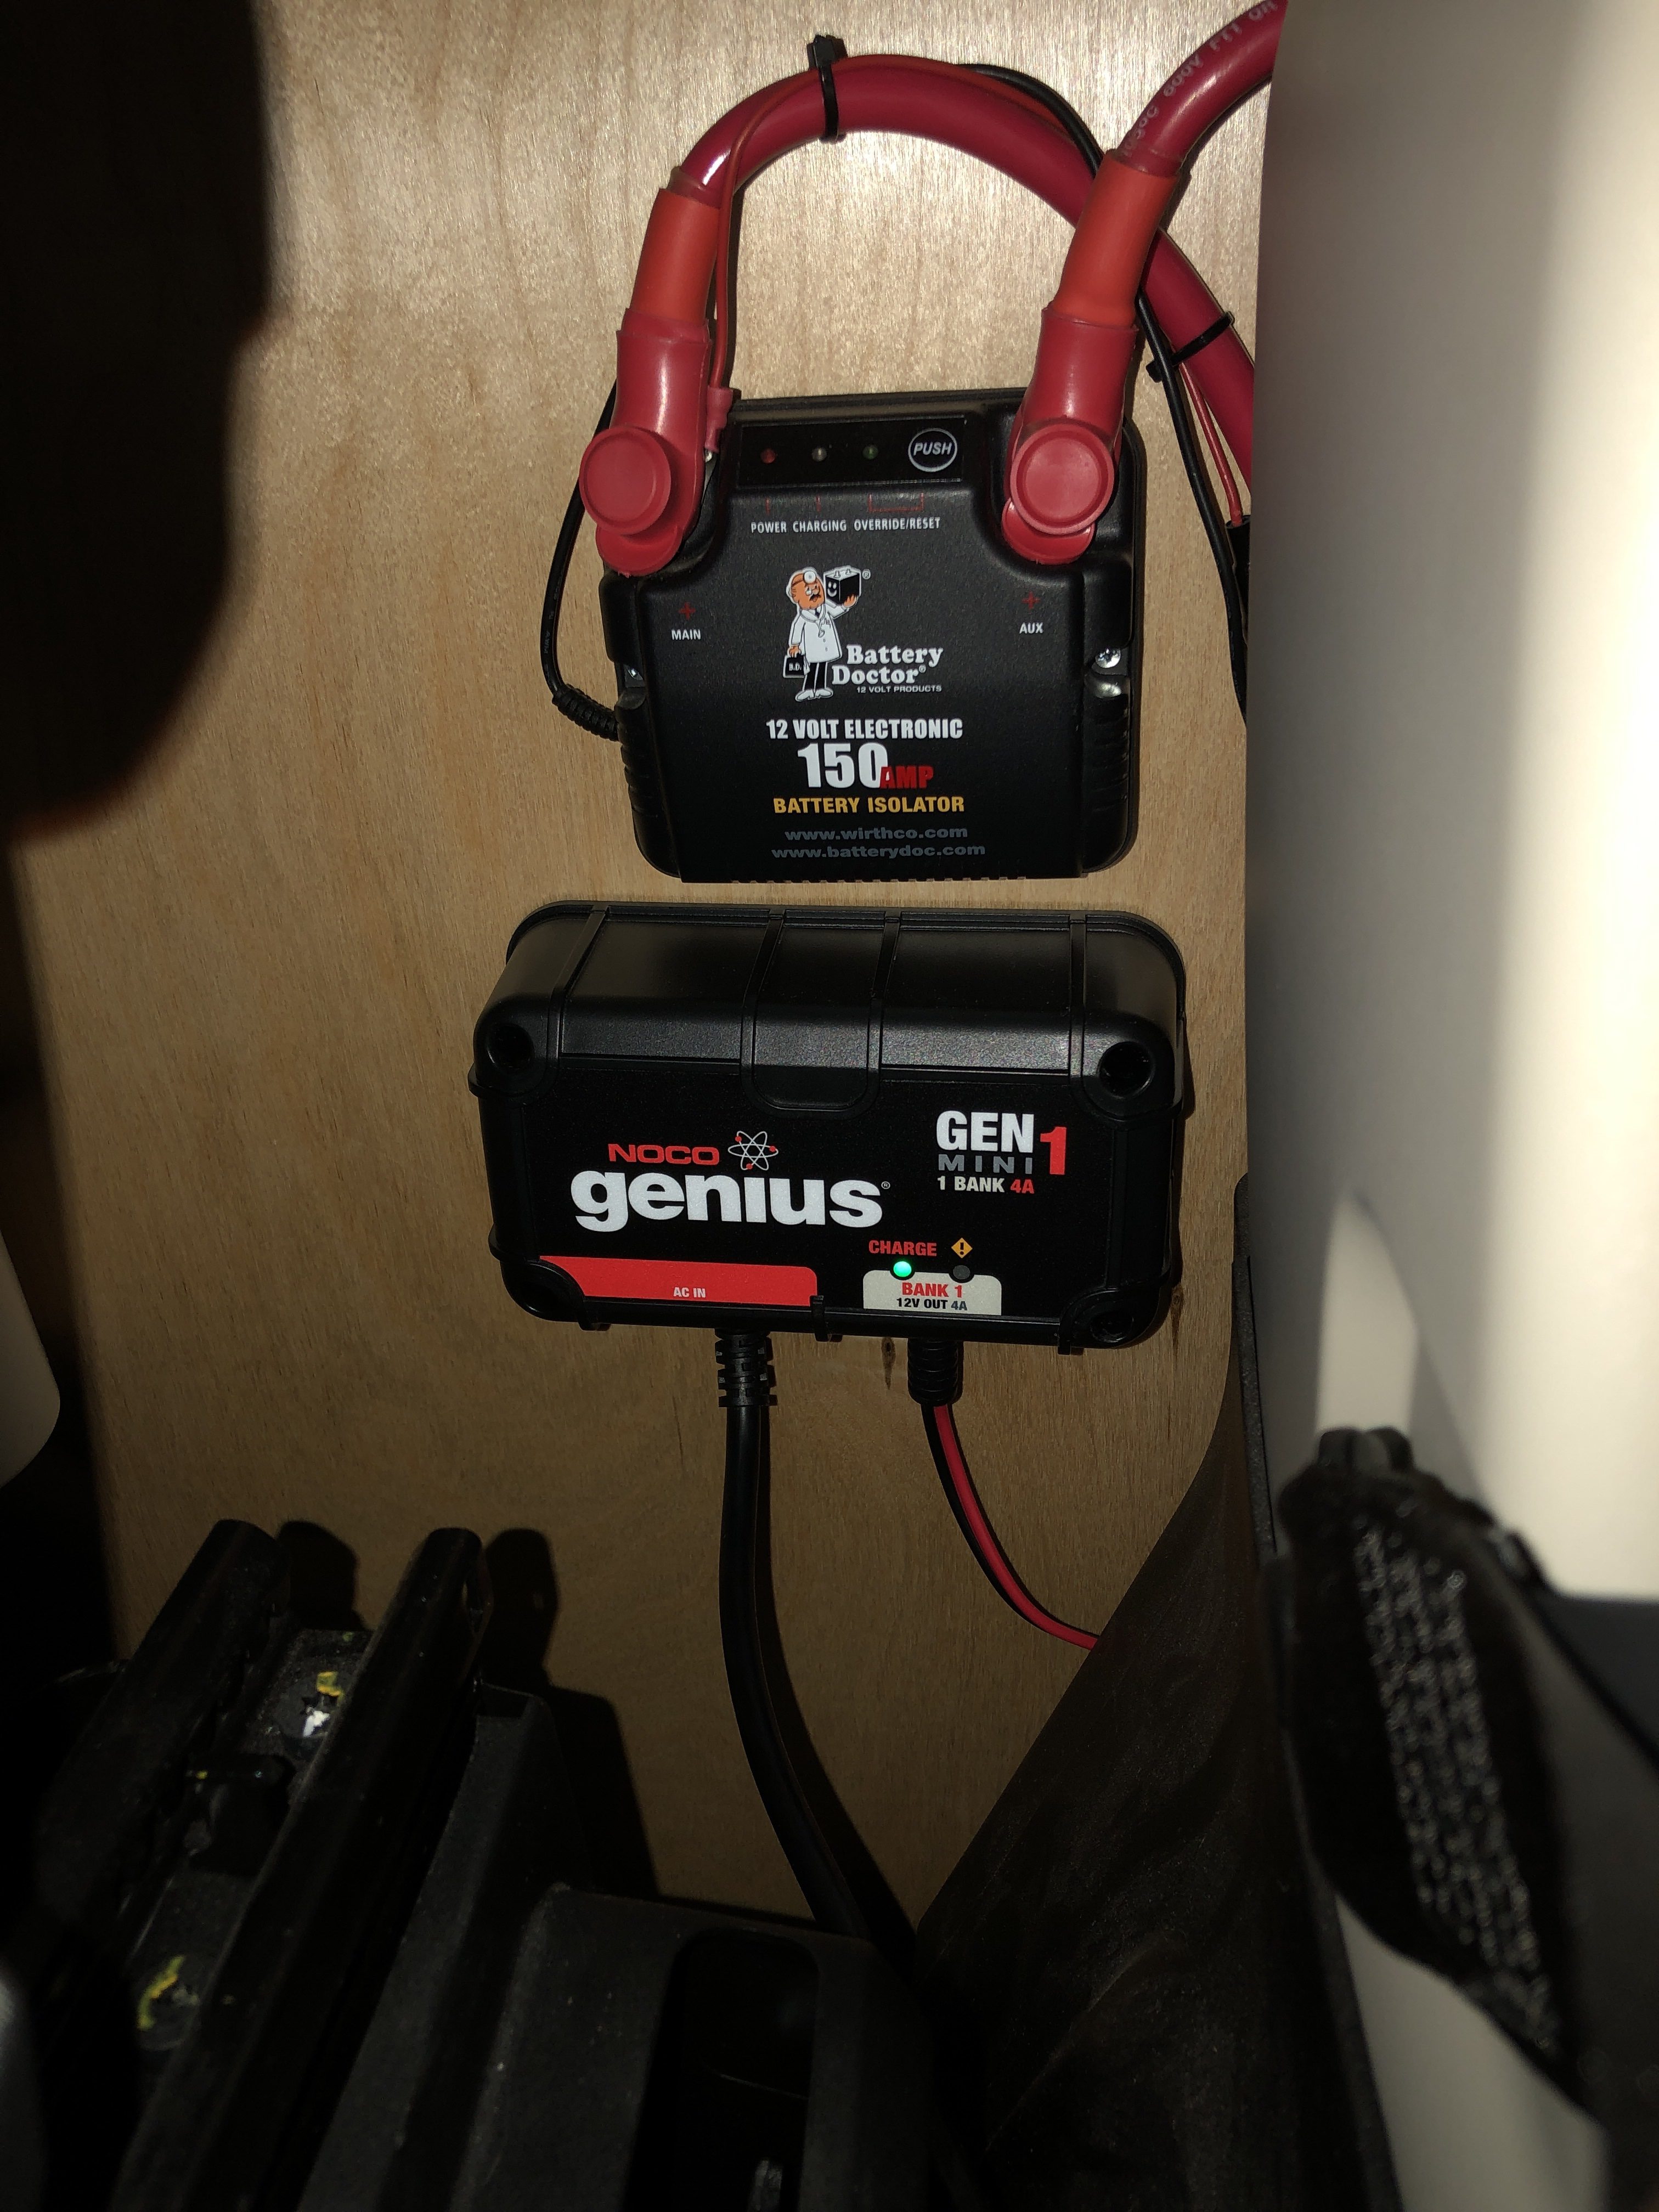
I decided to add a trickle charger to the Van starter battery. This ensures that the battery stays topped up during periods of storage between trips. I was finding that if the van sat longer than a couple of weeks it was draining the battery down. The charger simply hooks up directly to the battery
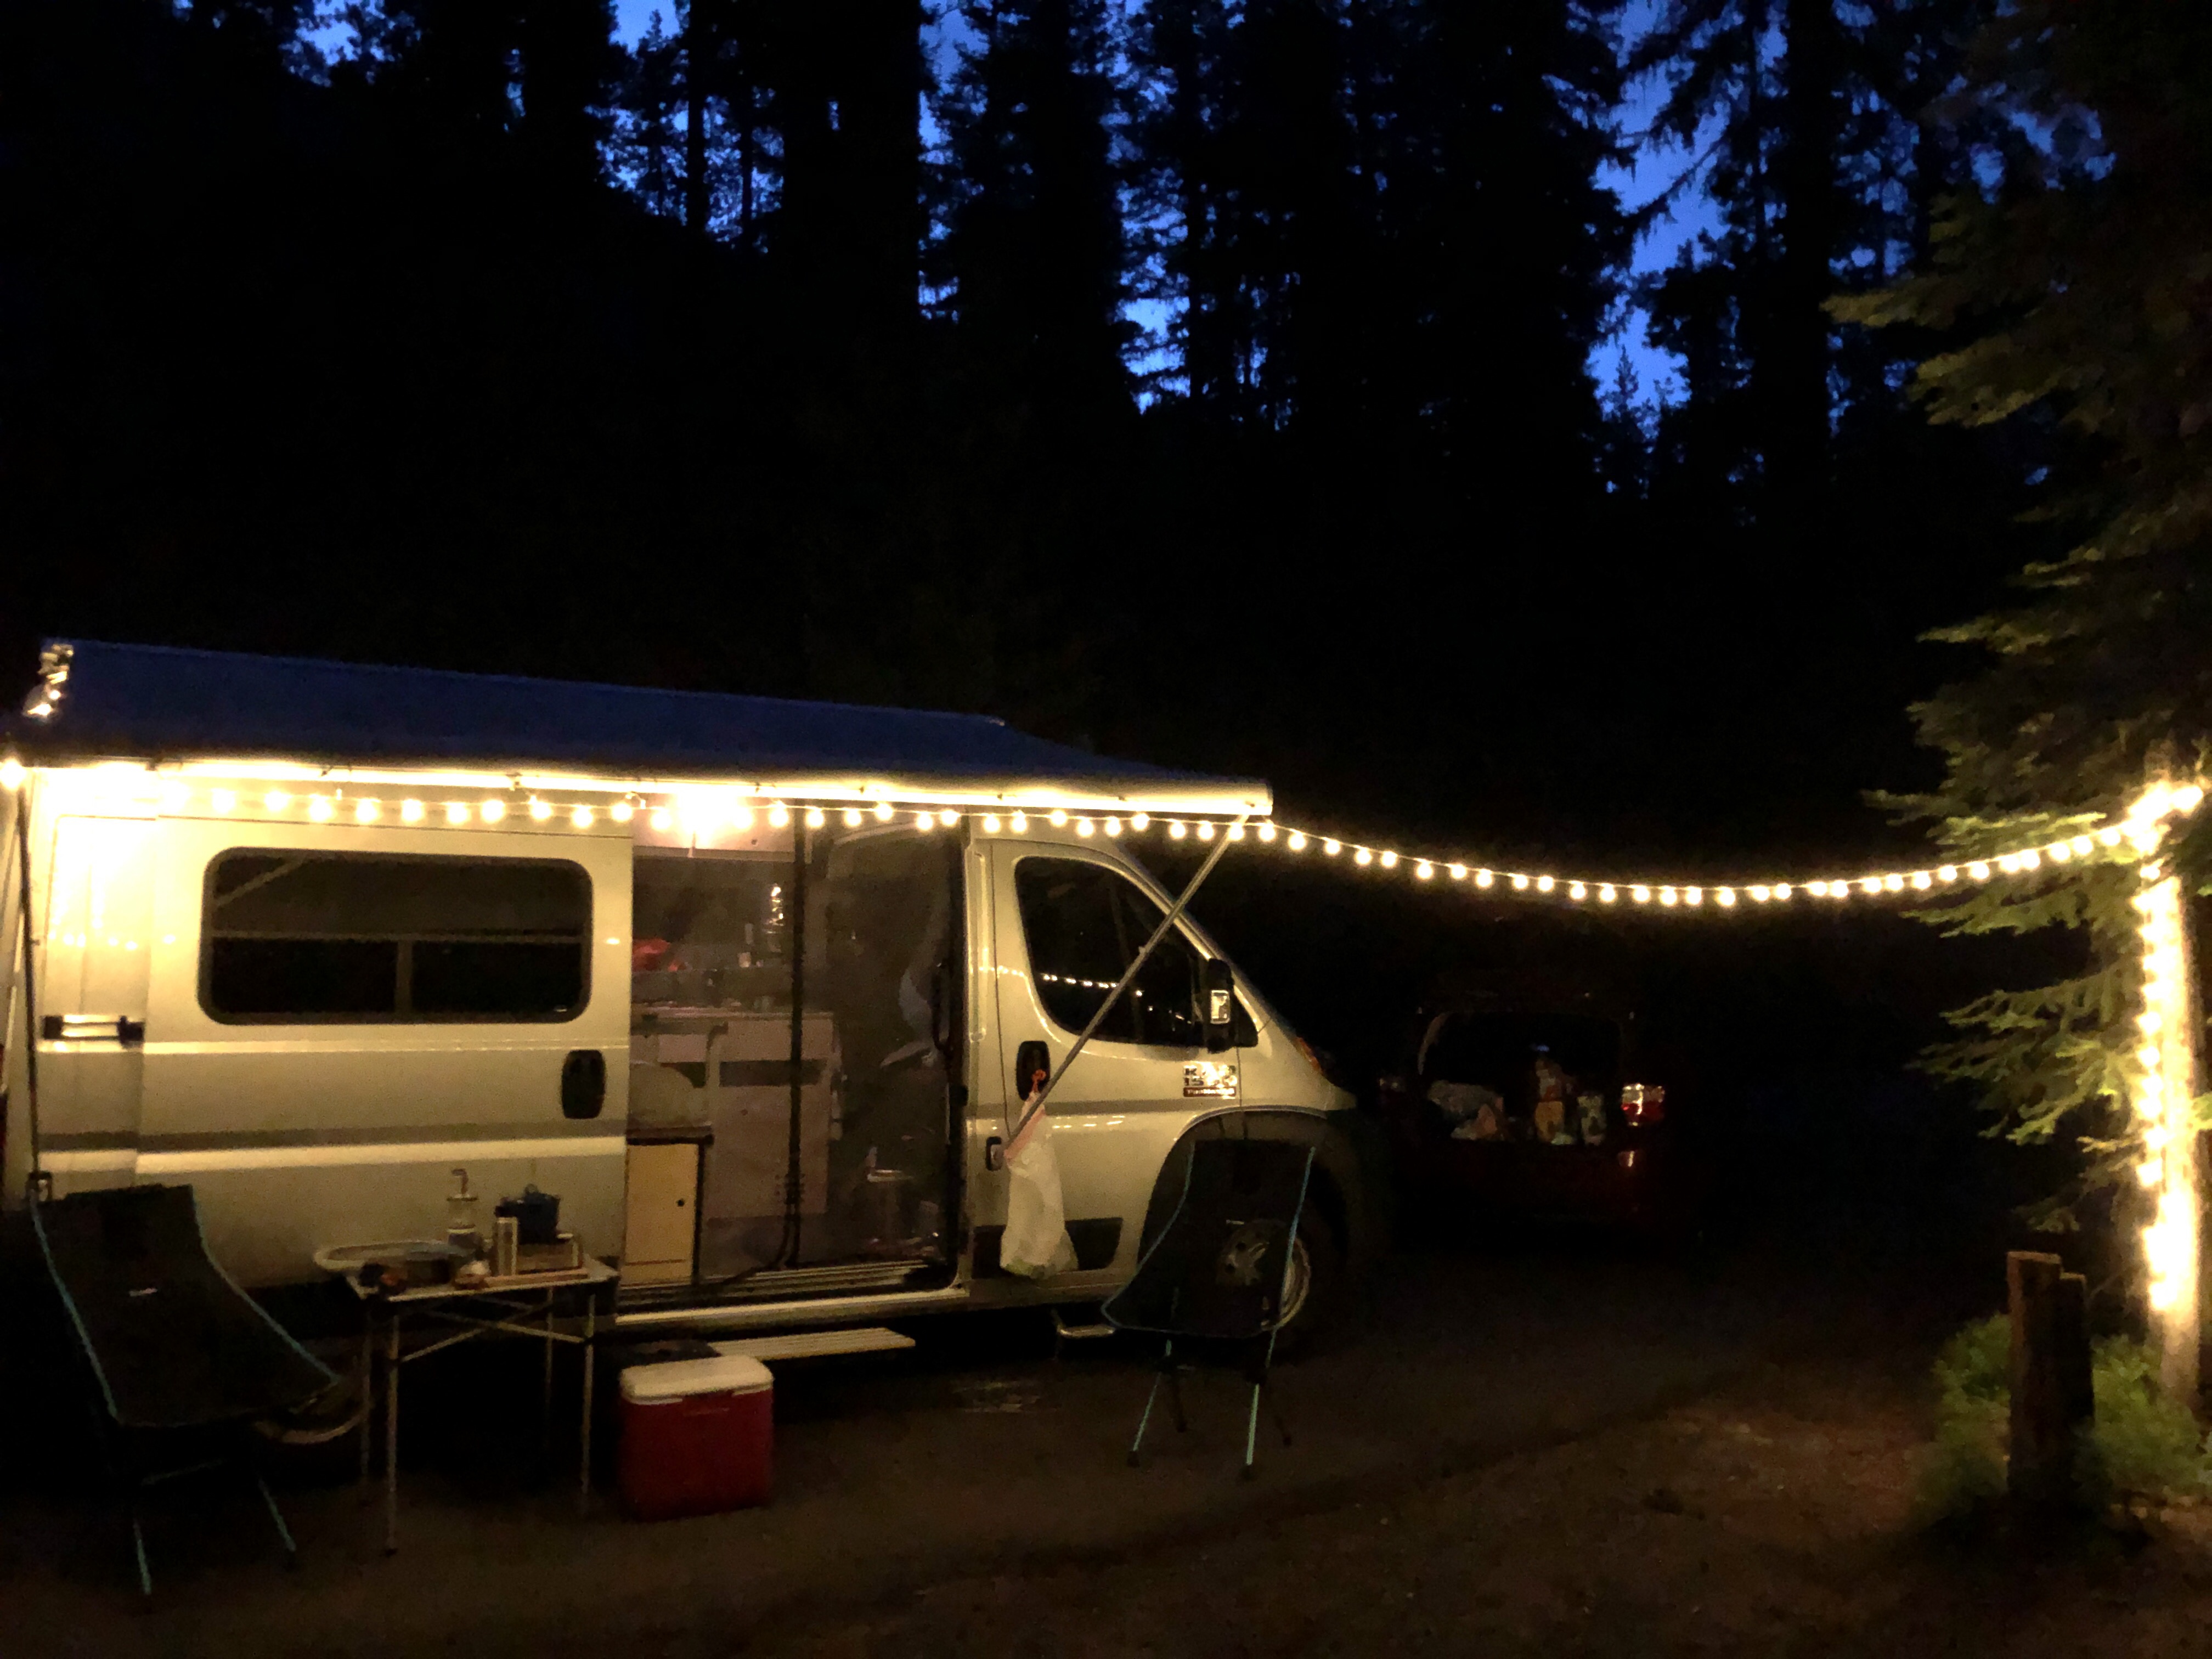
So I wanted to hang some lights off the awning to light up the evening. First stop was to figure out a way to hang them. There are number of commercial solutions to the problem, but I figured why not build something for now and see how it works. I took some 12″ lengths of
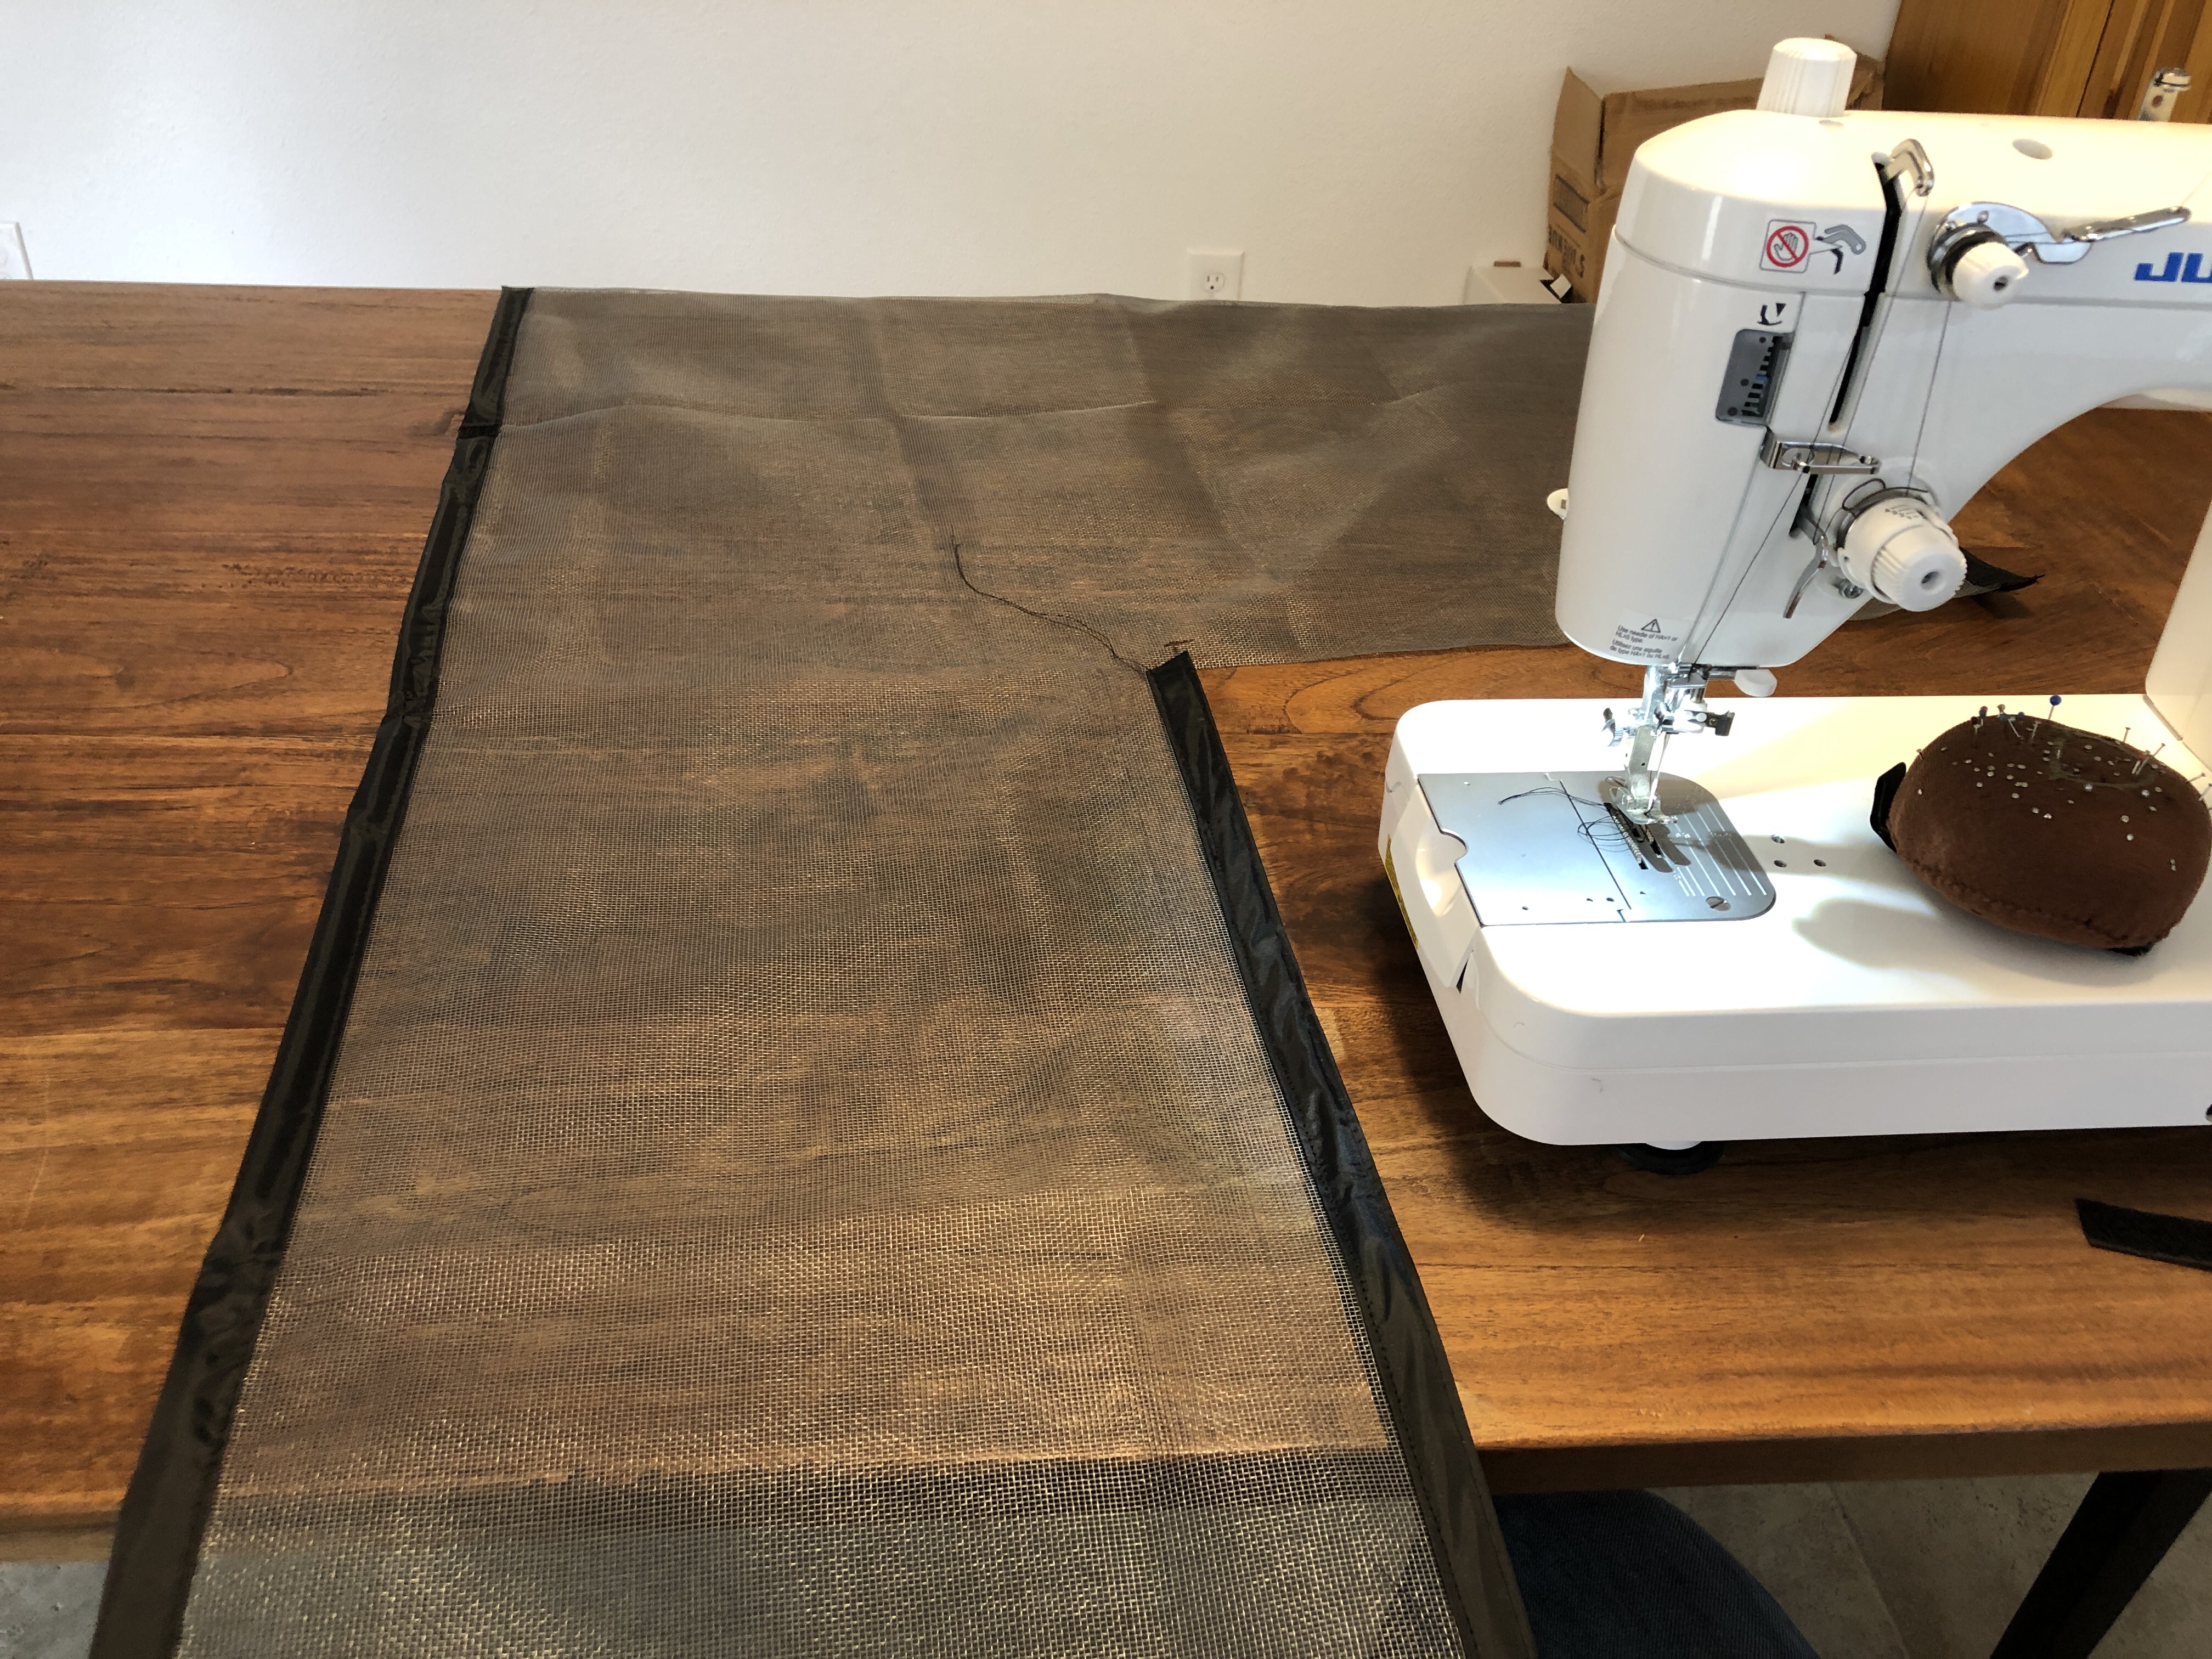
We wanted to add a screen door to the side slider so I picked up this screen door from Amazon as the basic materials. For $33 it seemed cheap enough. MAGZO Magnetic Screen Door 60 x 80 It was wider and taller than needed, and I had to make a cutout for my exterior dog
I installed a Fiamma F65s Awning. It mounts to the existing roof pins with a bracket kit for the promaster vans. It’s nicely fit to the top and fairly low profile. Of course now the top of the van is lopsided 🙂 I also picked up a 3d printed mount that uses 3M VHB tape
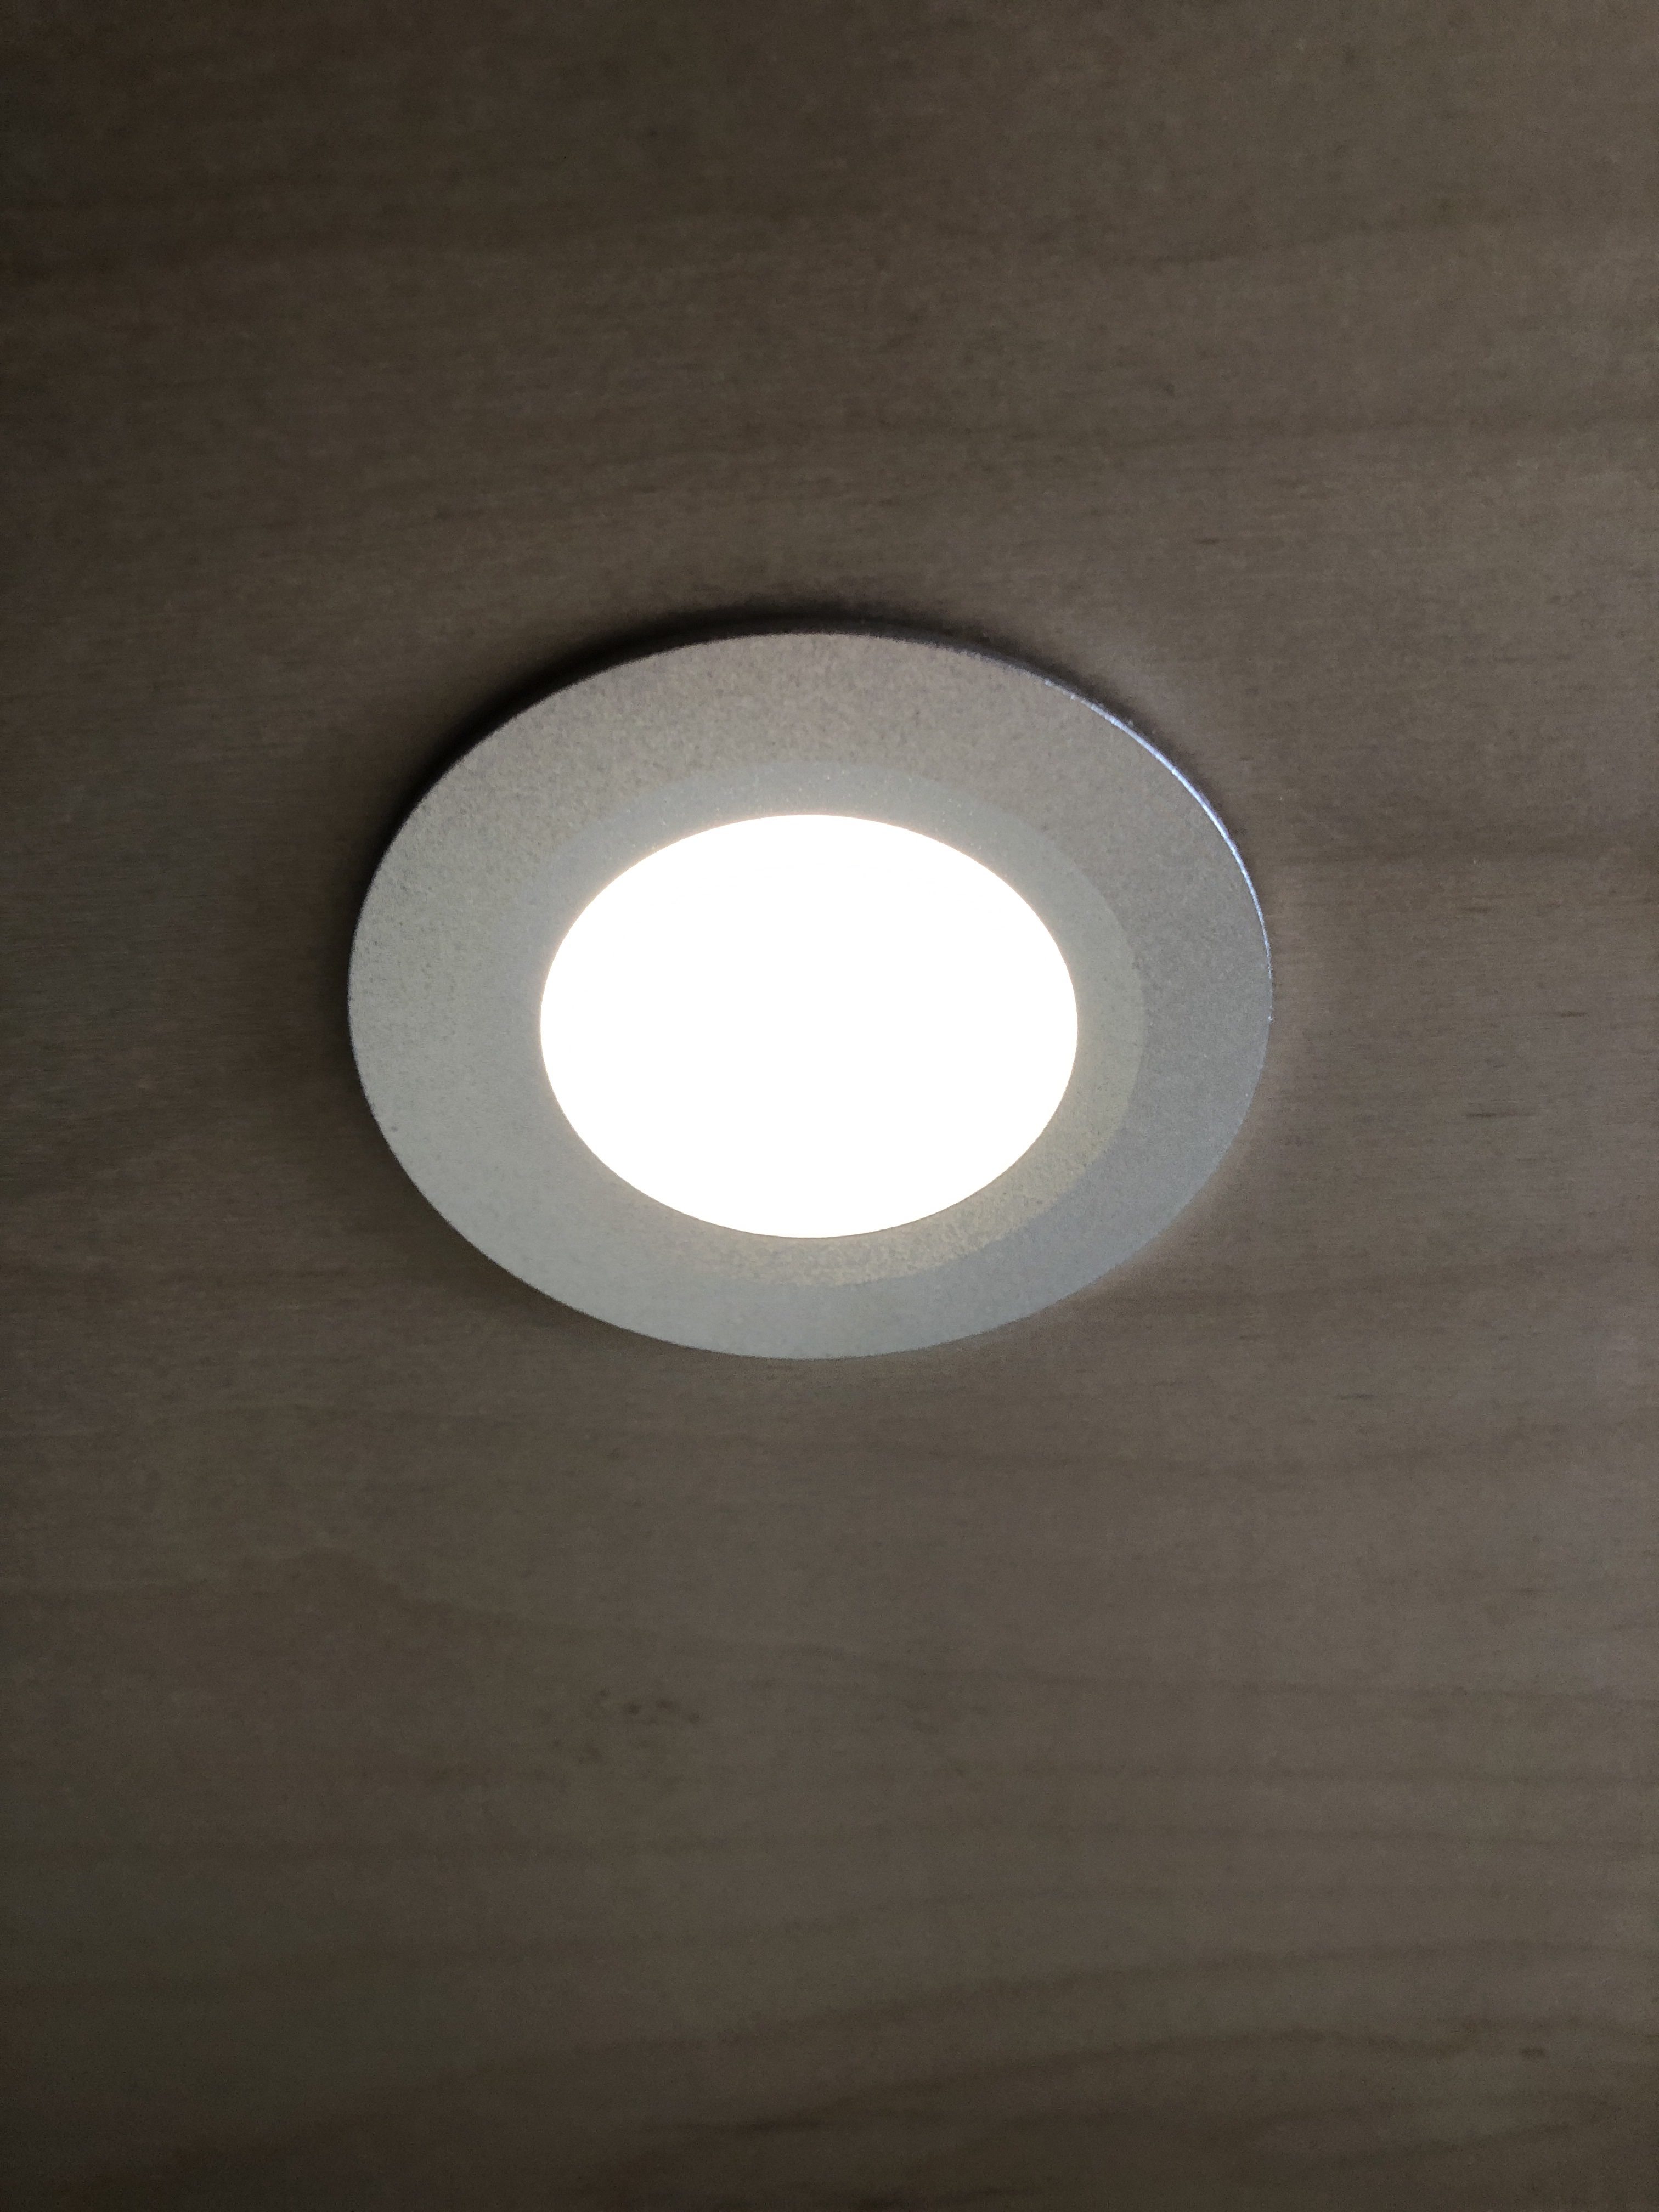
There are 4 overhead LED puck lights in the ceiling controlled by a dimmer on the side of the galley wall in the electrical control spot. Here you can see the dimmer on the right and the 110v and 12v distribution outlets. There’s also the victron battery monitor. Under the overhead cabinet is the galley
