After 2 years of use we decided that having just an electric heater was not working for us. We found too many times we didn’t have shore power hookups but needed a bit of heat.
After reviewing the options I decided on the Espar B4L M2 heater. Features included: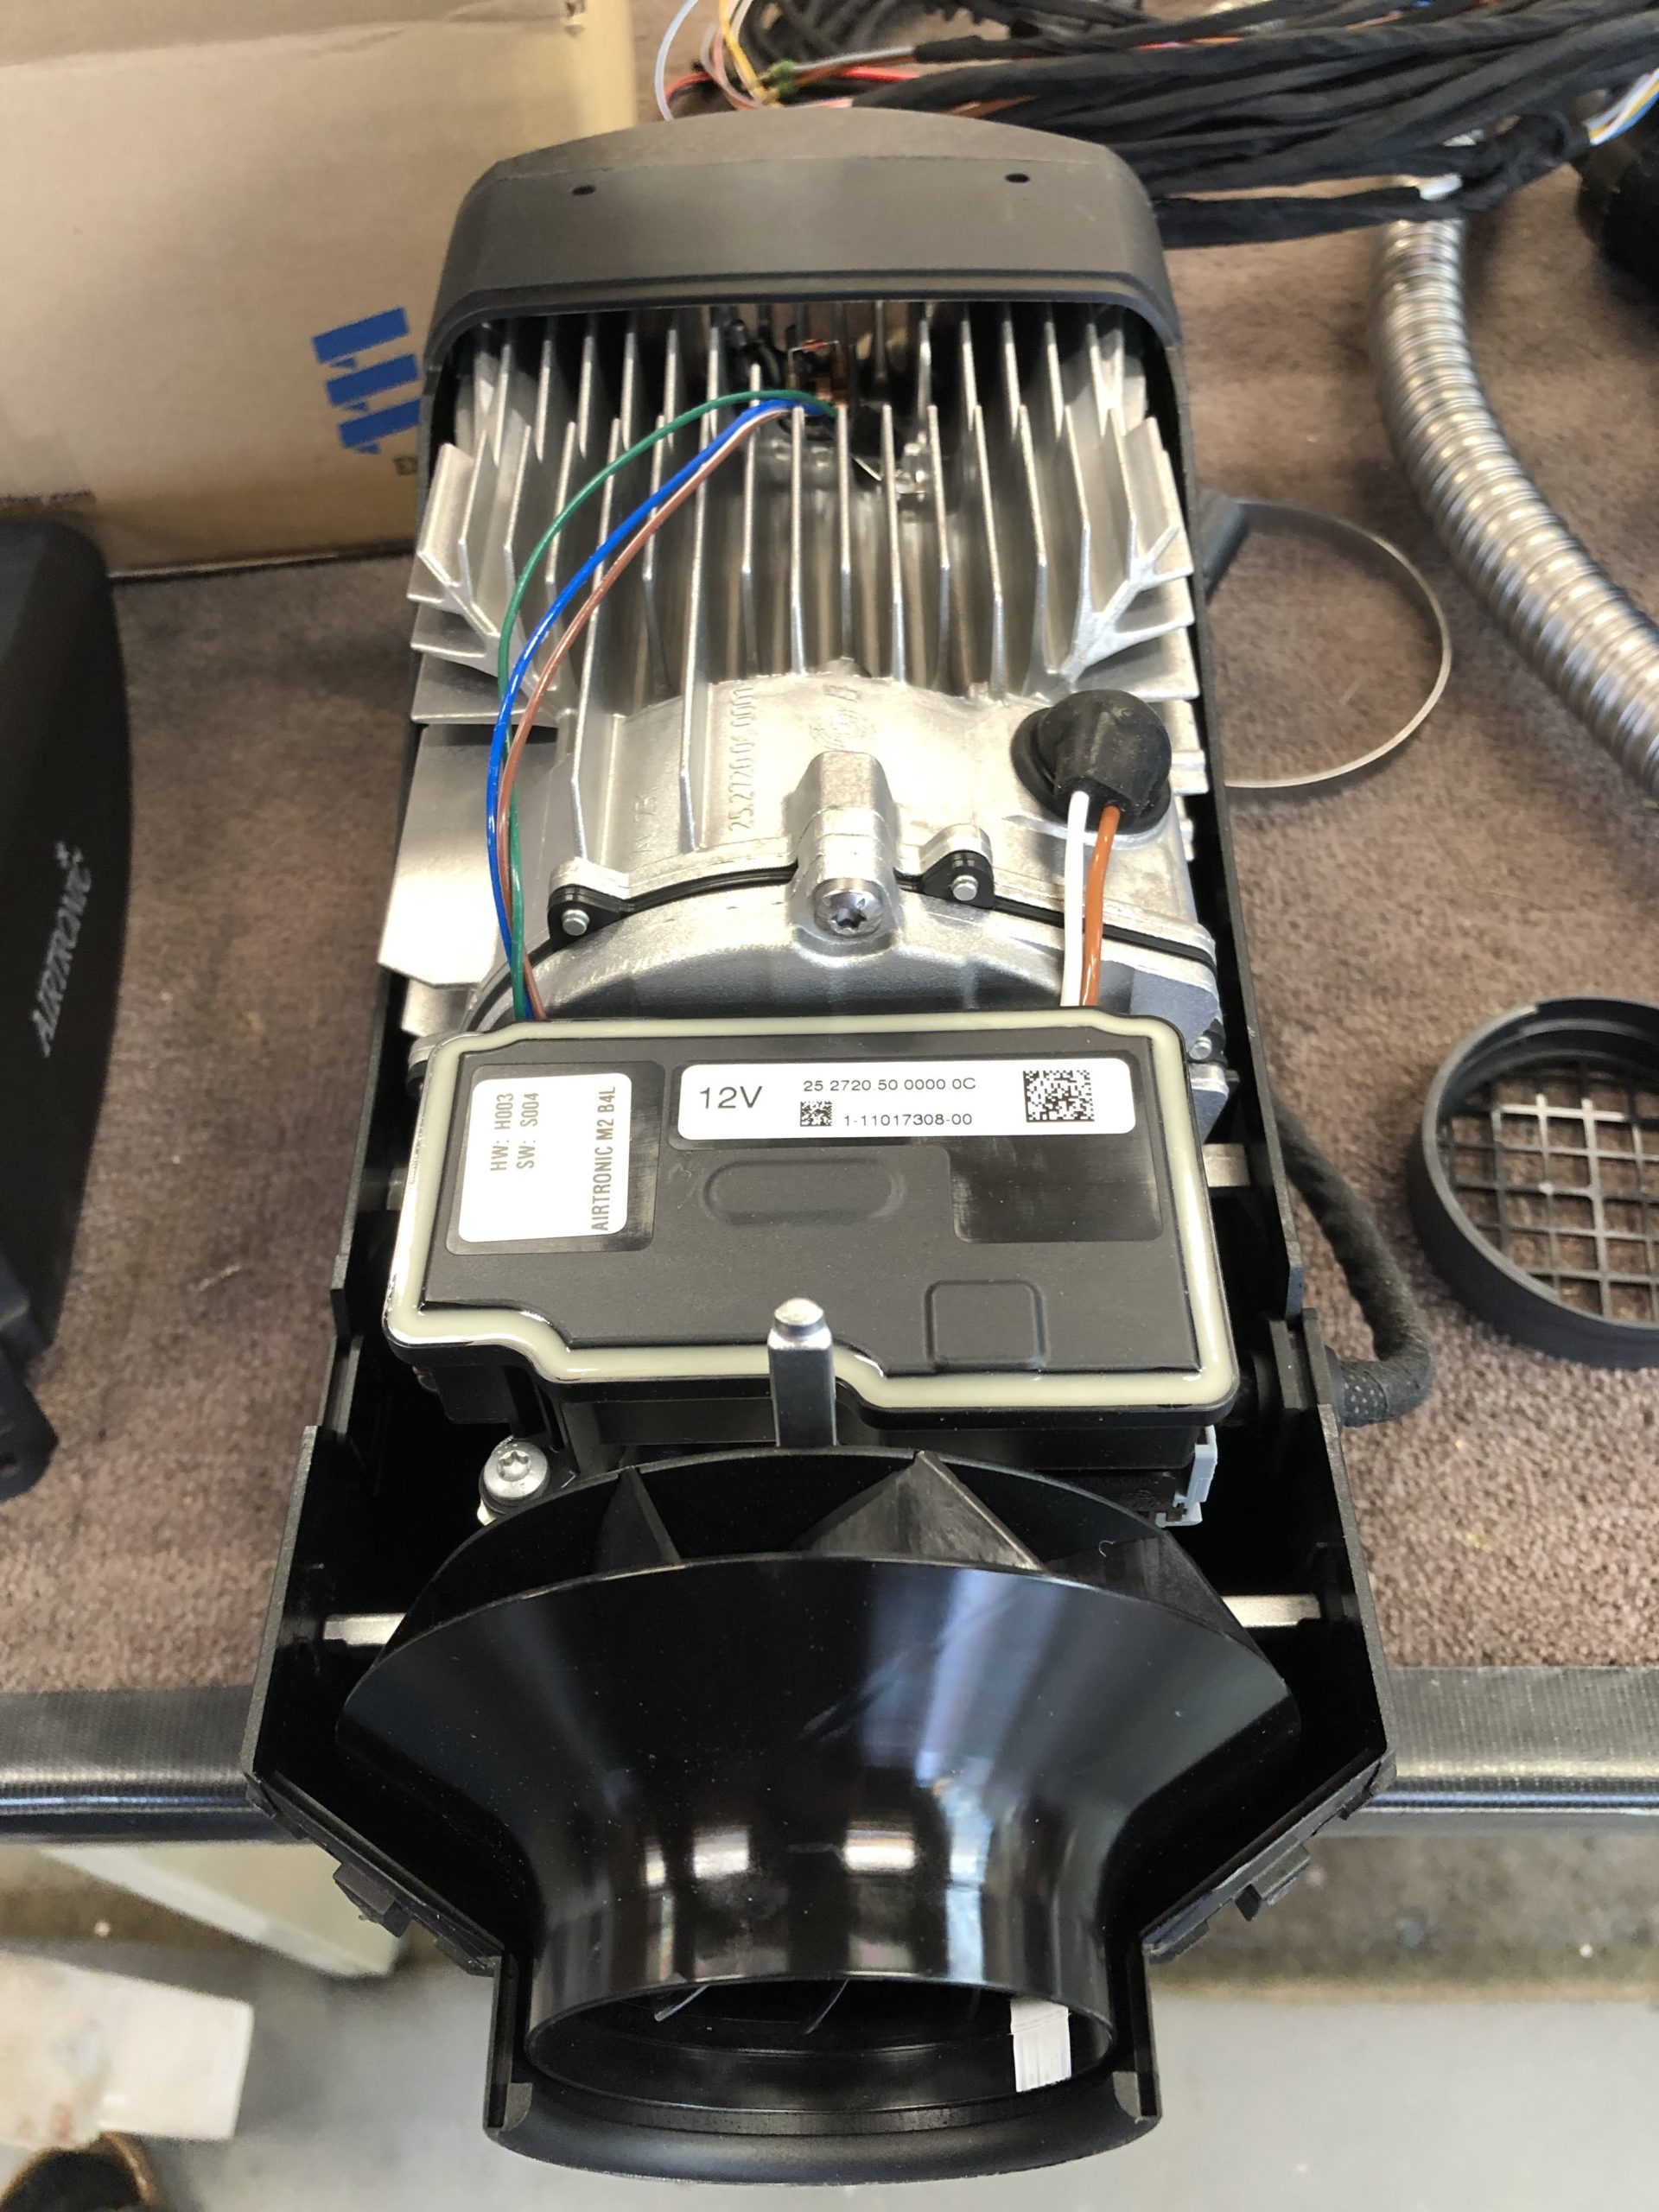
- Runs on Petrol (regular Gas for us Americans). So you can pull gas from the vehicle tank
- Has built in altitude compensation up to 9000ft. Solves one of the issues with various heaters not dealing with altitude well.
- Recently redesigned unit including Brushless fan motor for smooth variable speed. Quieter fuel pump. Overall quieter operation.
- Well designed system with top quality parts and accessories. Lots of manuals and documentation for the install and operation.
I ordered the following items:
- Heater and install kit from Heatso in the UK – Espar B4L M2 Petrol Heater
- Floor mounting bracket & Easy Start Pro controller from Heatso
- Fuel line adapter – Doorman Help Vacuum adapter 47309
- Promaster aux fuel port connector – Doorman 800-186
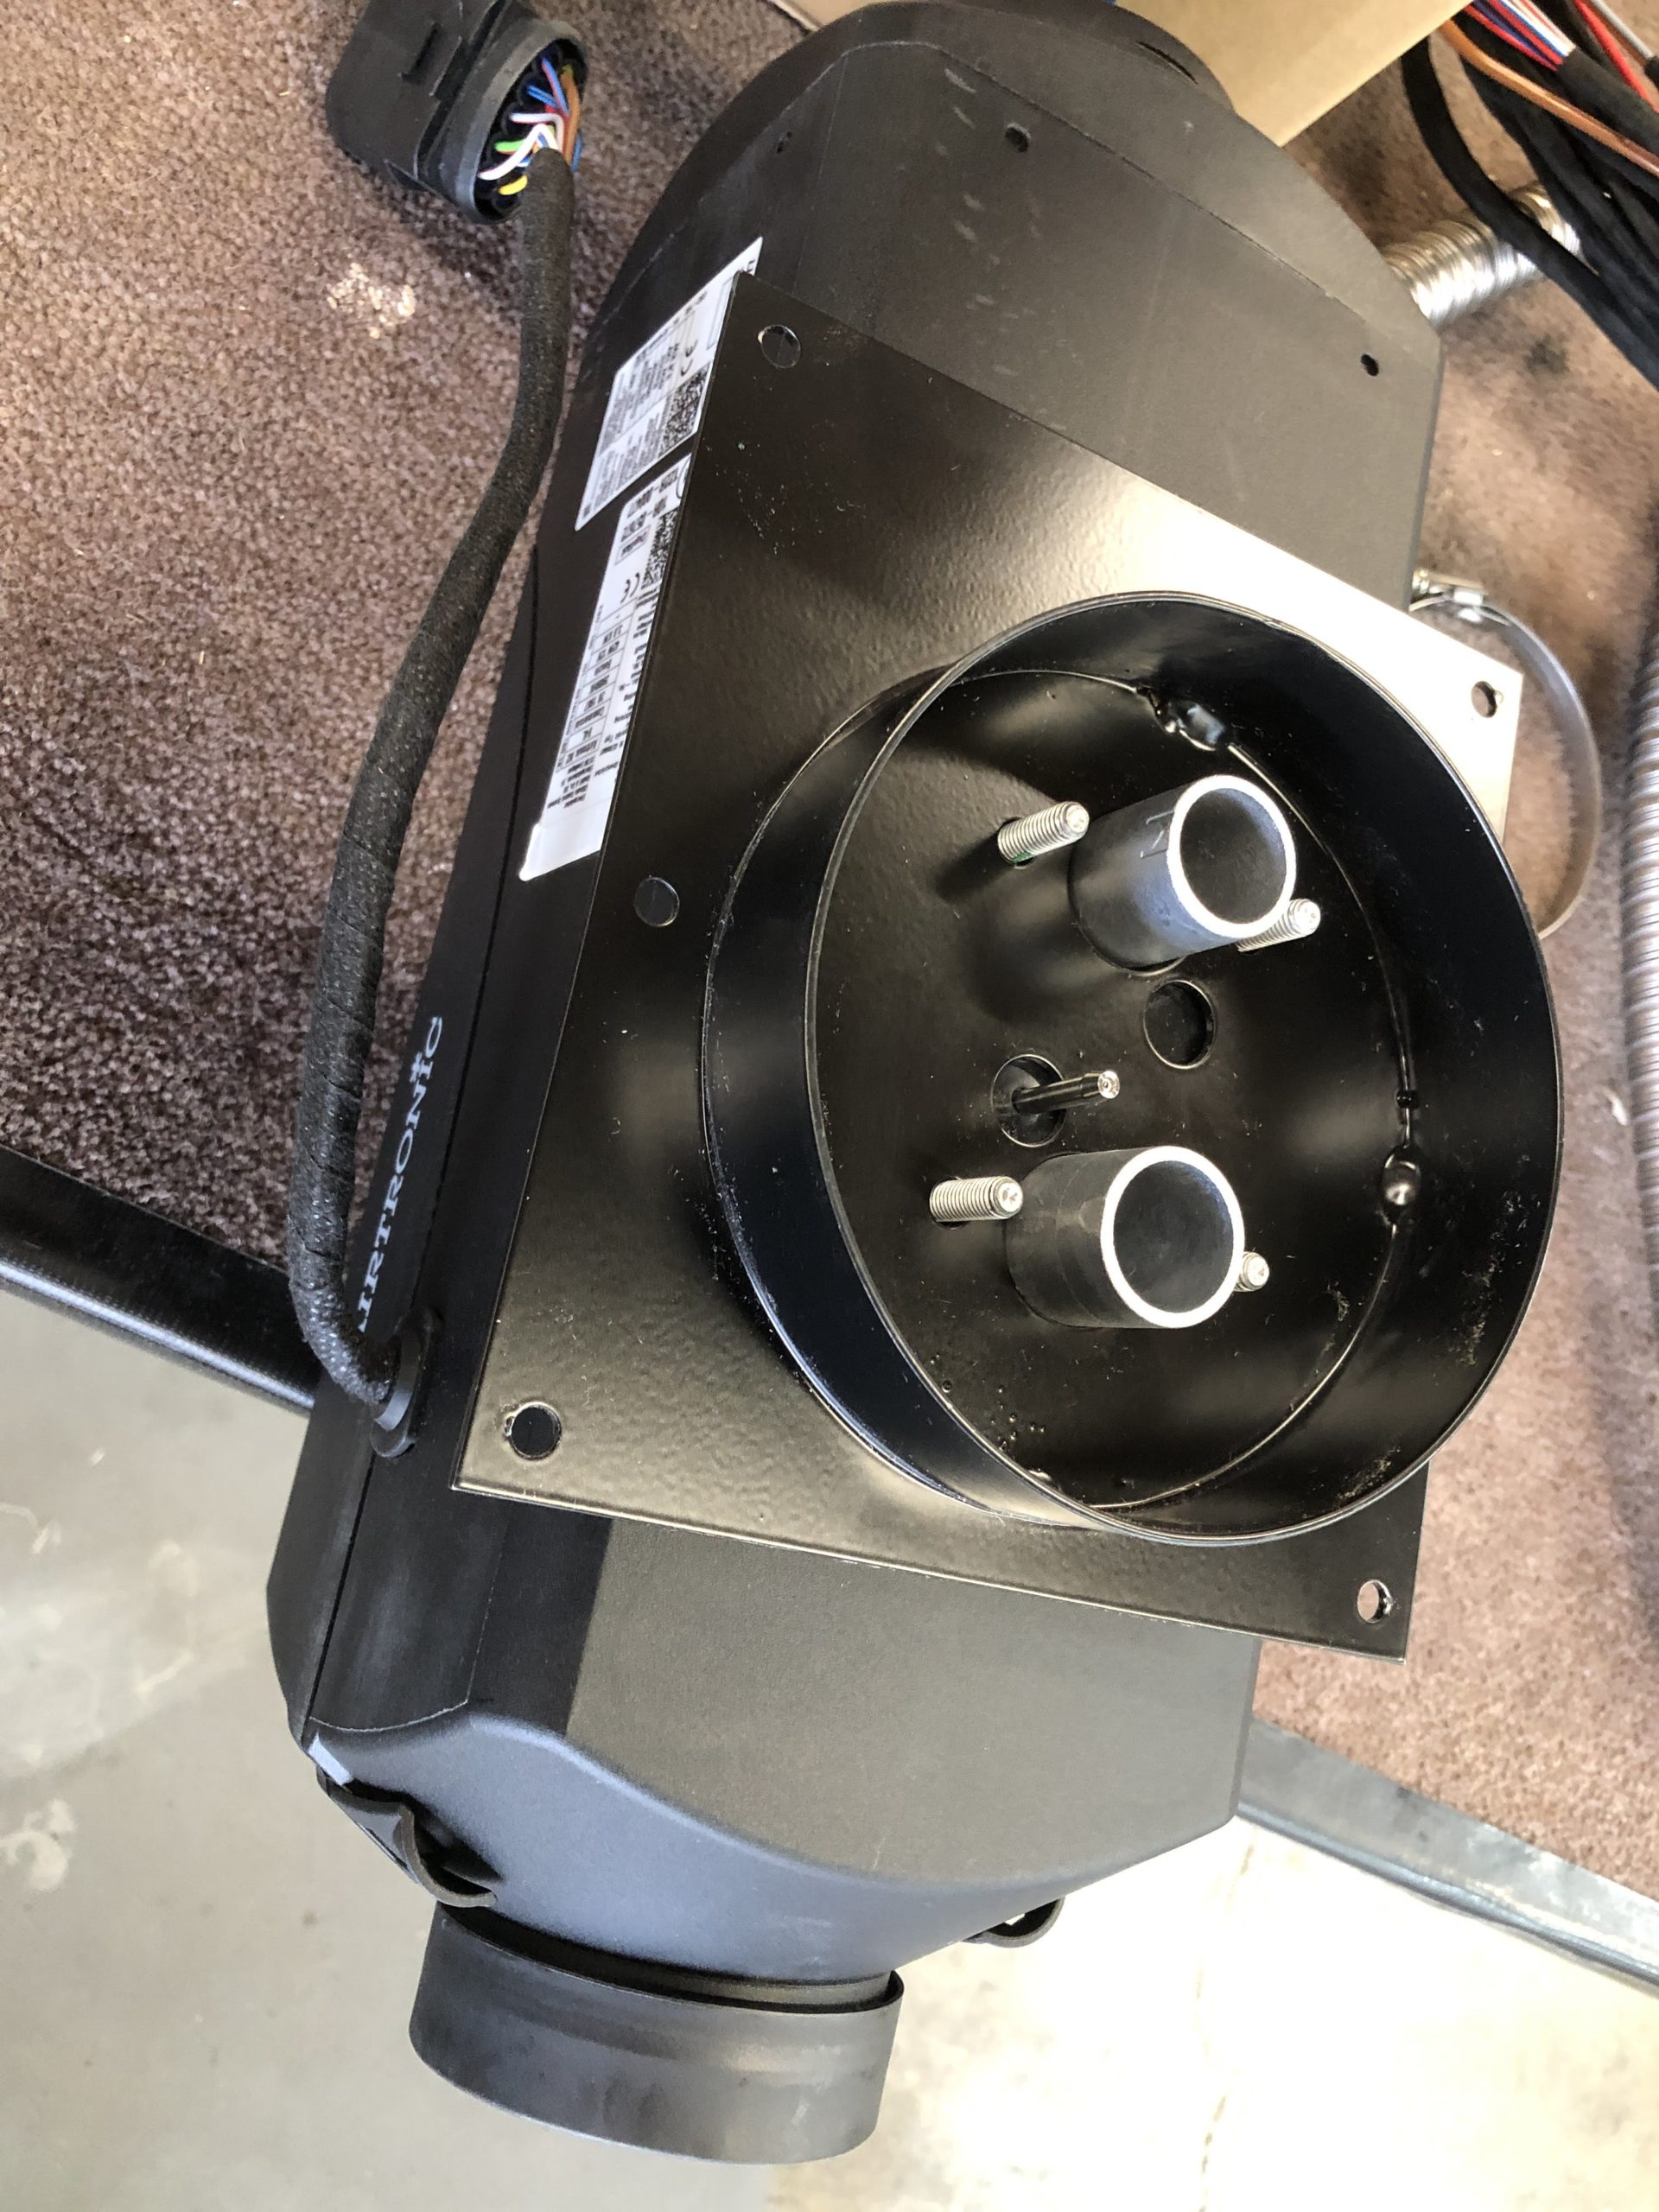
When the unit arrived 3 days later from the UK, I opened it up to take a look. It is a nice quality part with very nice connectors and parts inside.
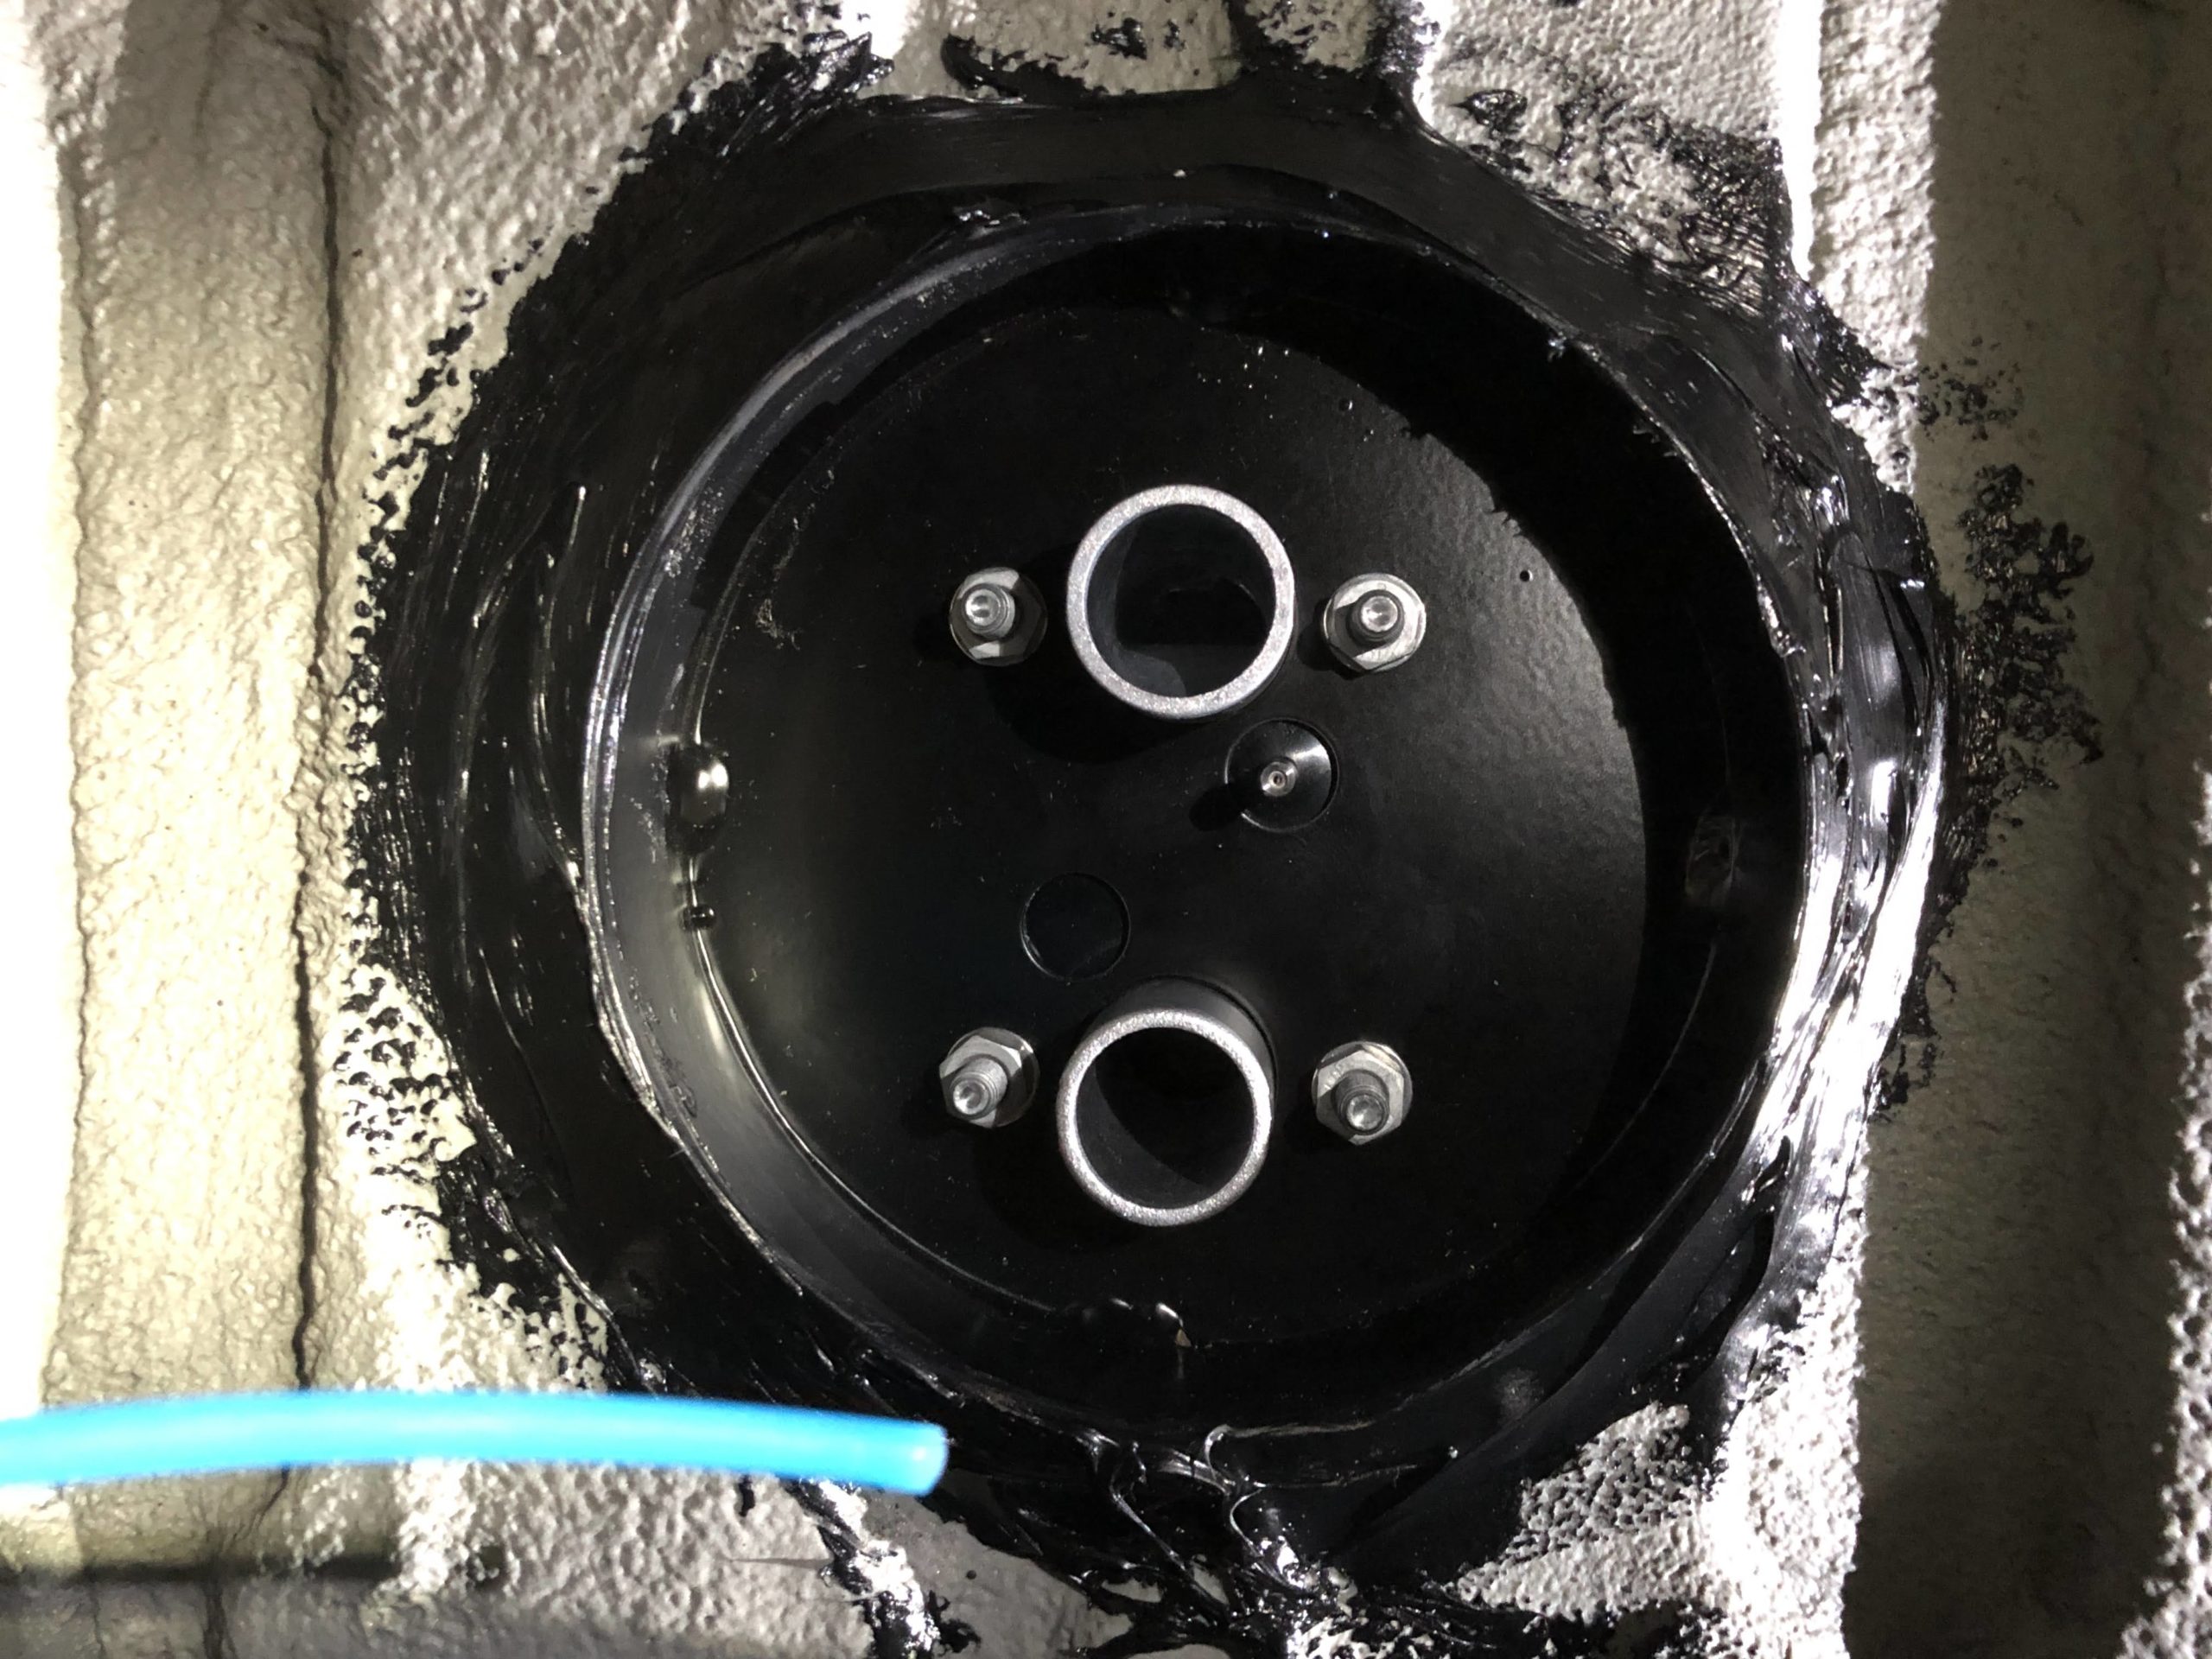
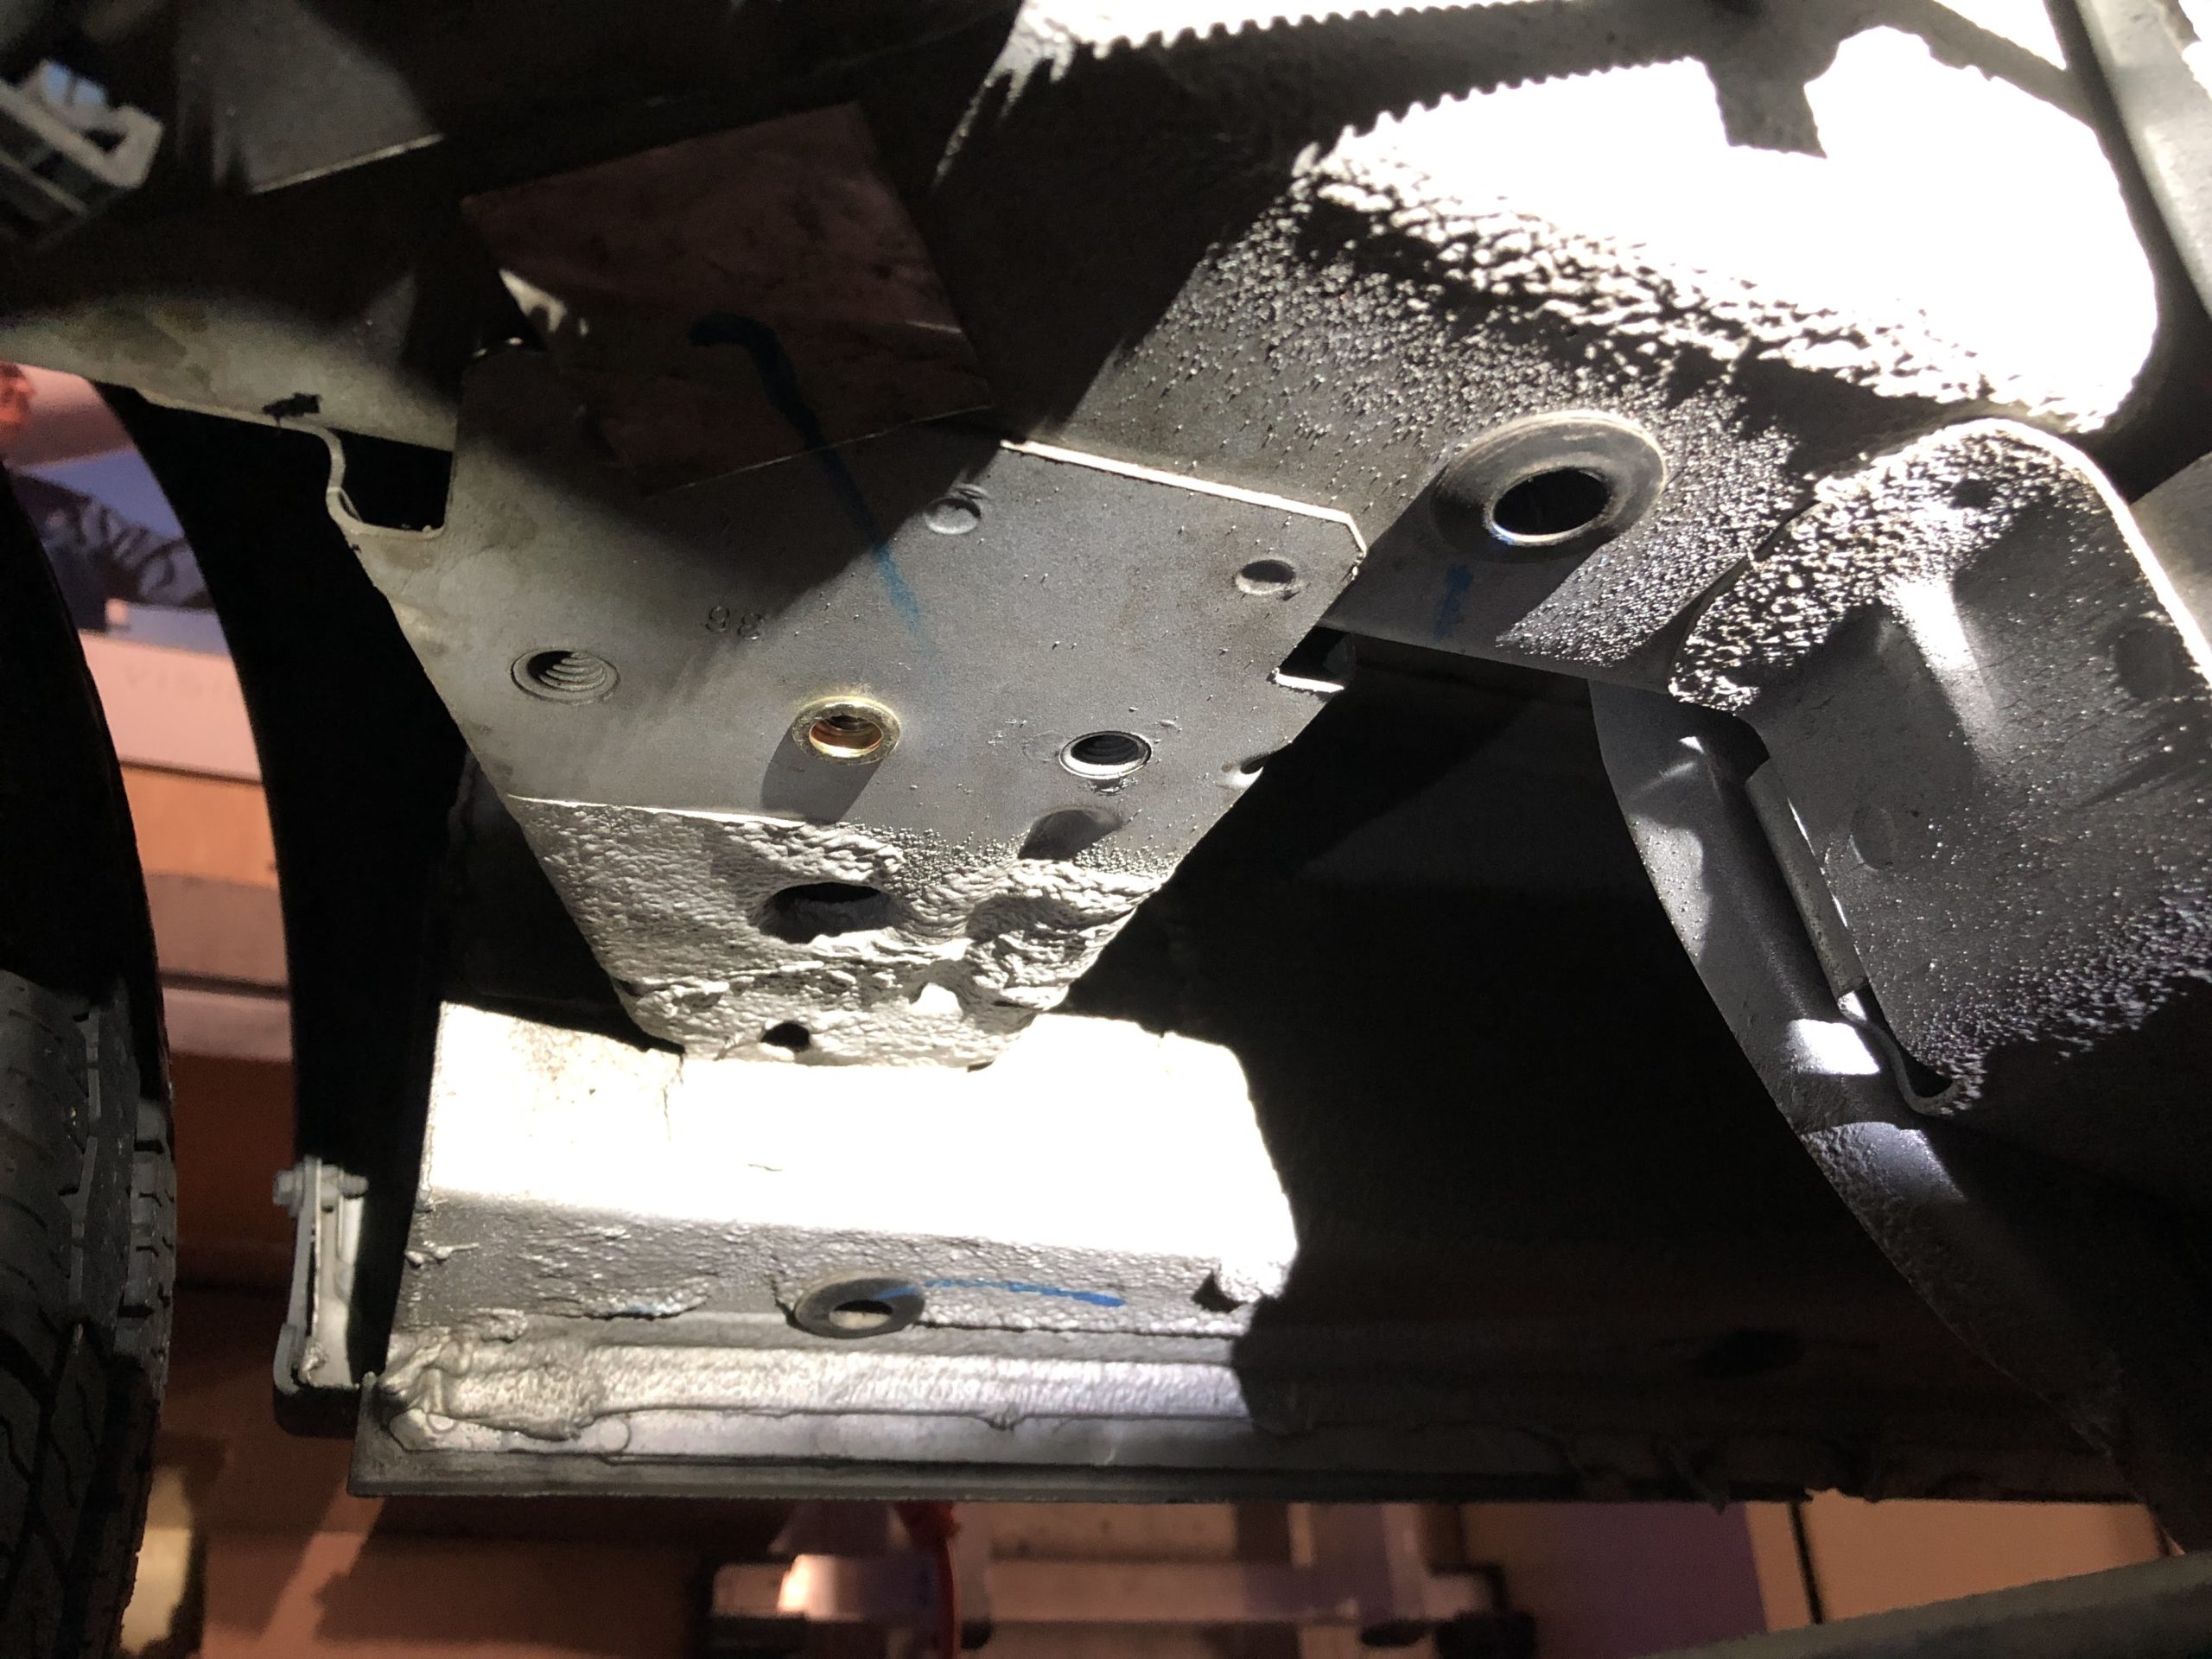
 So first up is to source some fuel for this heater. Since the key feature is that it runs off car gas, we need to tap into the fuel tank. On the Promaster it’s located between the front seats under the floor. When I opened it up I found that the factory over torqued the screws on the initial build and broke all 3 plastic mounts making it very hard to remove the screws and get the plate off. We ended up getting them out and replace all 3 with rivnuts in the same holes. This allow me to use standard #8 screws to attach the cover. Then it’s as easy to hookup as removing the cover on the AUX fuel port already in the tank and clipping on the Doorman 800-186 connector. I used a second Doorman part (47309) to adapt from the larger fuel line port on the tank to the smaller line required for the heater. They give you a number of different parts to try and adapt and everything needed is included if you get those 2 Doorman parts.
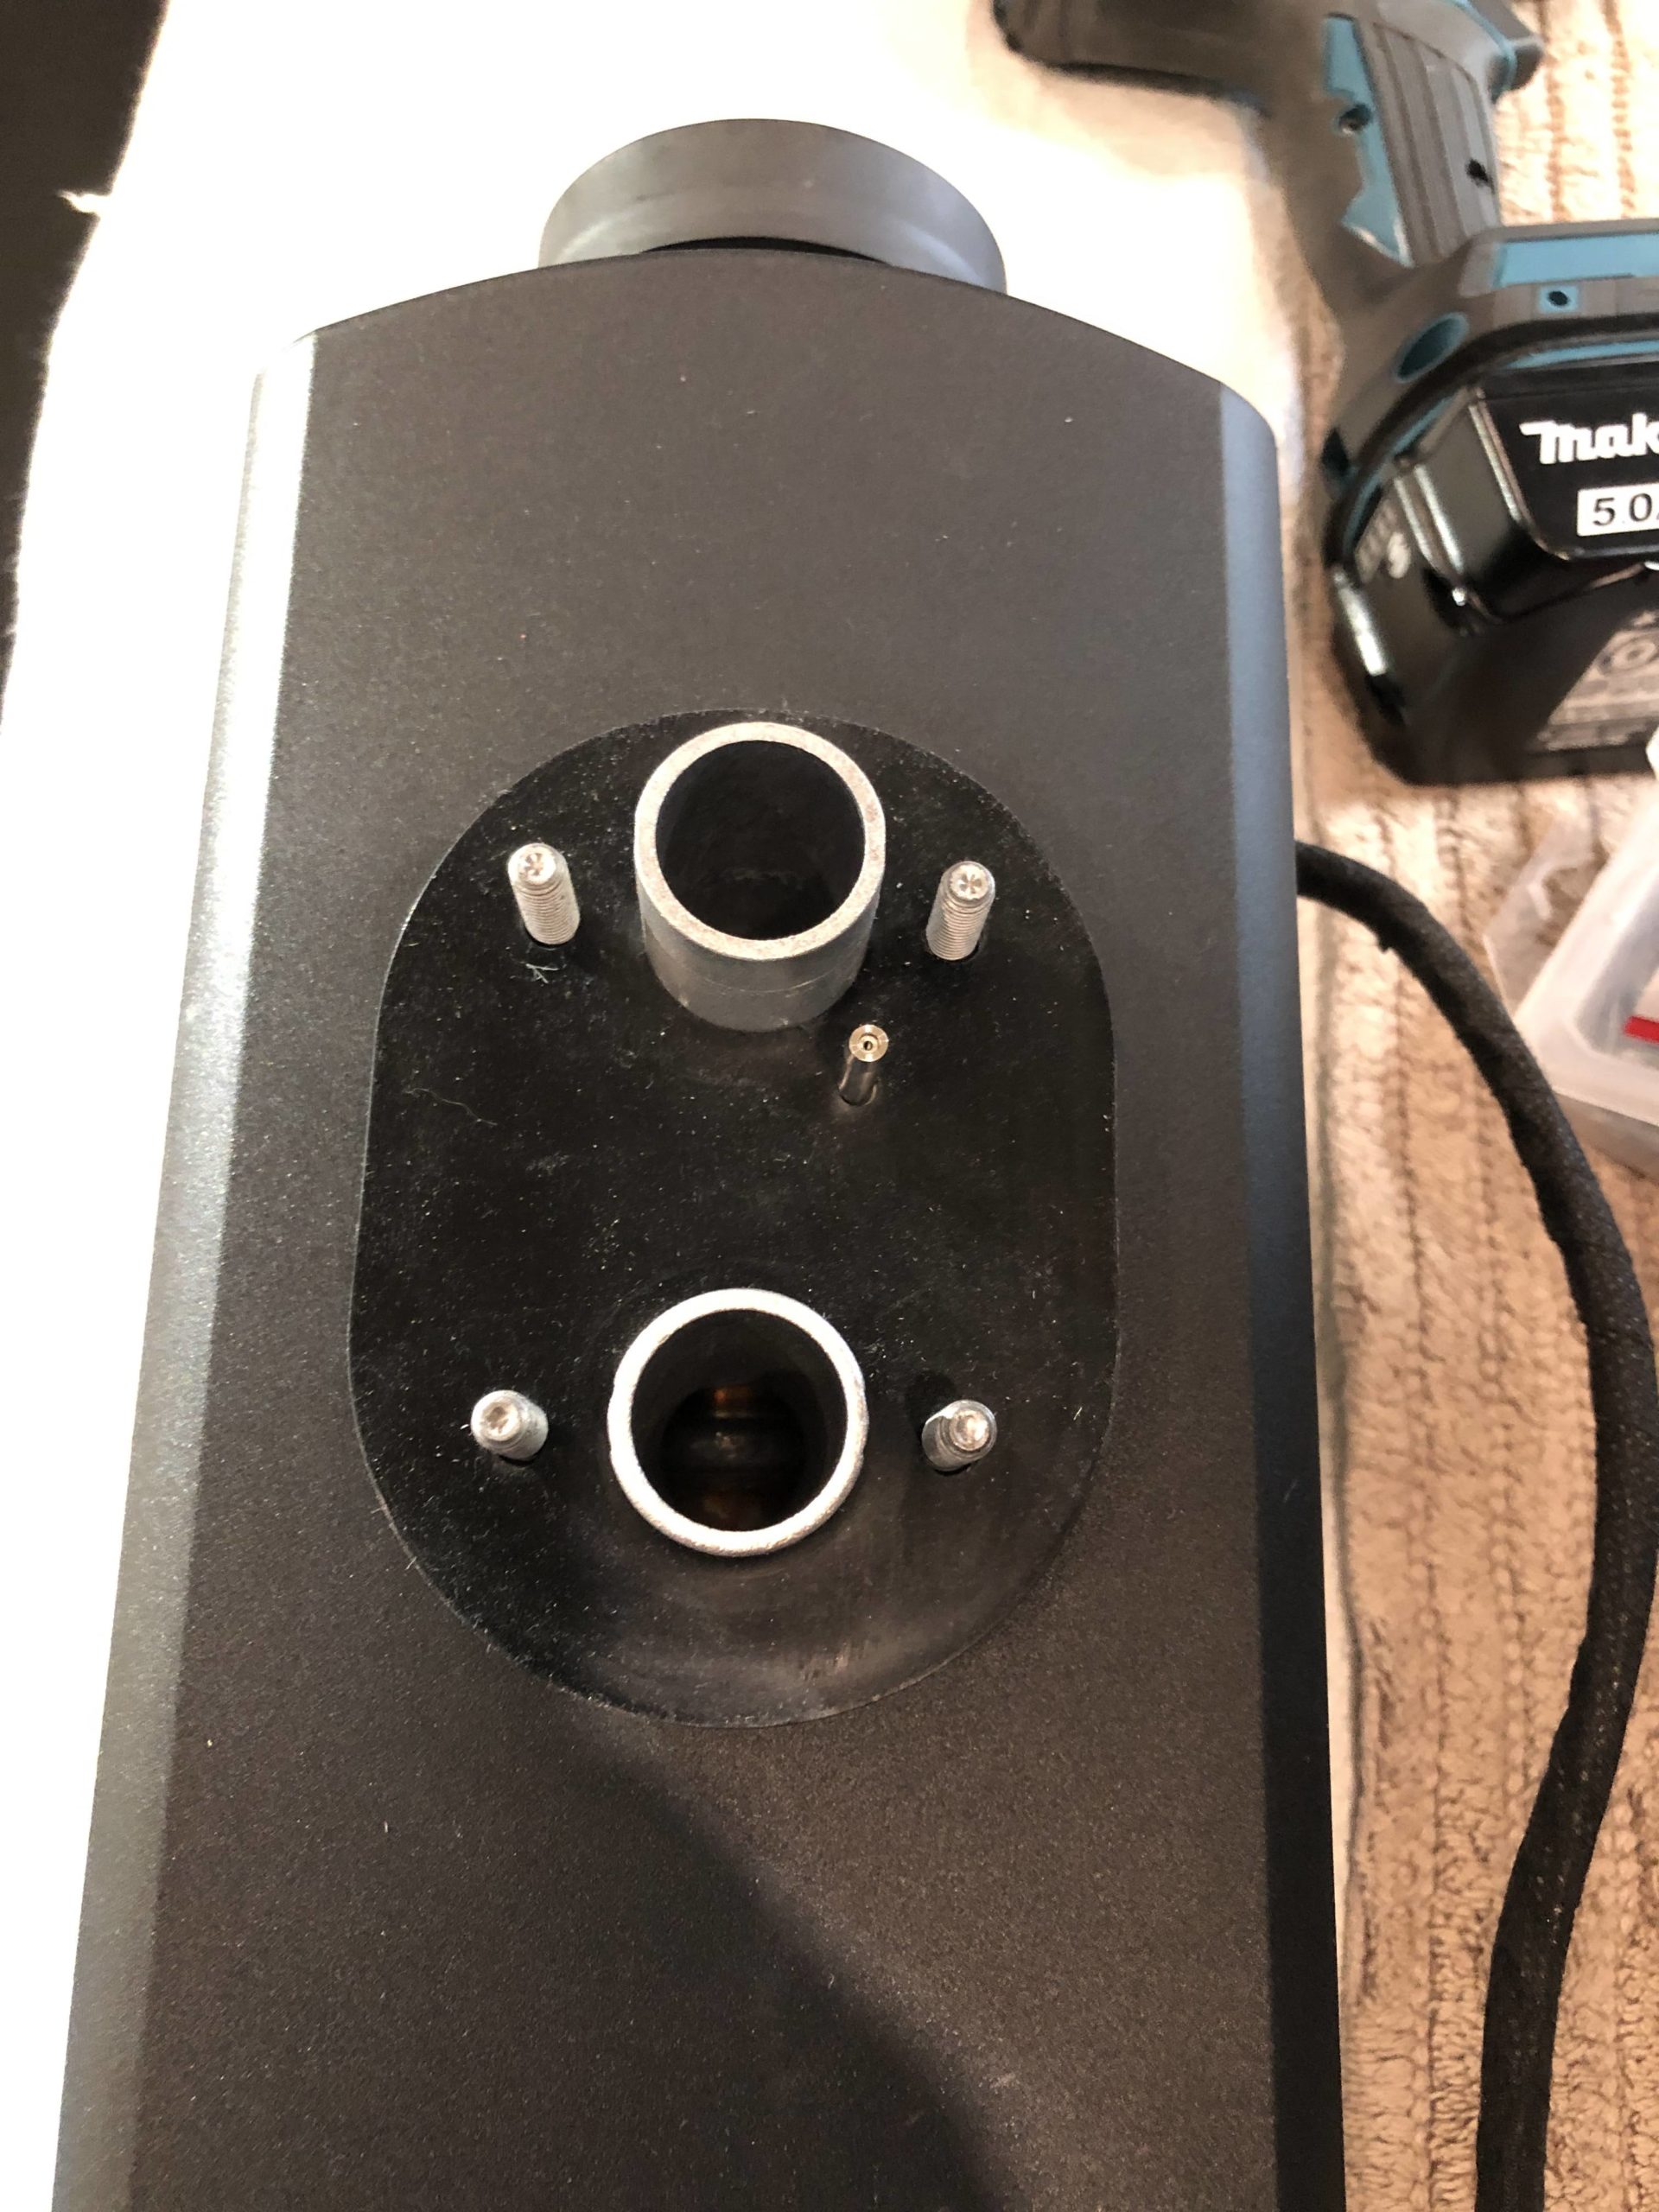
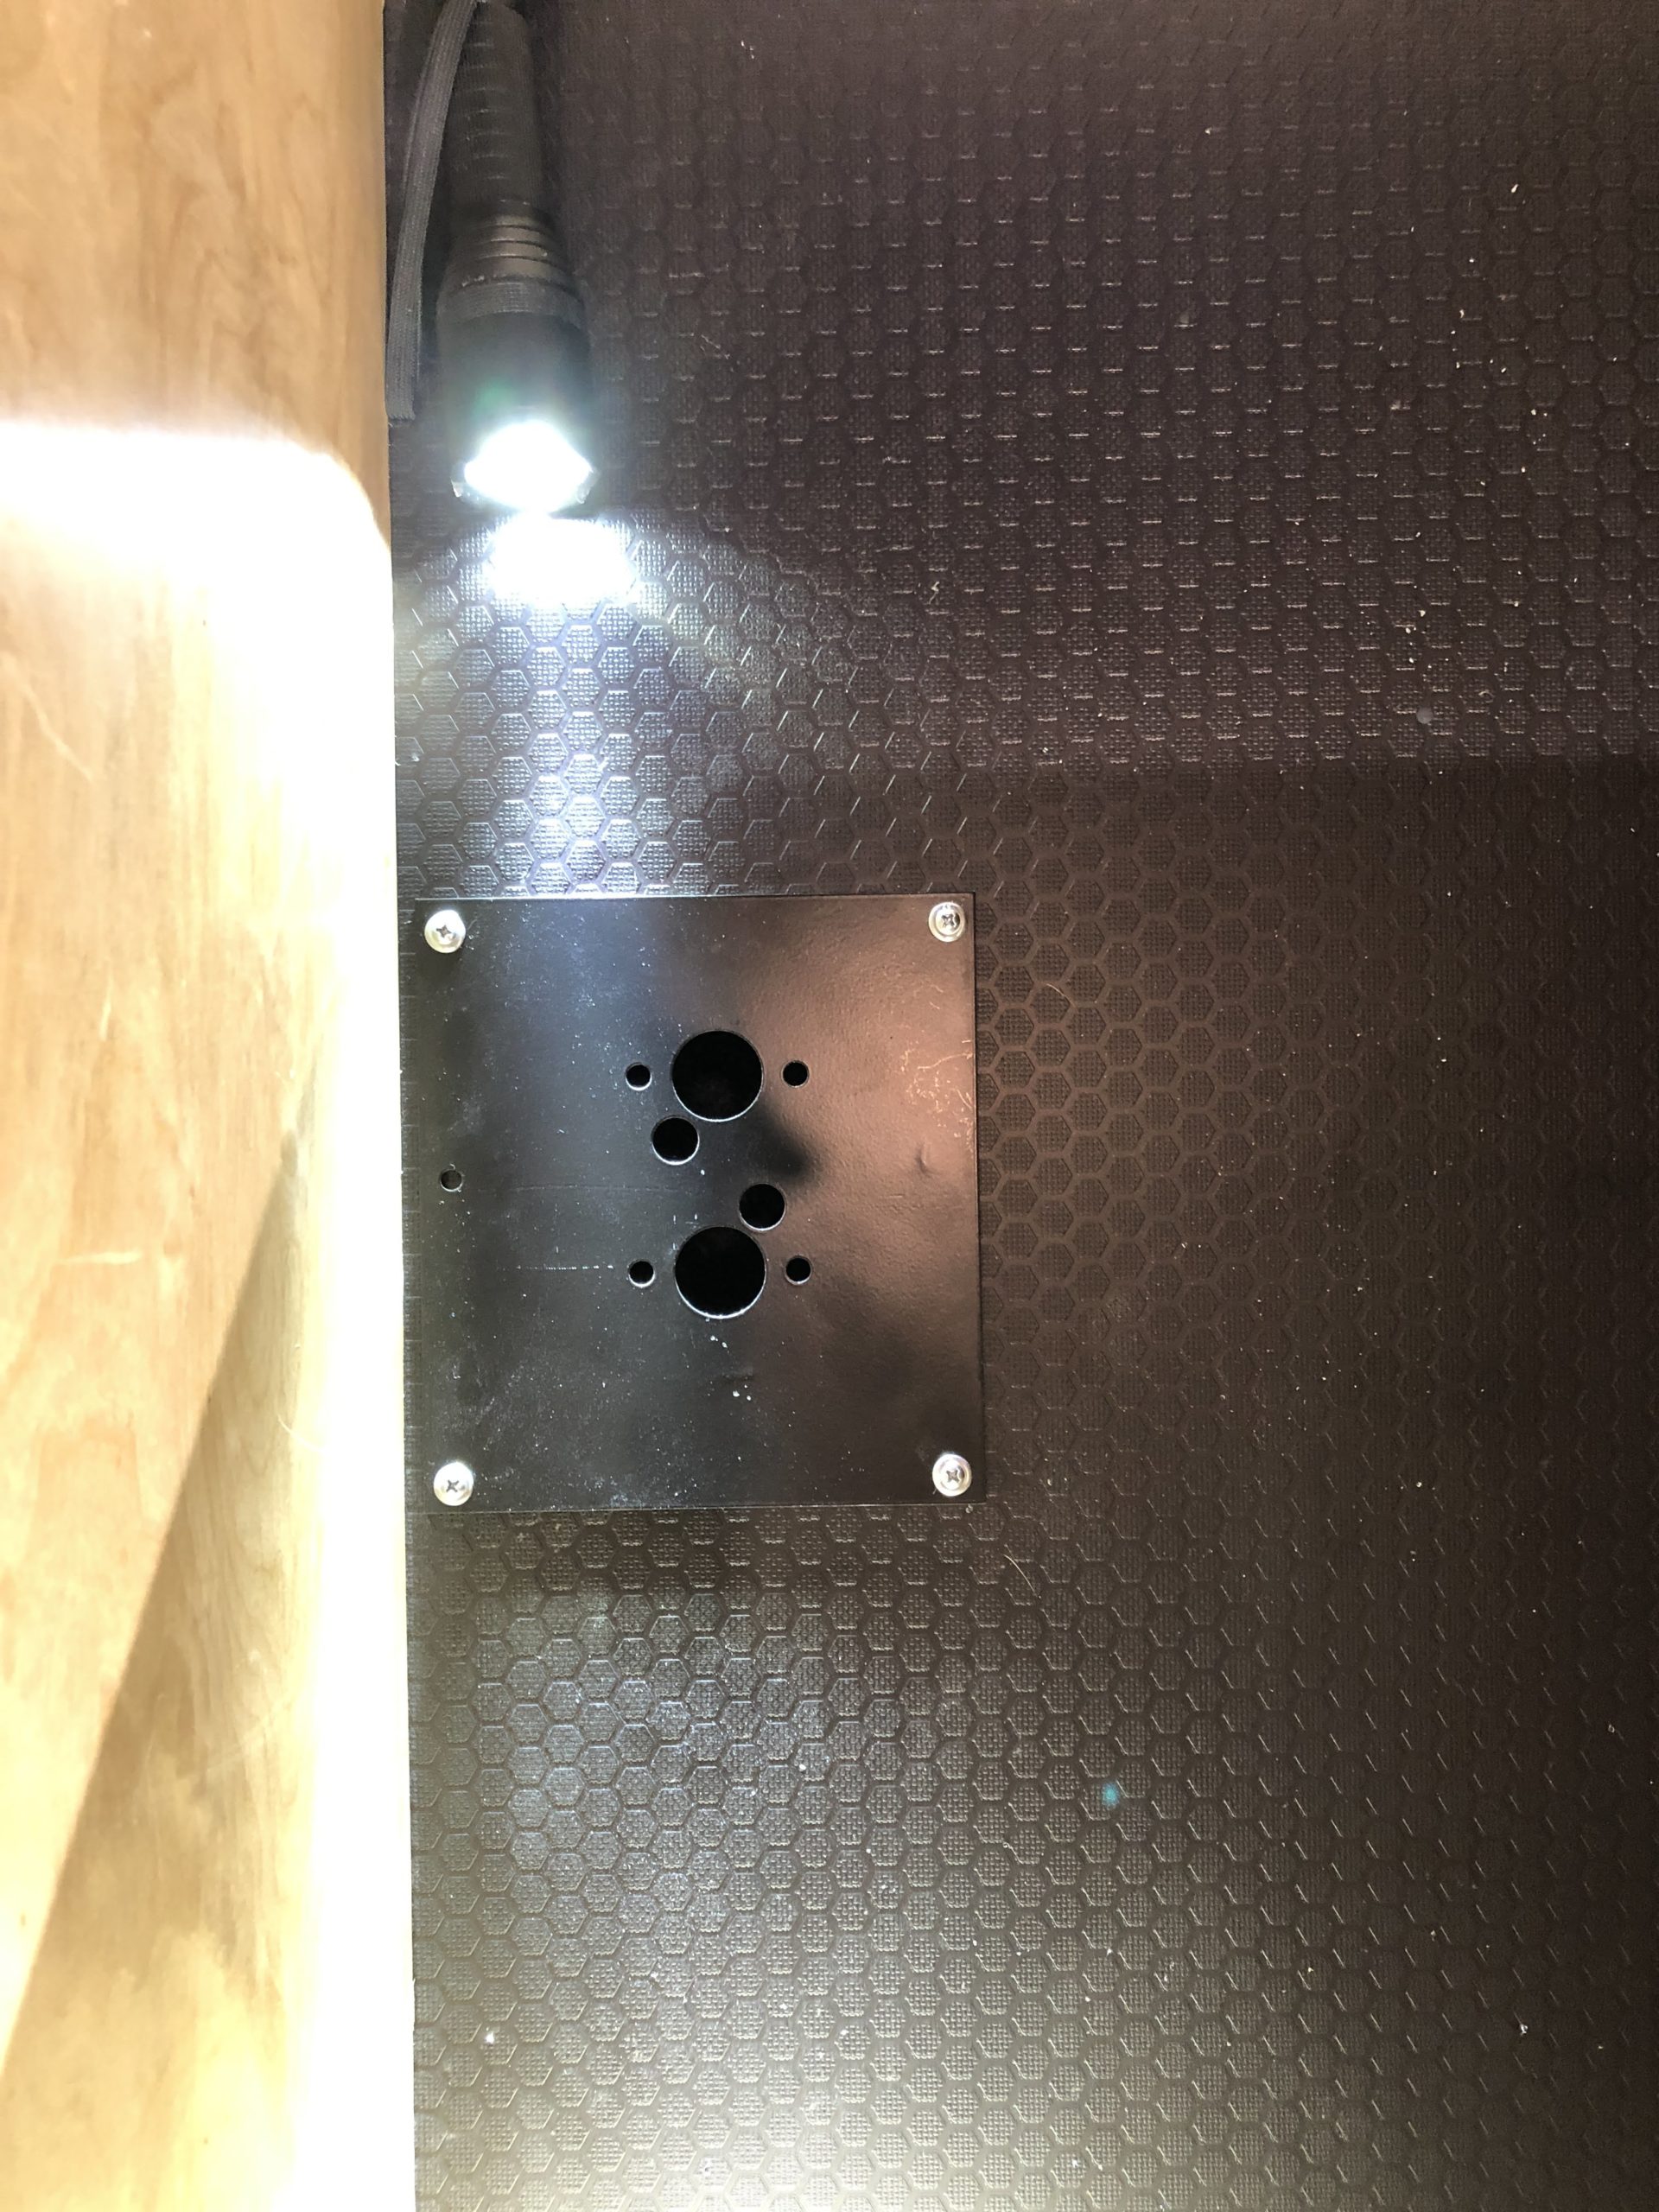
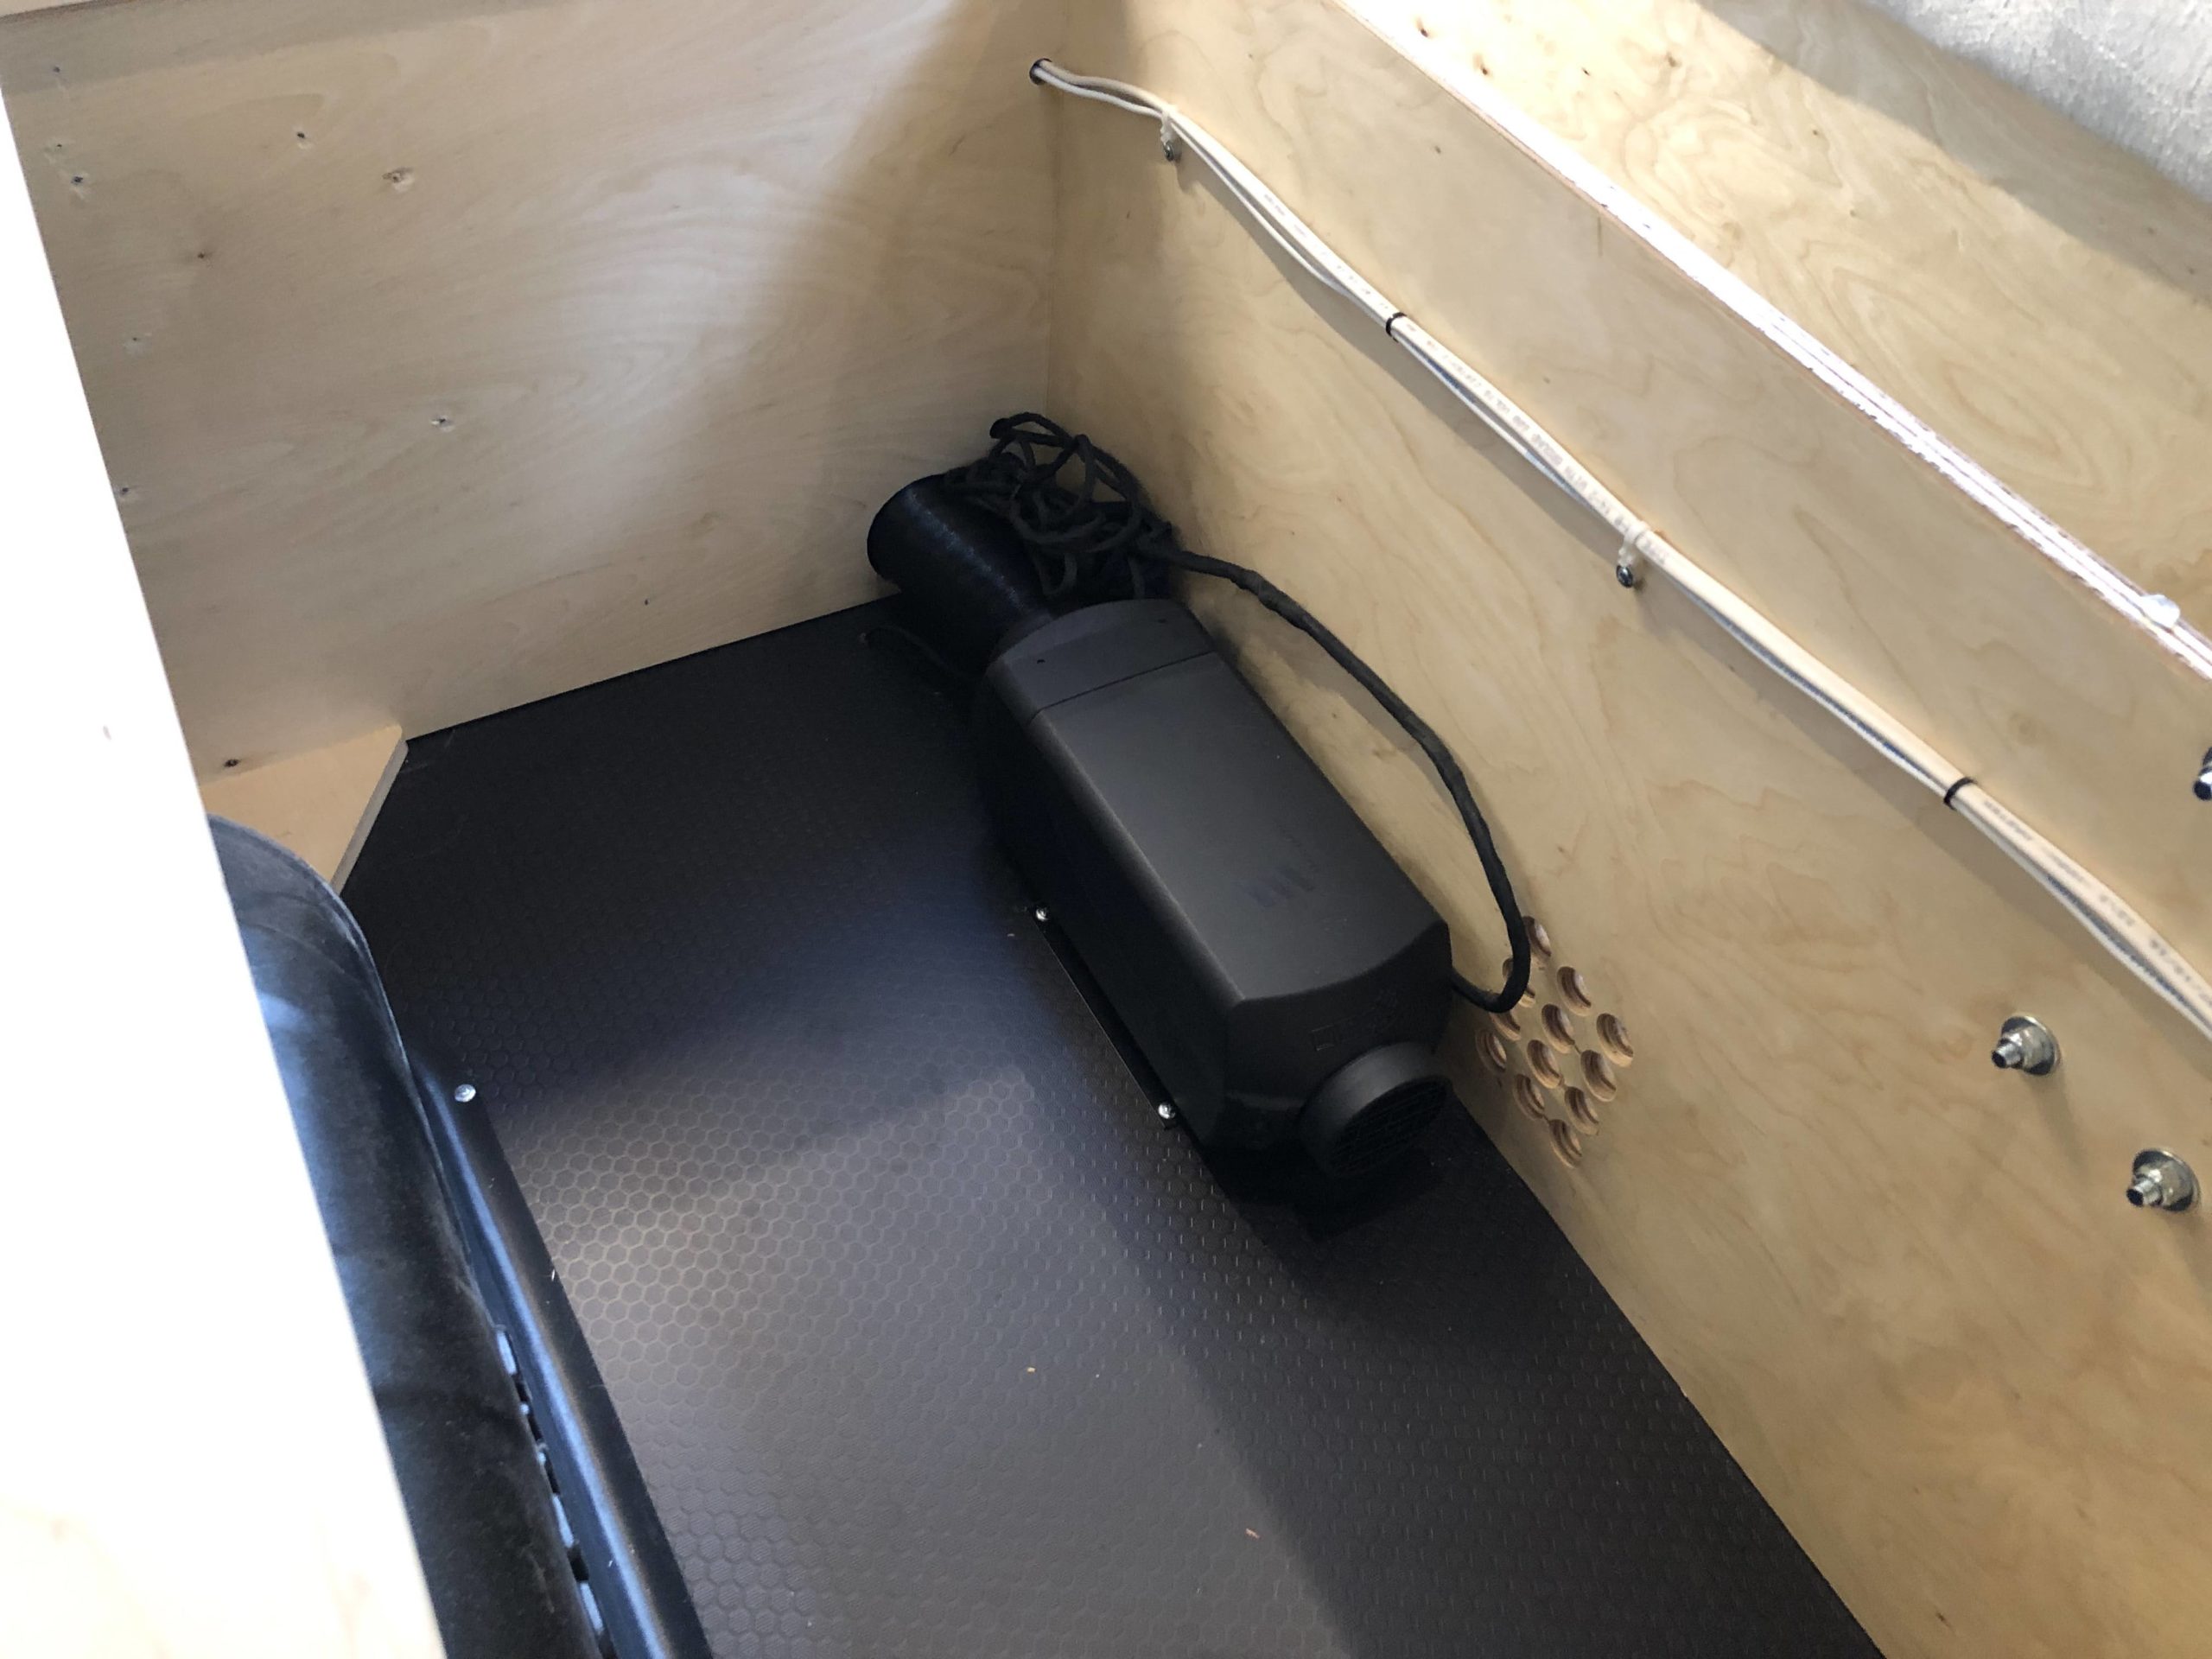
I decided to mount the heater unit under the driver side bed. We did much measuring and testing to decide on a location that cleared all the under van structure to ensure we didn’t hit anything when drilling the large mounting hole. I picked the through floor mounting plate as I already have the factory floor installed and needed to cut down through that and the floor of the van. Now it’s not for the faint of heart to pickup a 5″ hole saw and drill a large hole through the floor of the van. Before starting I drilled a small 1/8″ hole in the desired location as one final verification of the location we picked to mount the heater. The neat thing about using the hole mount plate is that you have nice easy access to all of the connections from underneath the van once installed. It makes for a very nice clean install.


Here is the heater mounted in the final location. later I’ll build a cover around it to protect the heater from other items stored under the bed.
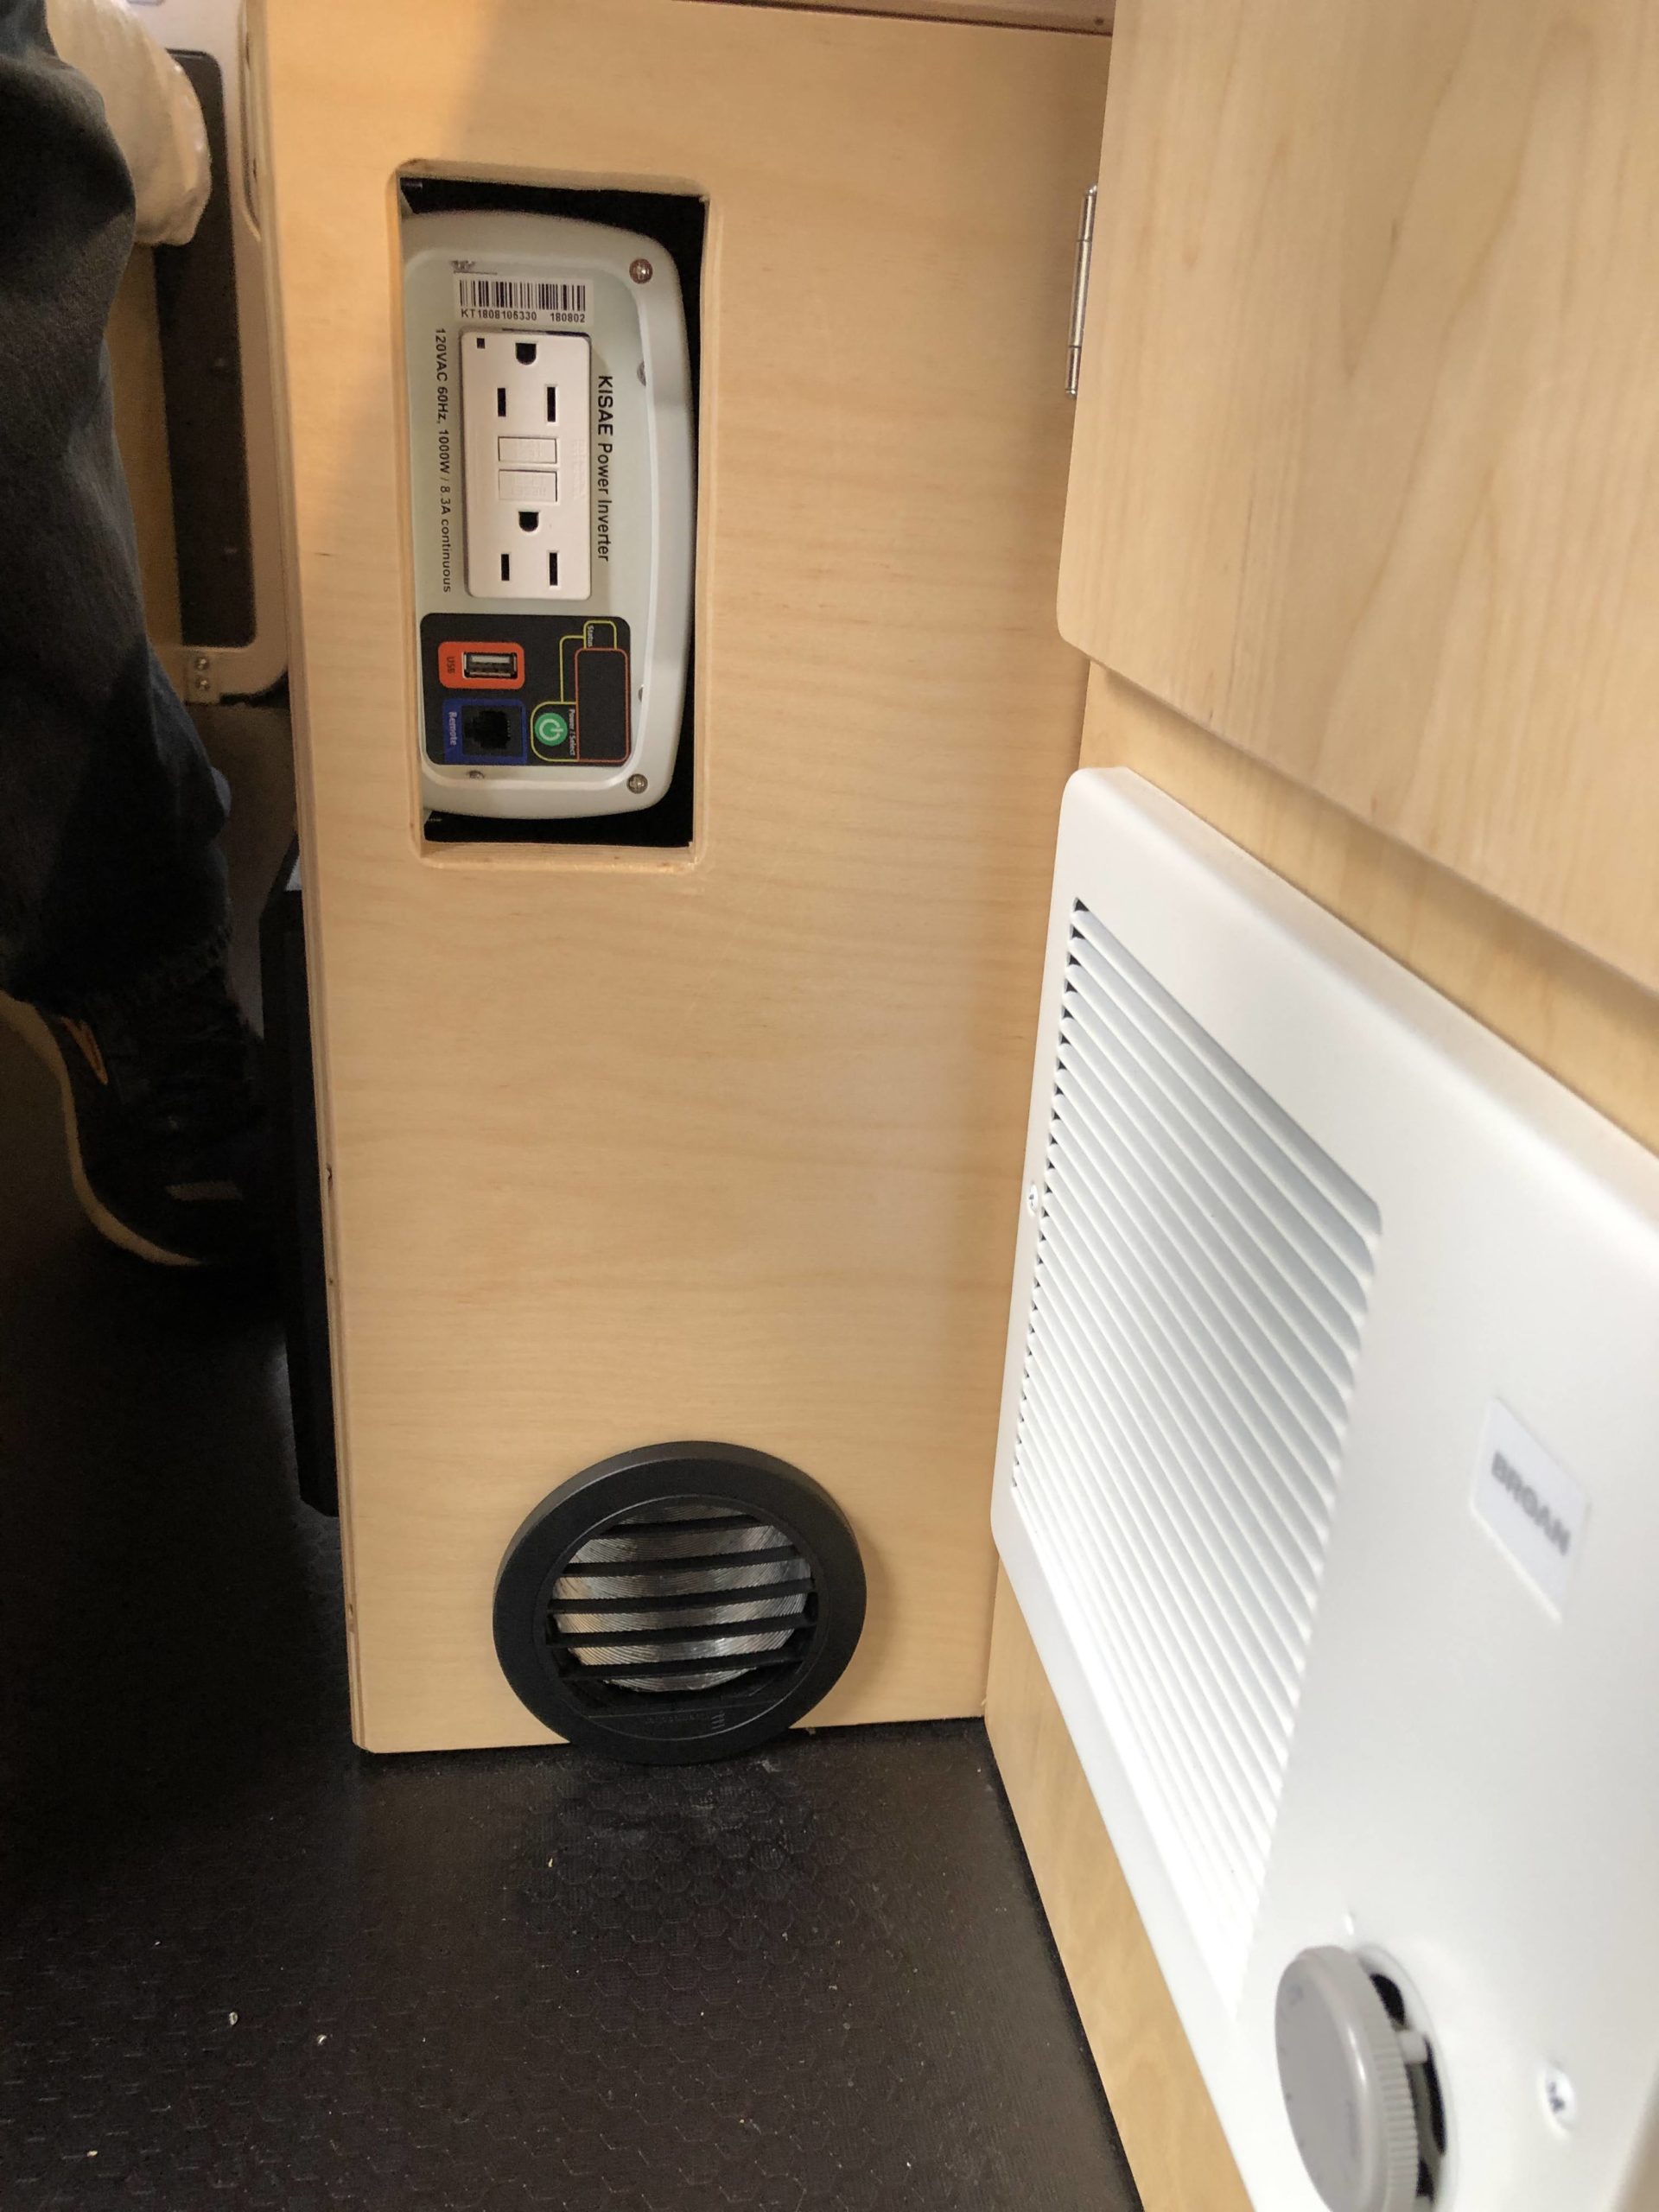
The output heat goes through my battery / electrical area and out the end of the bed. I figured that in the winter when I’m running heat, the residual heat can help warm my batteries! You can see the final output on the end of the bed base. Just to the right is my original heater a Broan bathroom unit. For now I’ll keep it in case we do have shore power and need a backup heater.


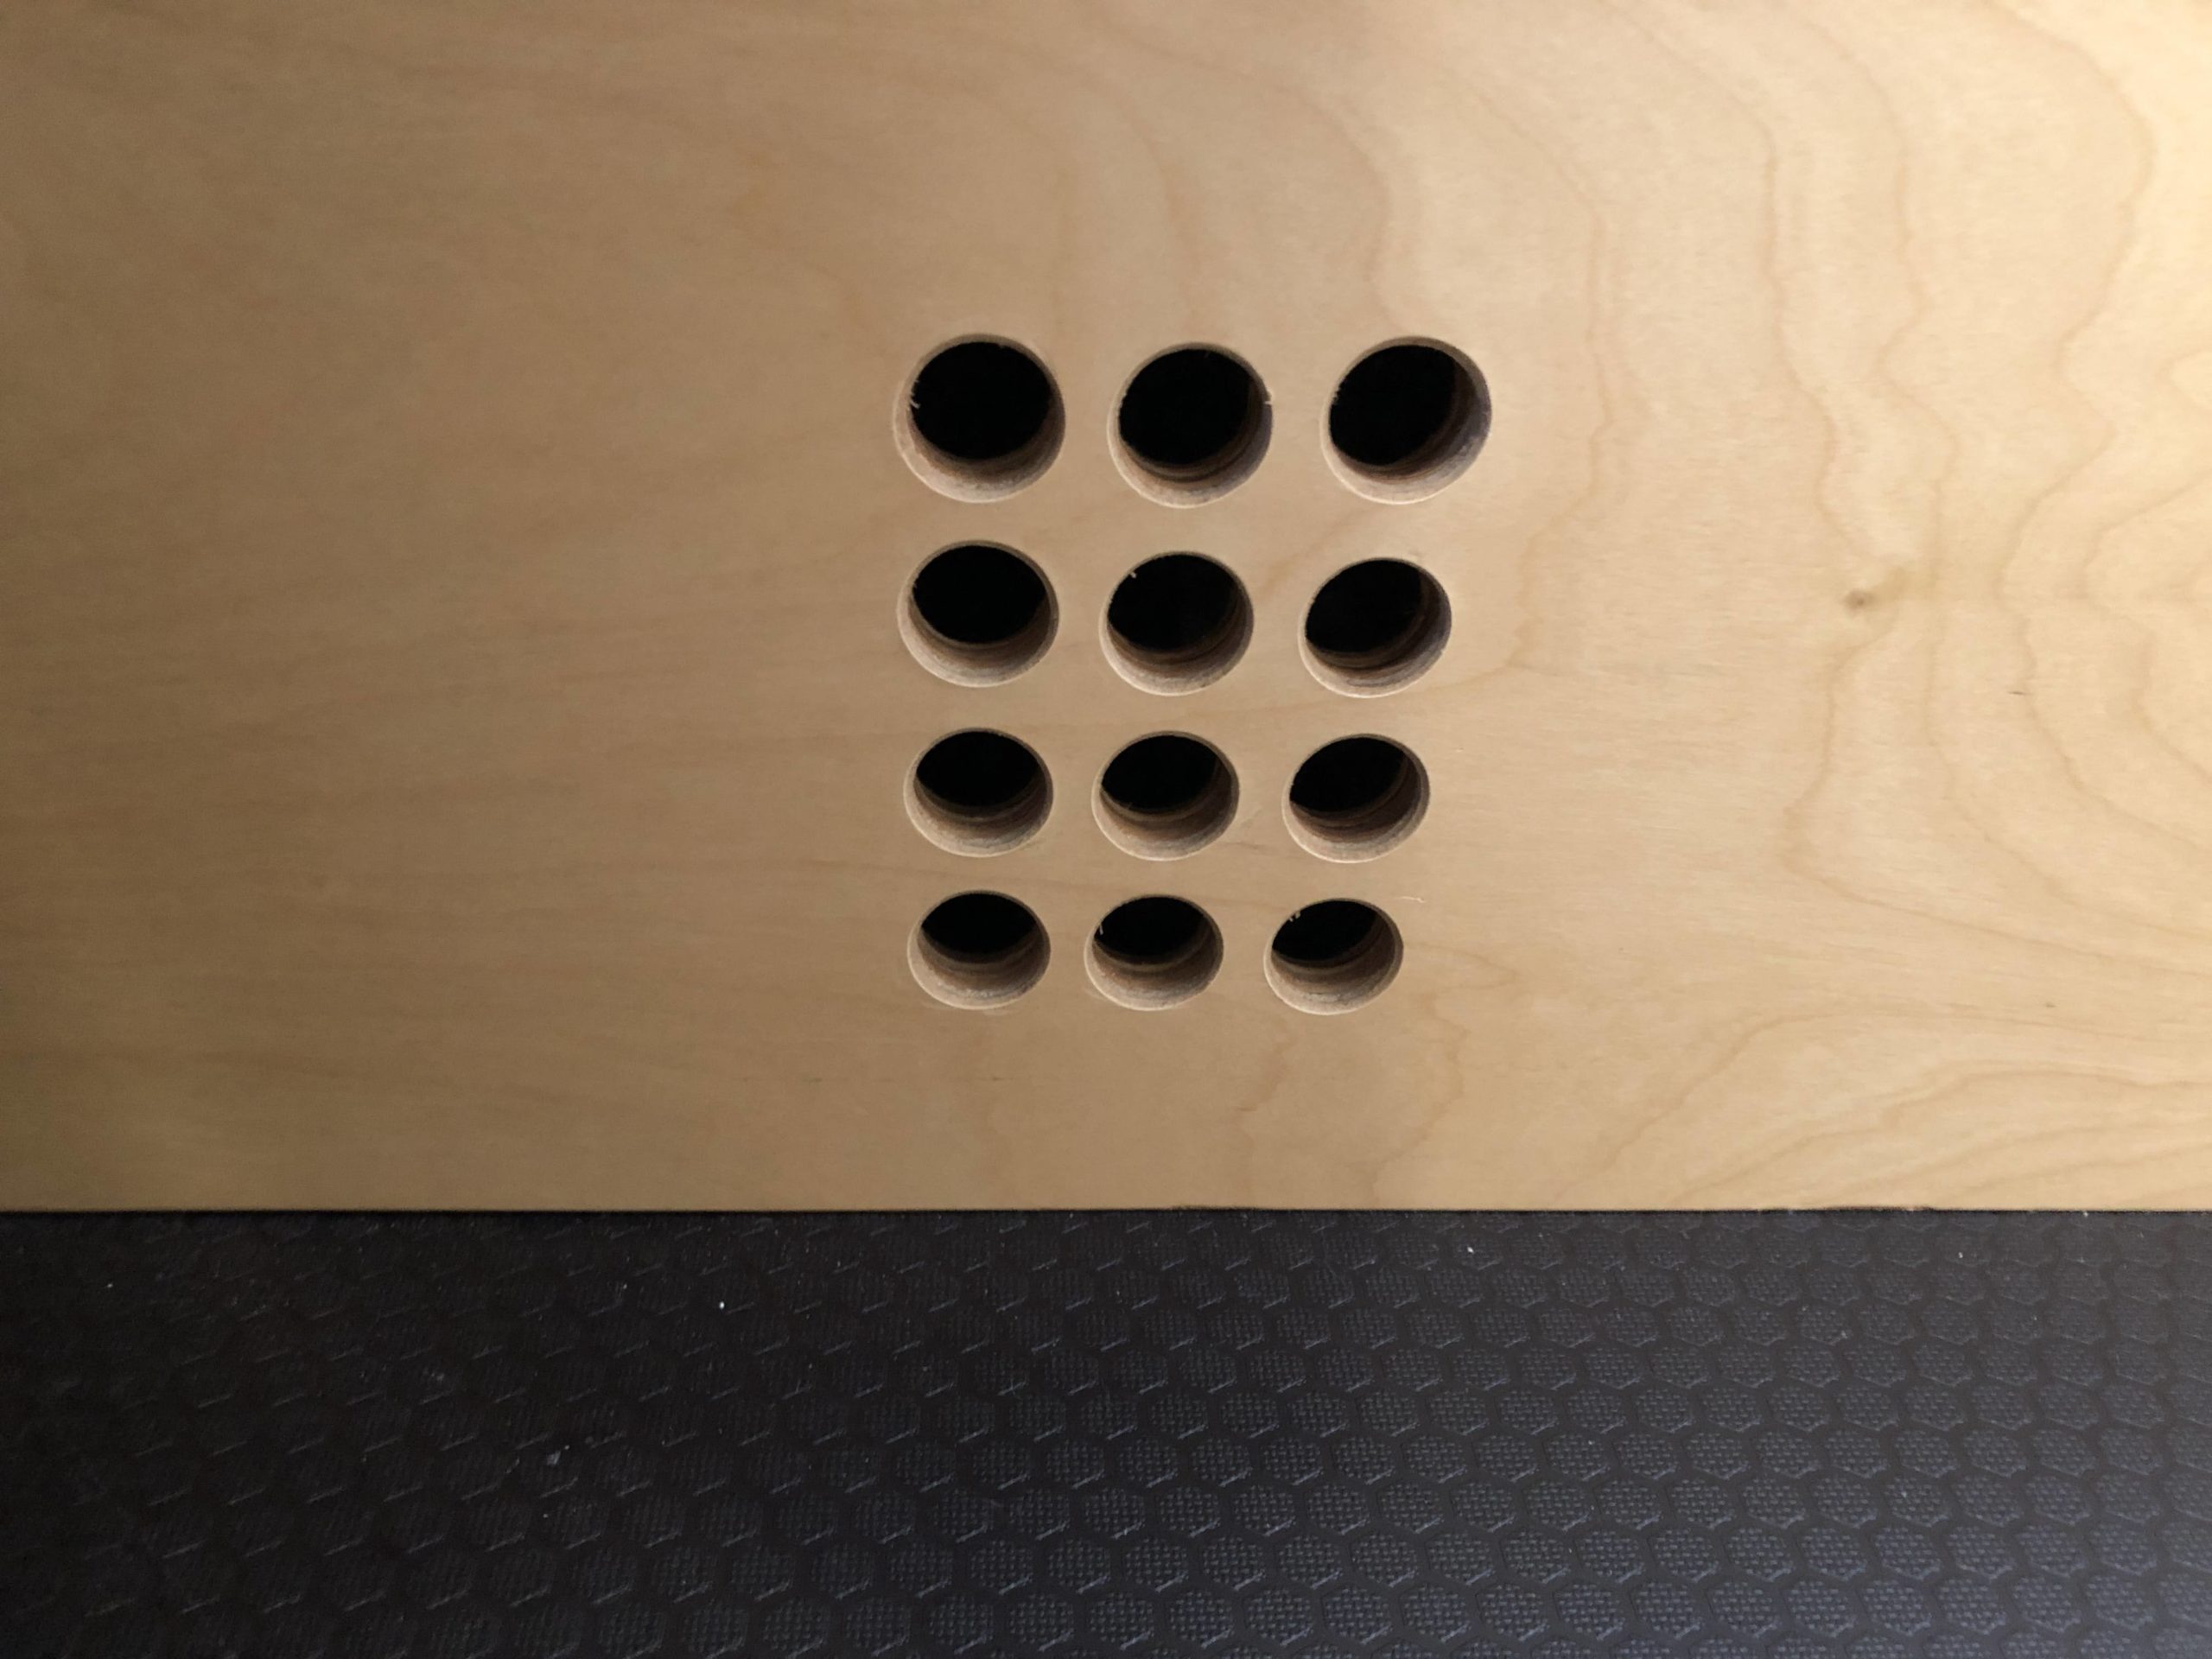
I opened up some holes in the sidewall to ensure that the return air had enough capacity to feed the heater.
We used 3m urethane to seal around the mounting plate from underneath to ensure everything stay sealed up.
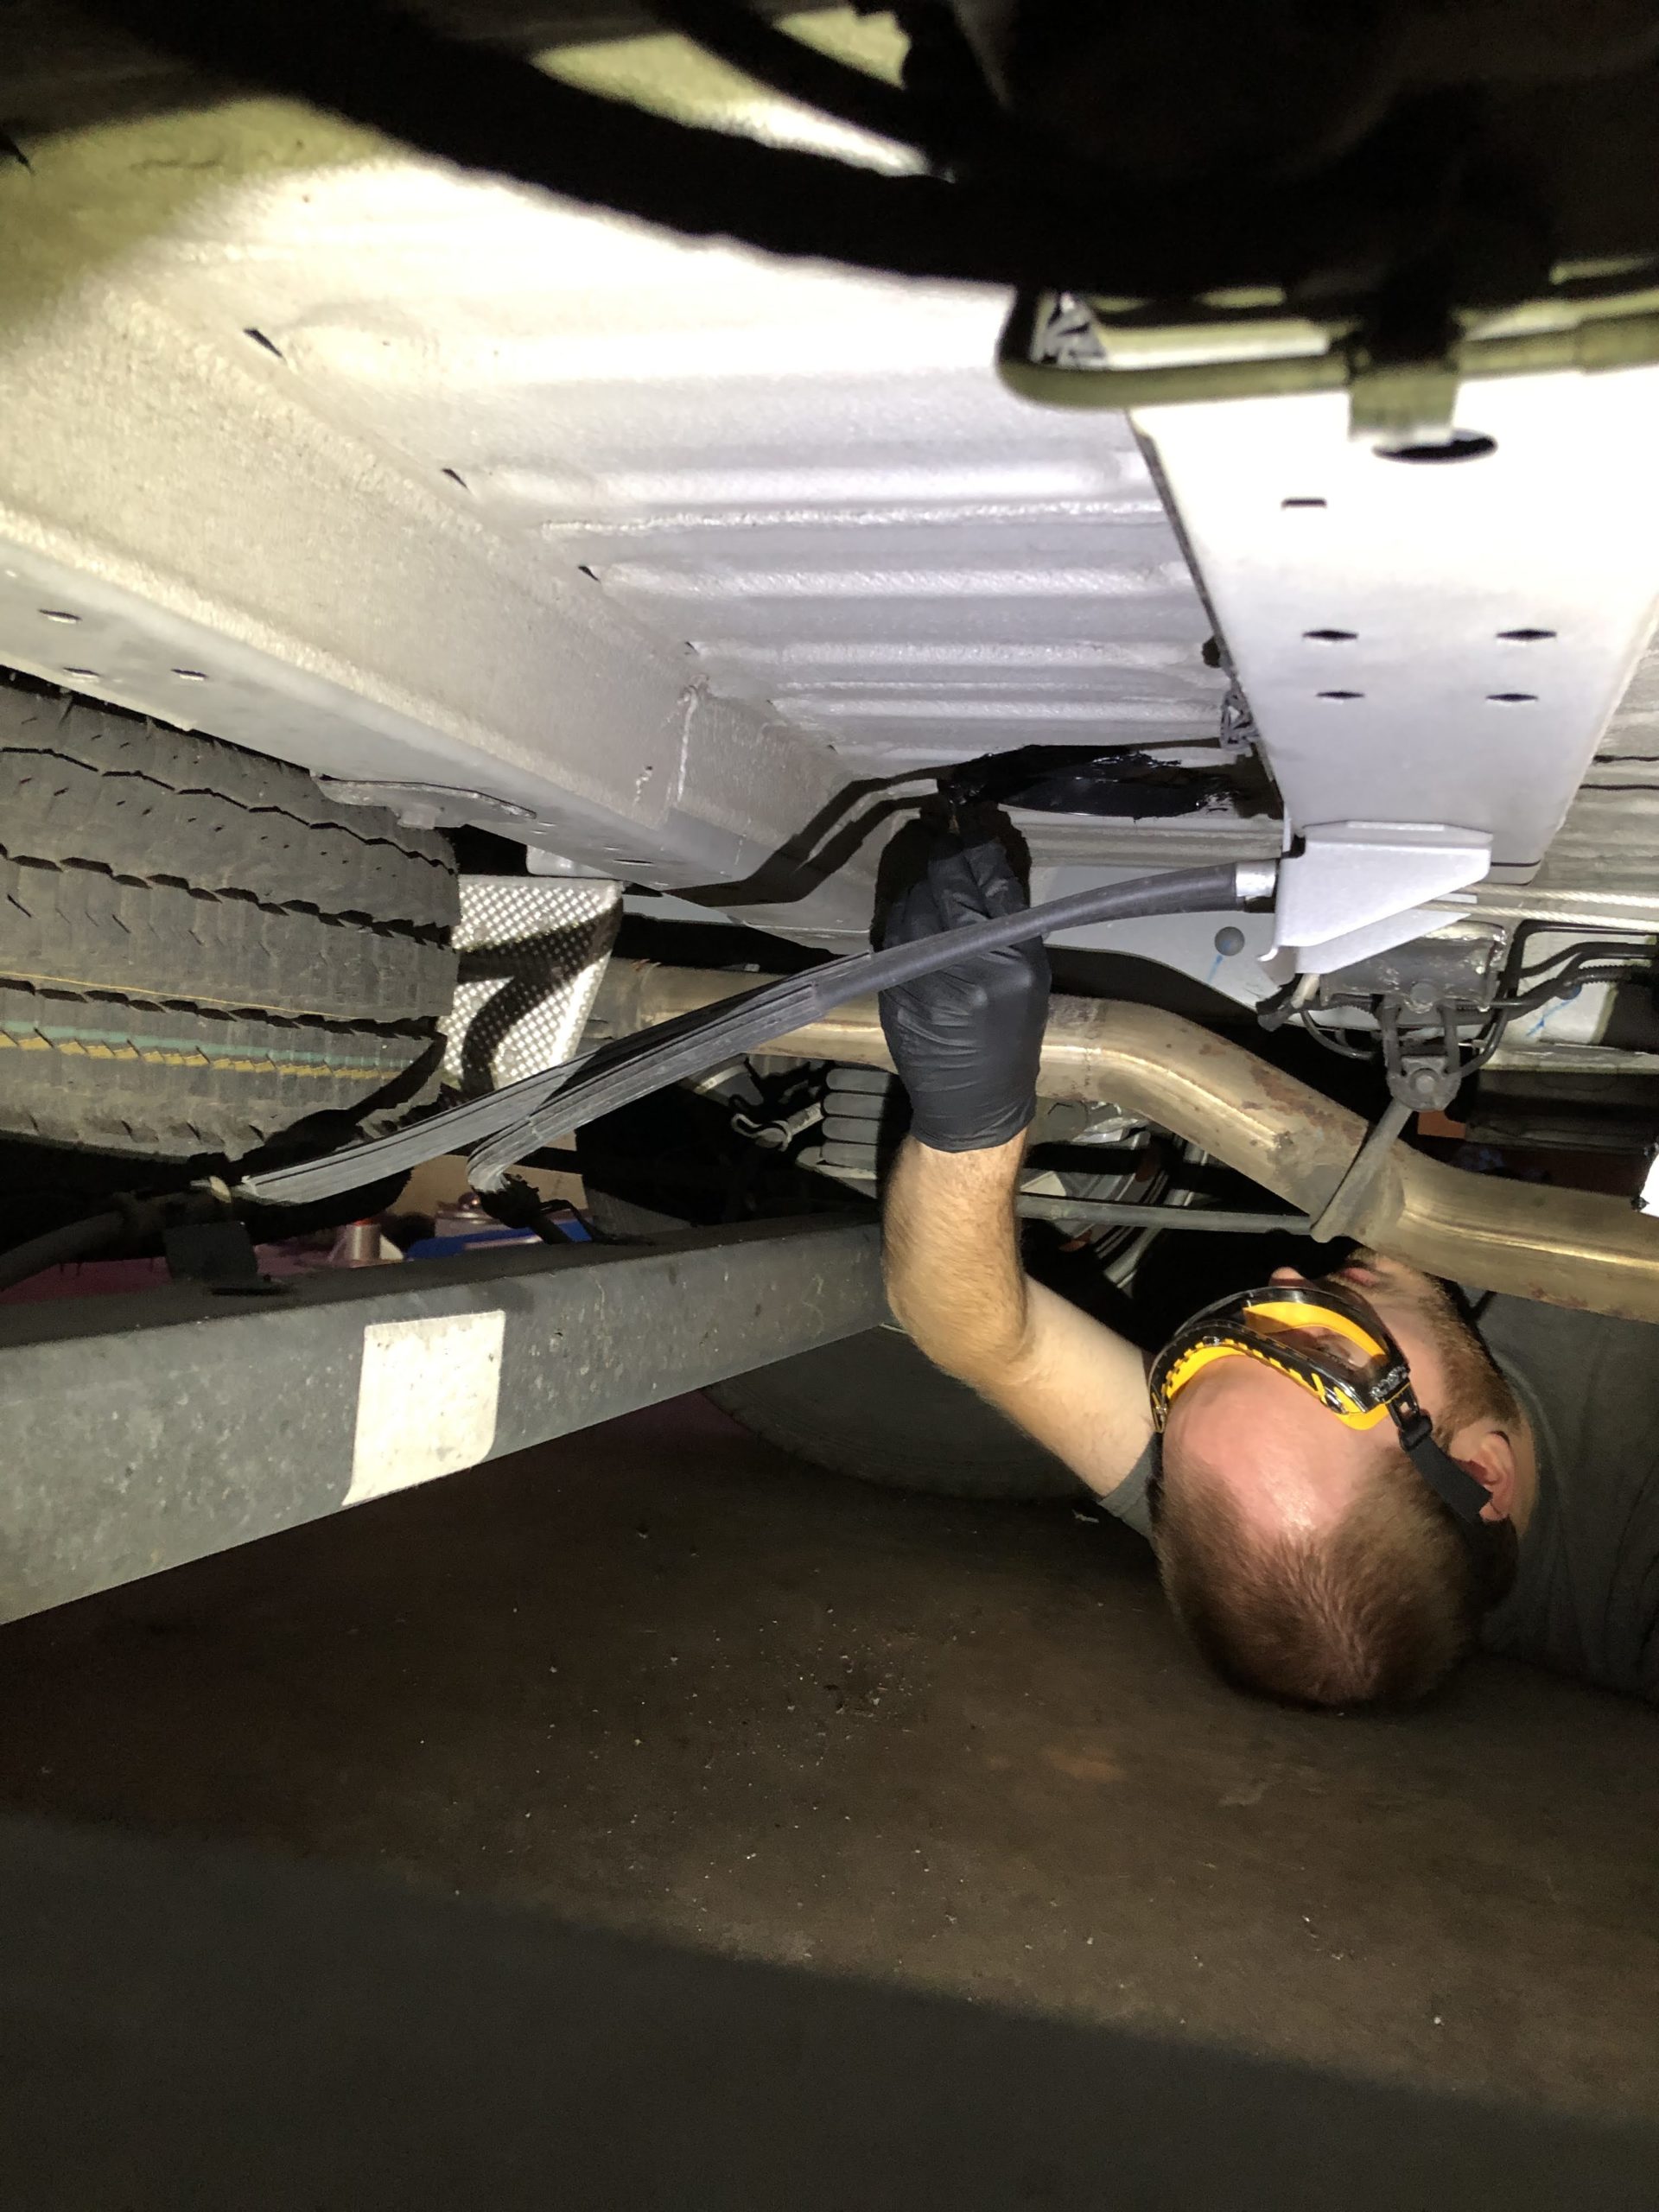
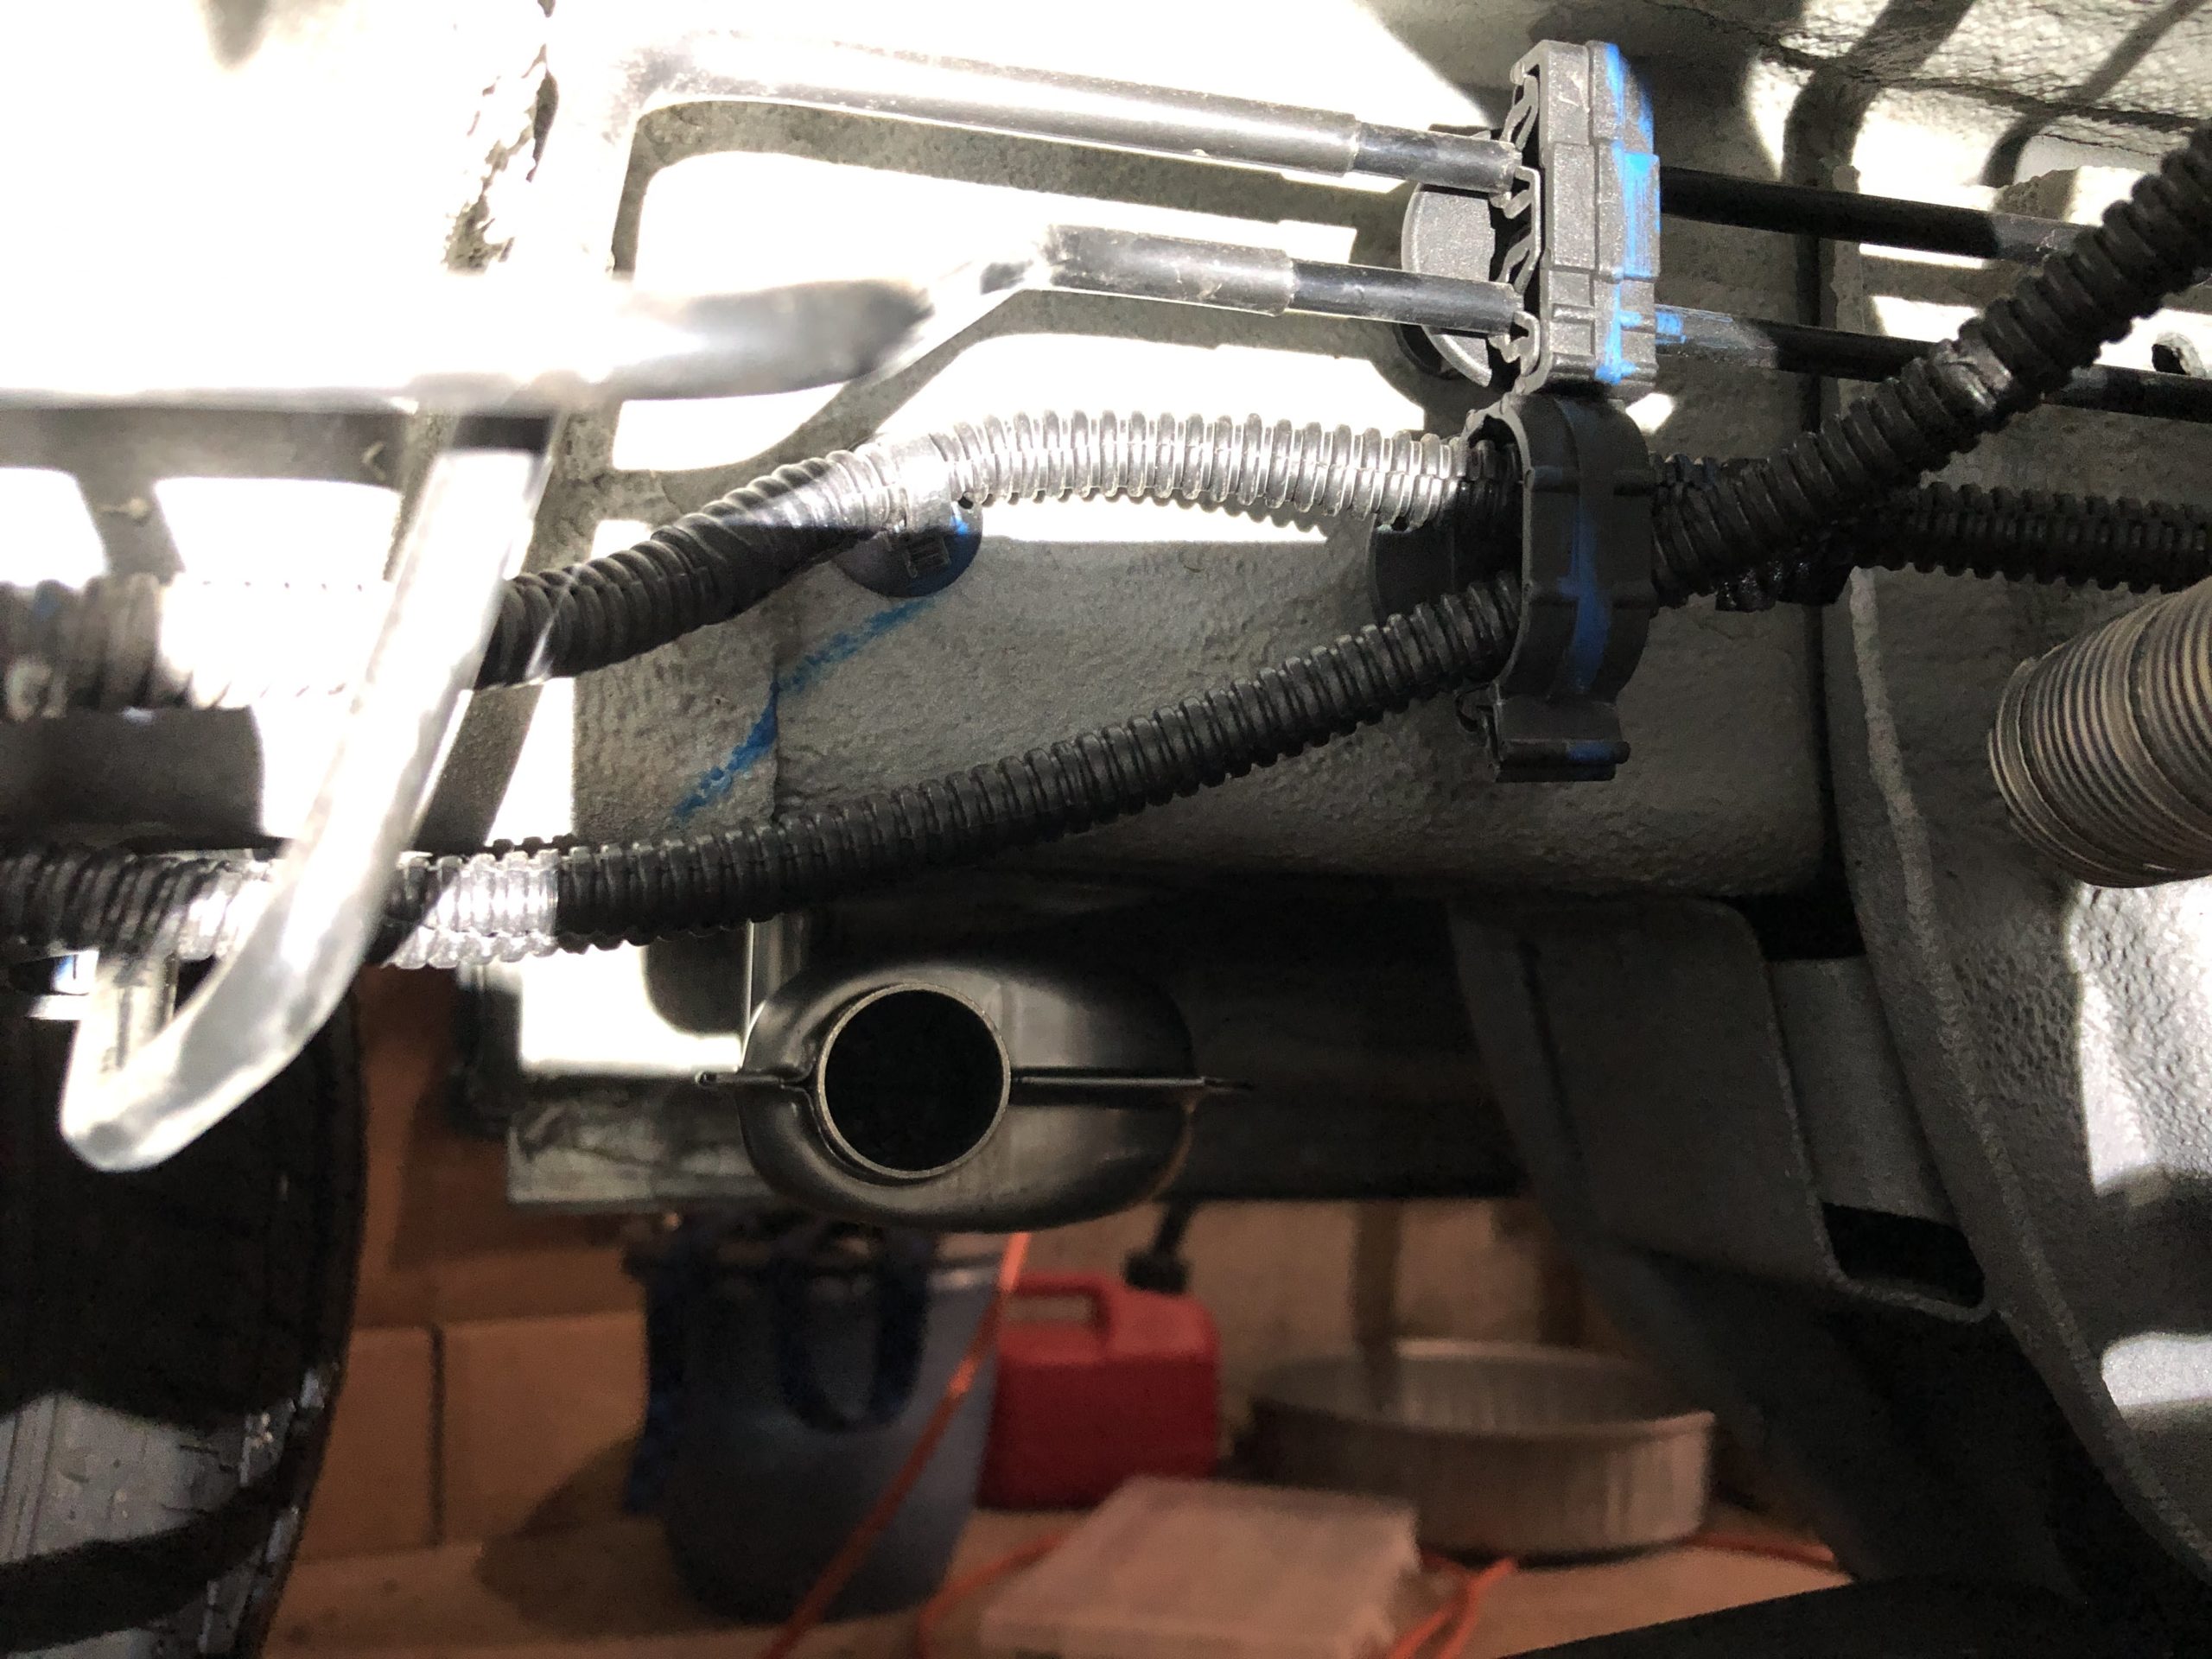
The fuel lines were run back under the van from the tank using the existing wiring mounting points. This ensures you stay away from the exhaust and keeps it secure and in place.


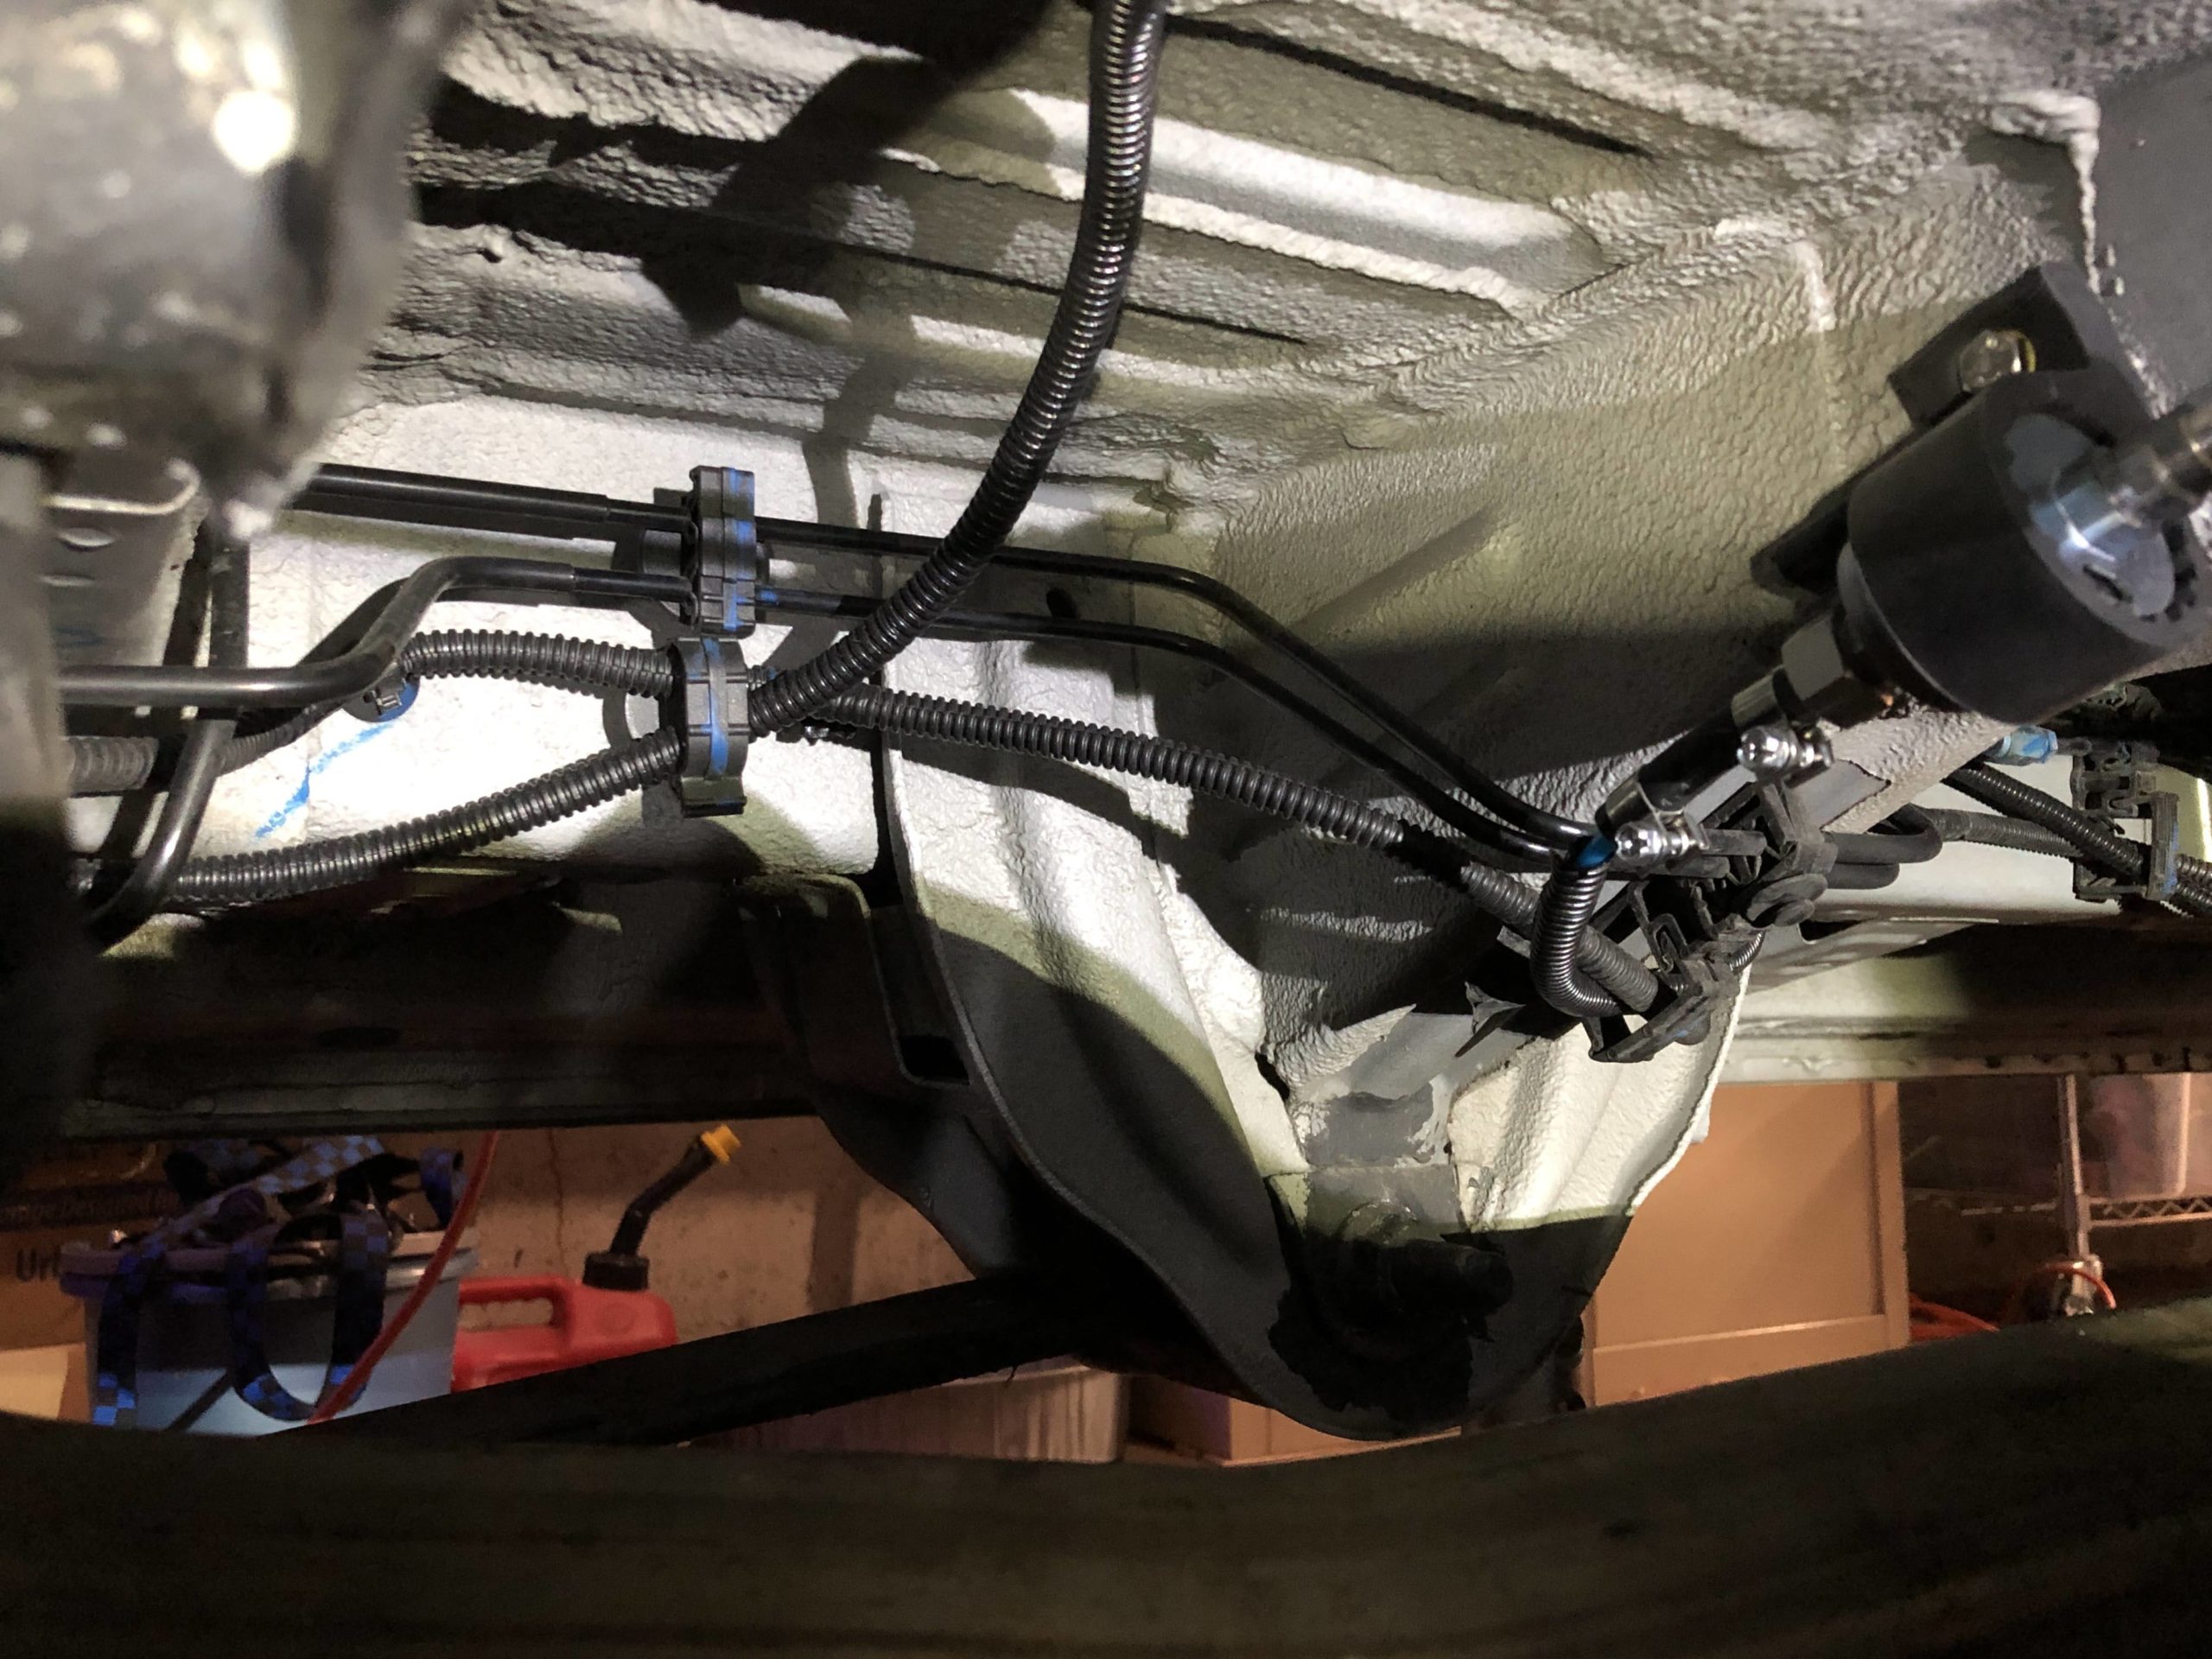
We used one of the mid van support beams to mount the fuel pump on the way back towards the heater.
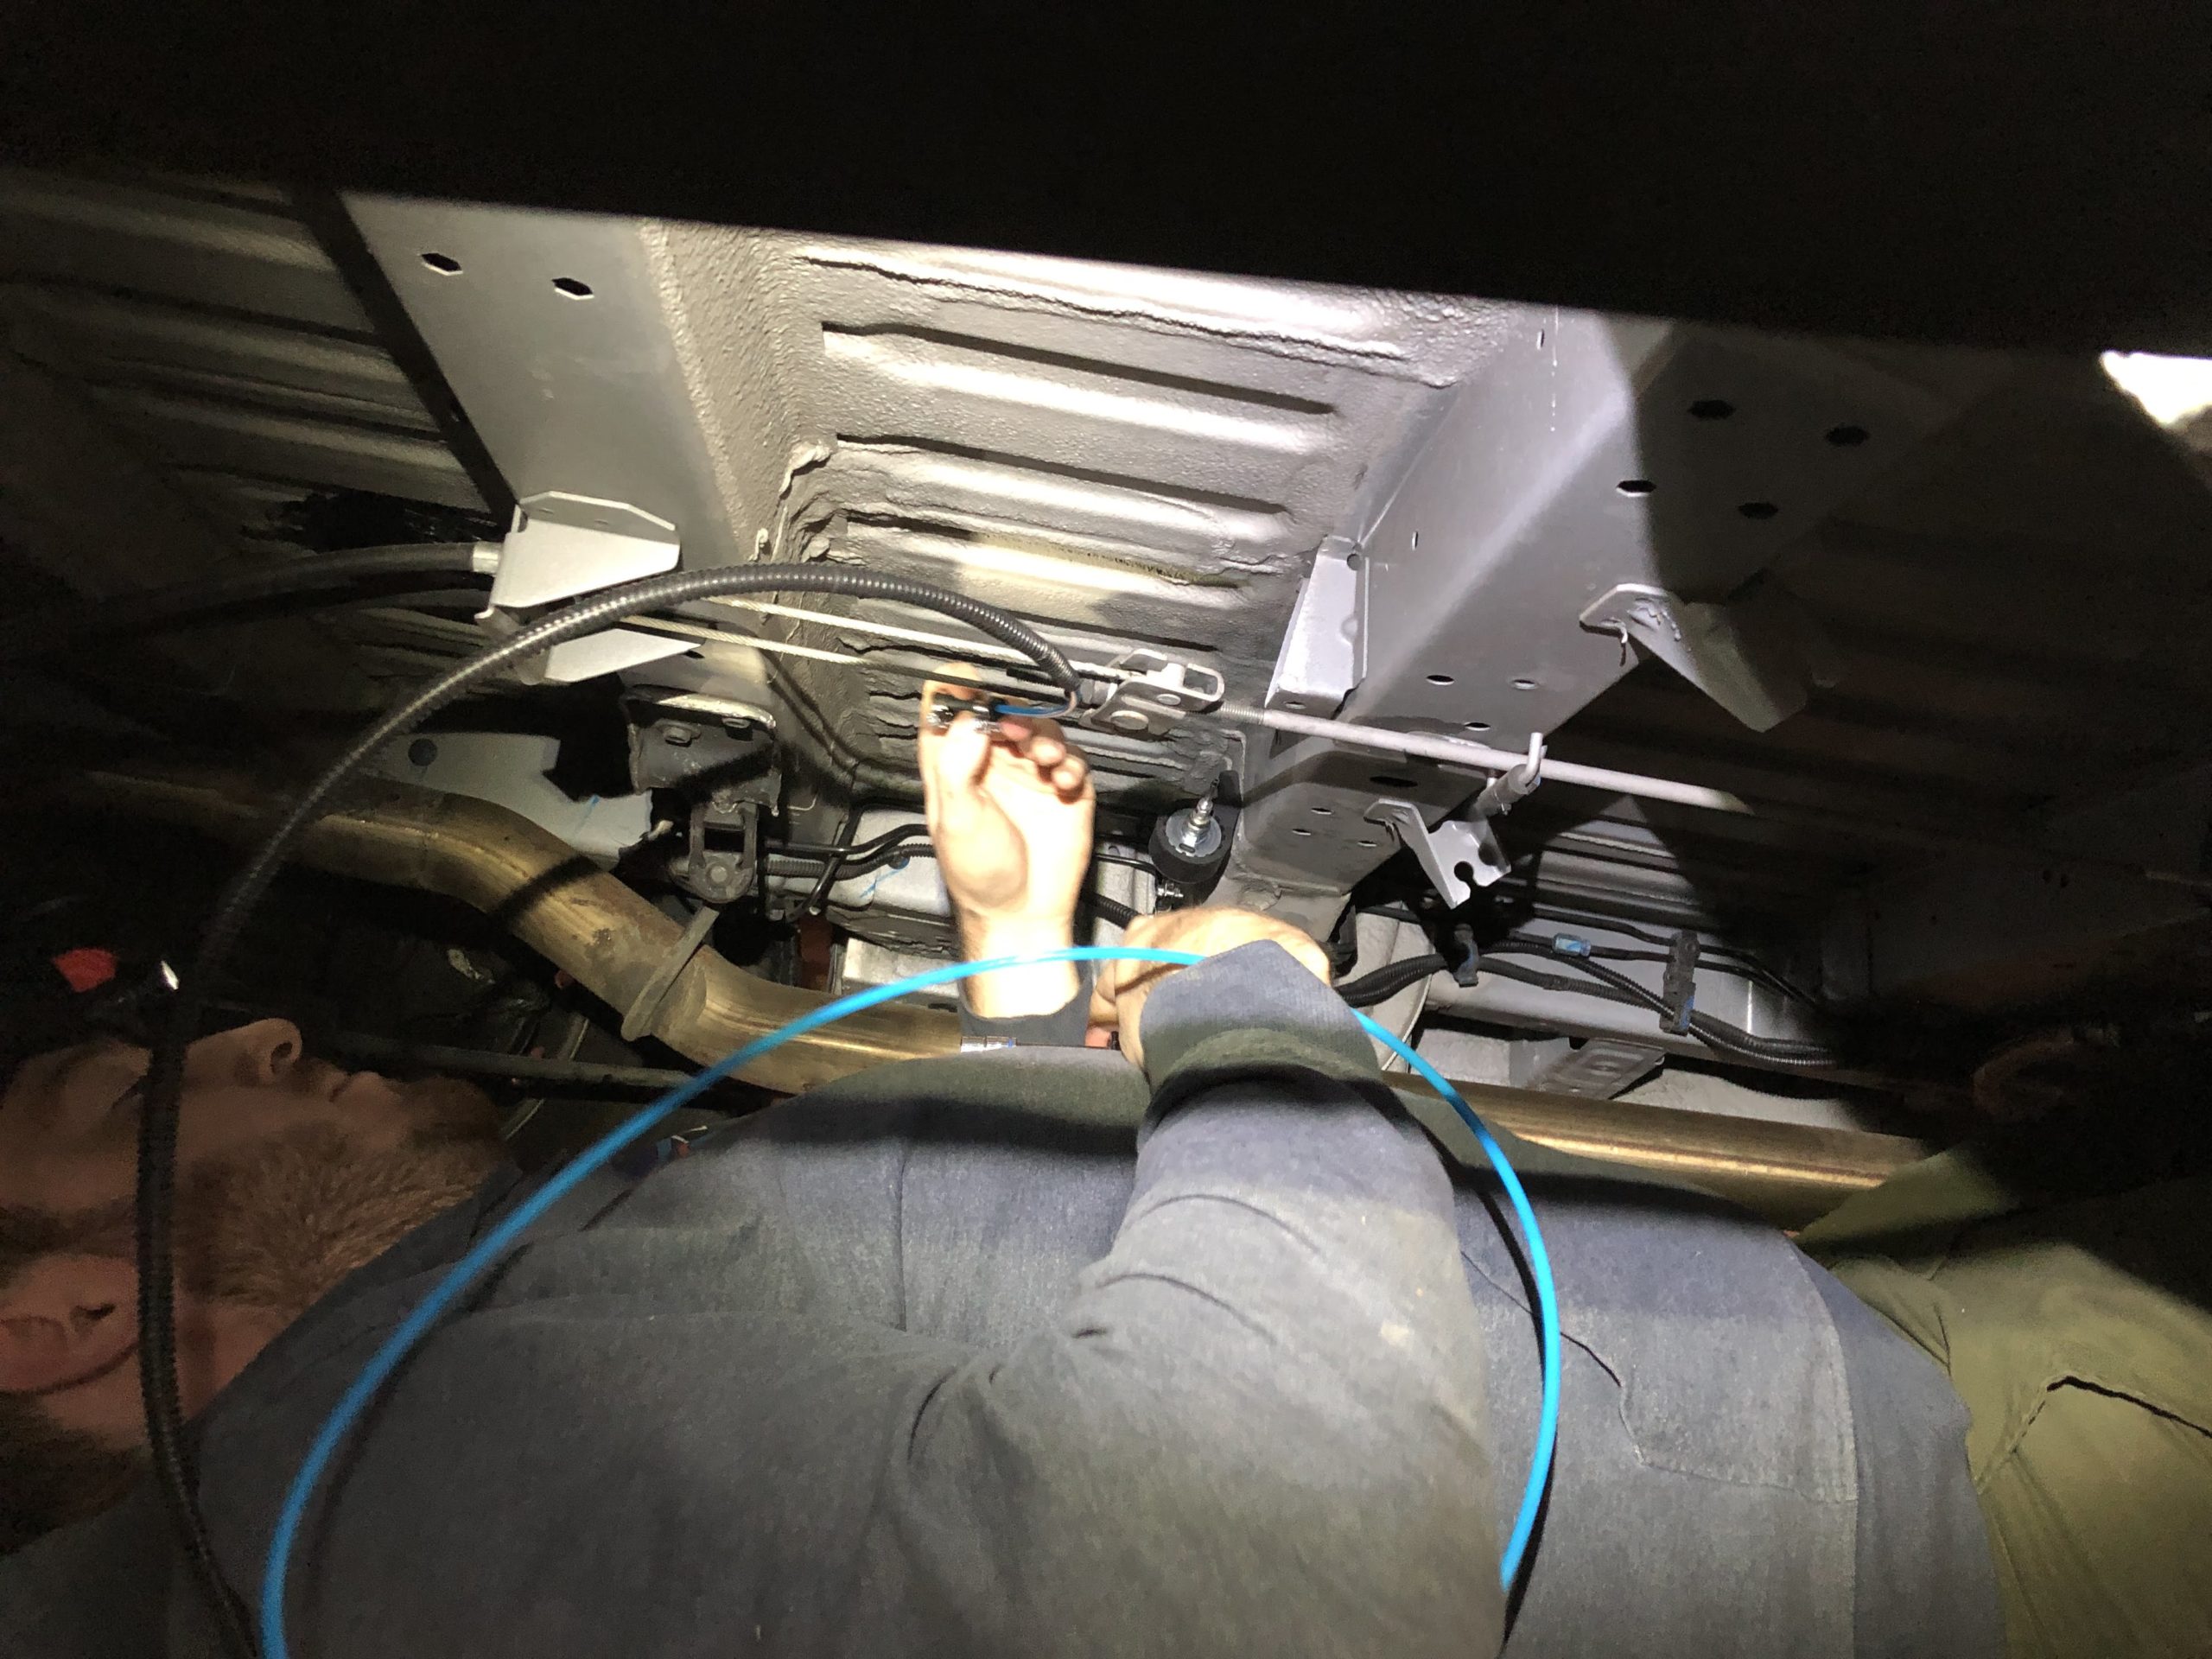

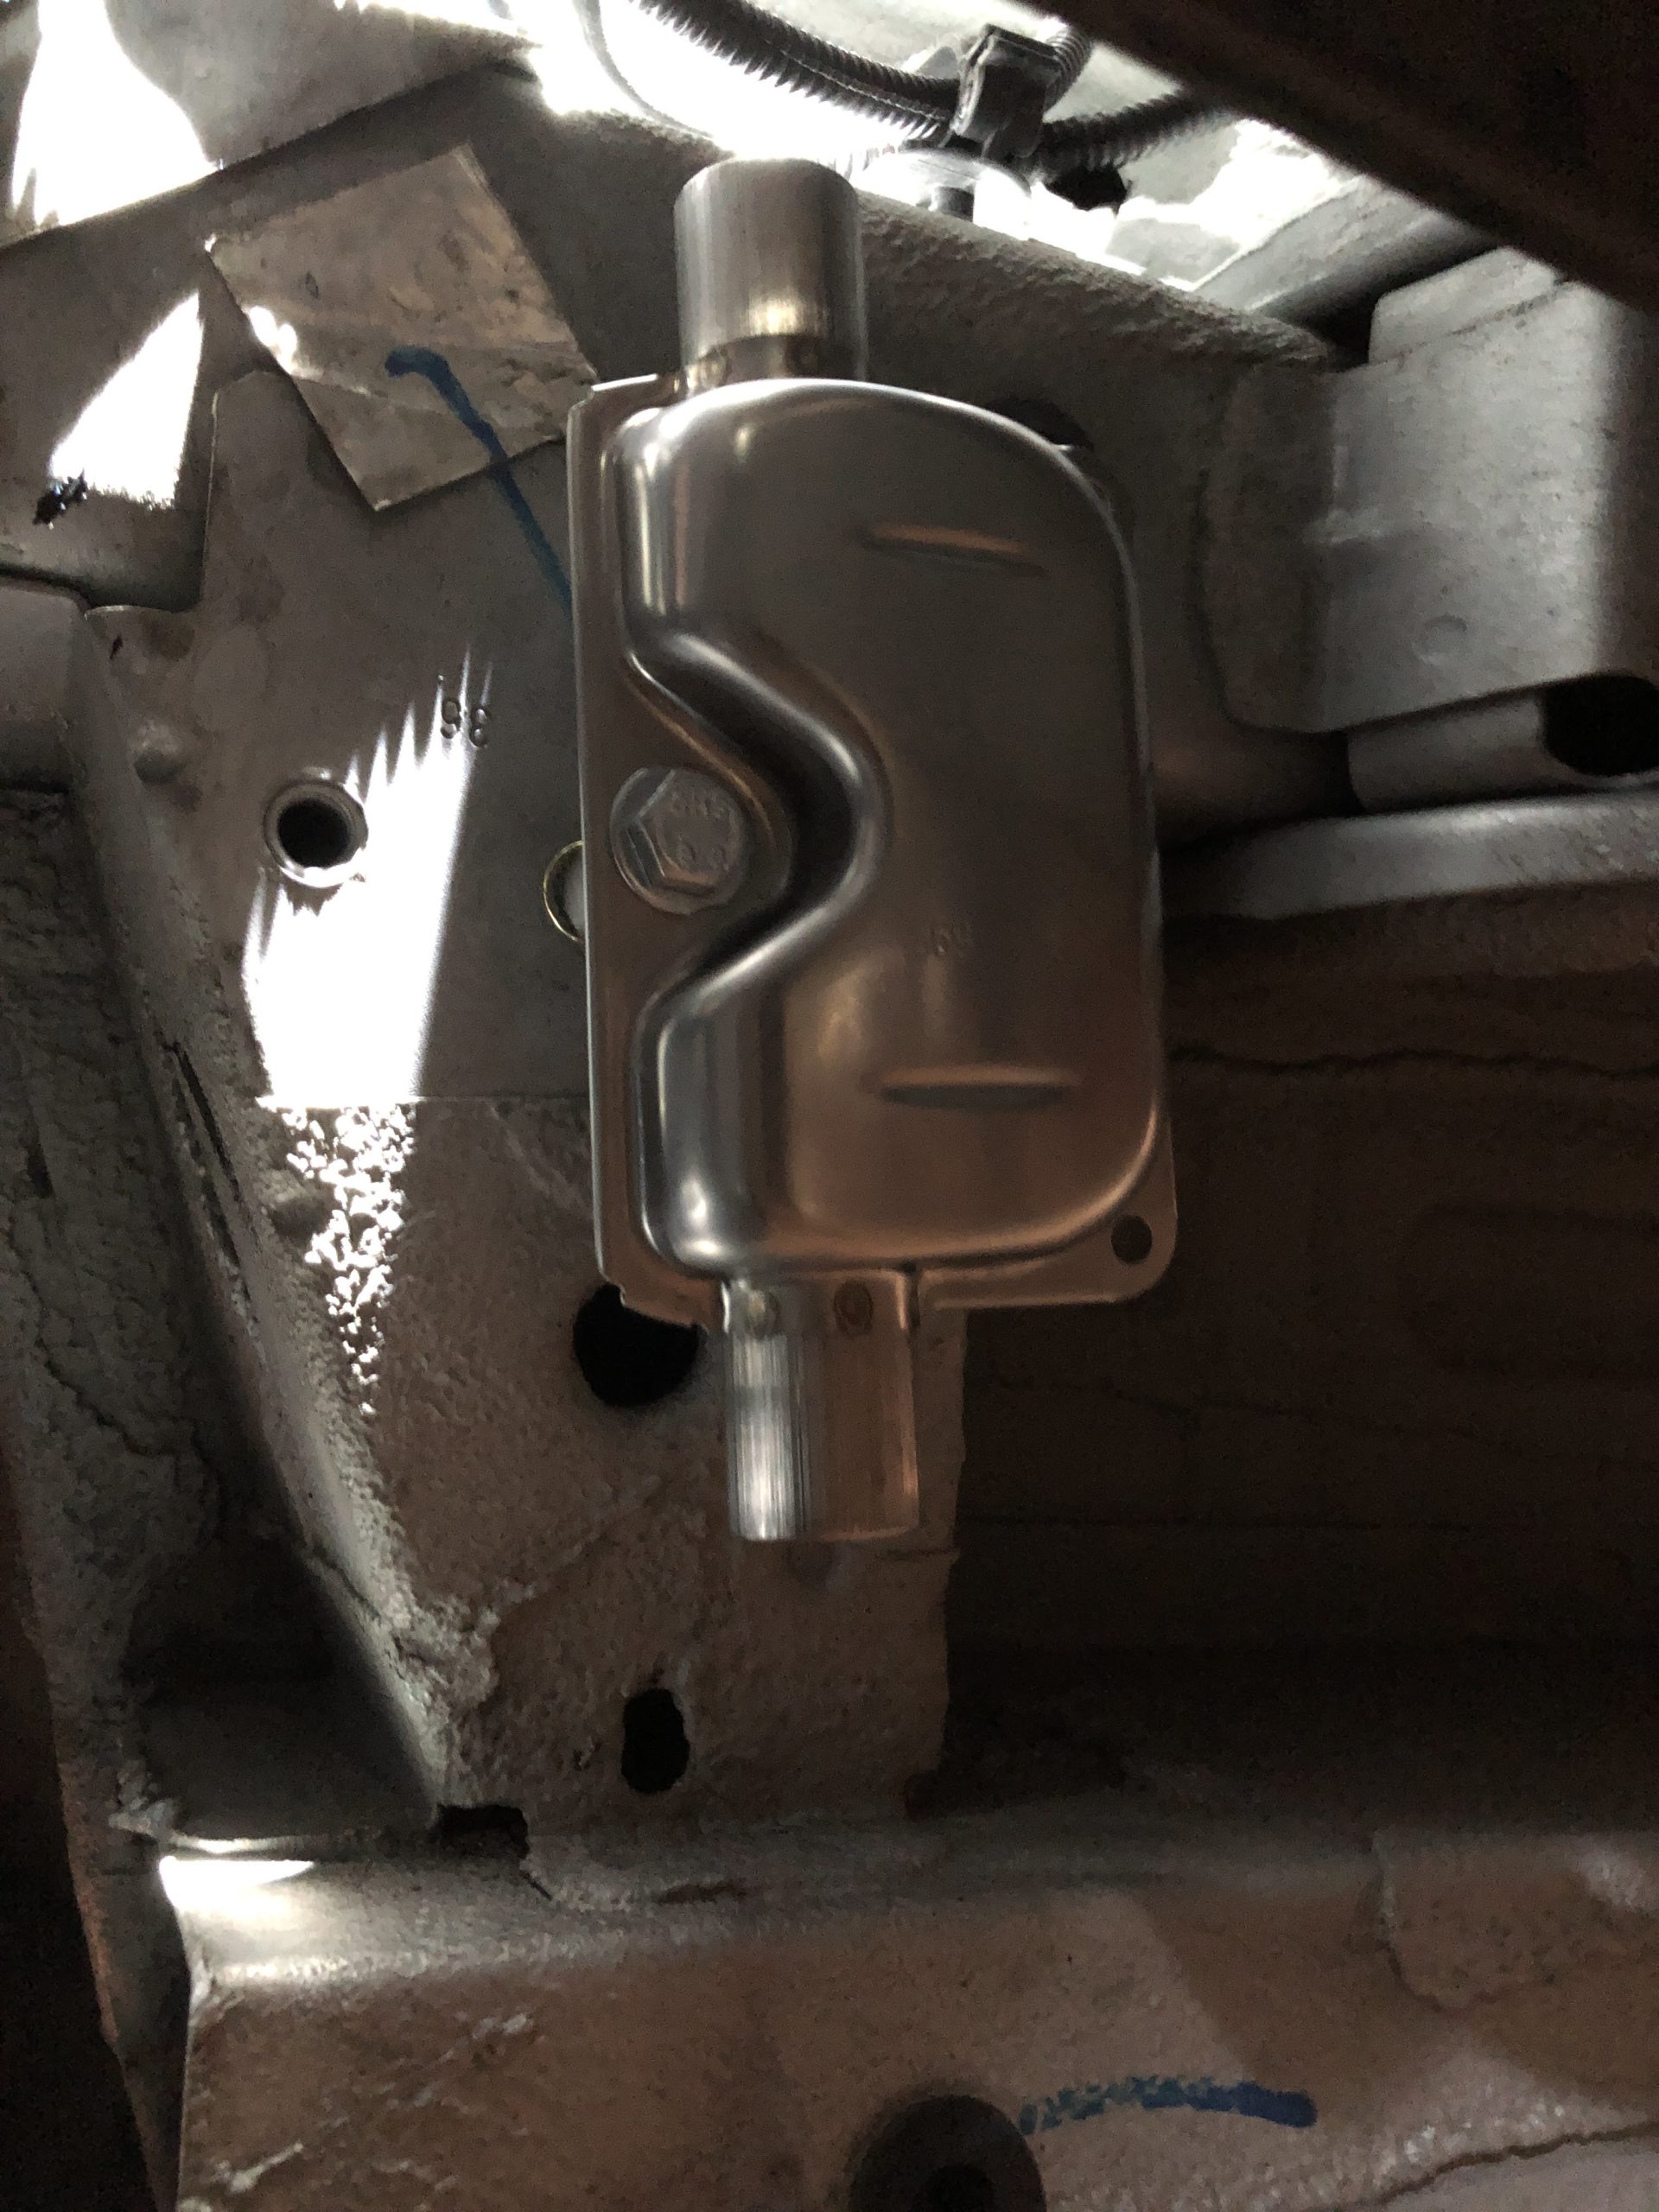
The exhaust system was mounted using a rivnut into the drivers side support beam. The goal was to get the exhaust to exit the drivers side just in front of the rear tire. This ensure the exhaust is as far away from opening windows etc when running.


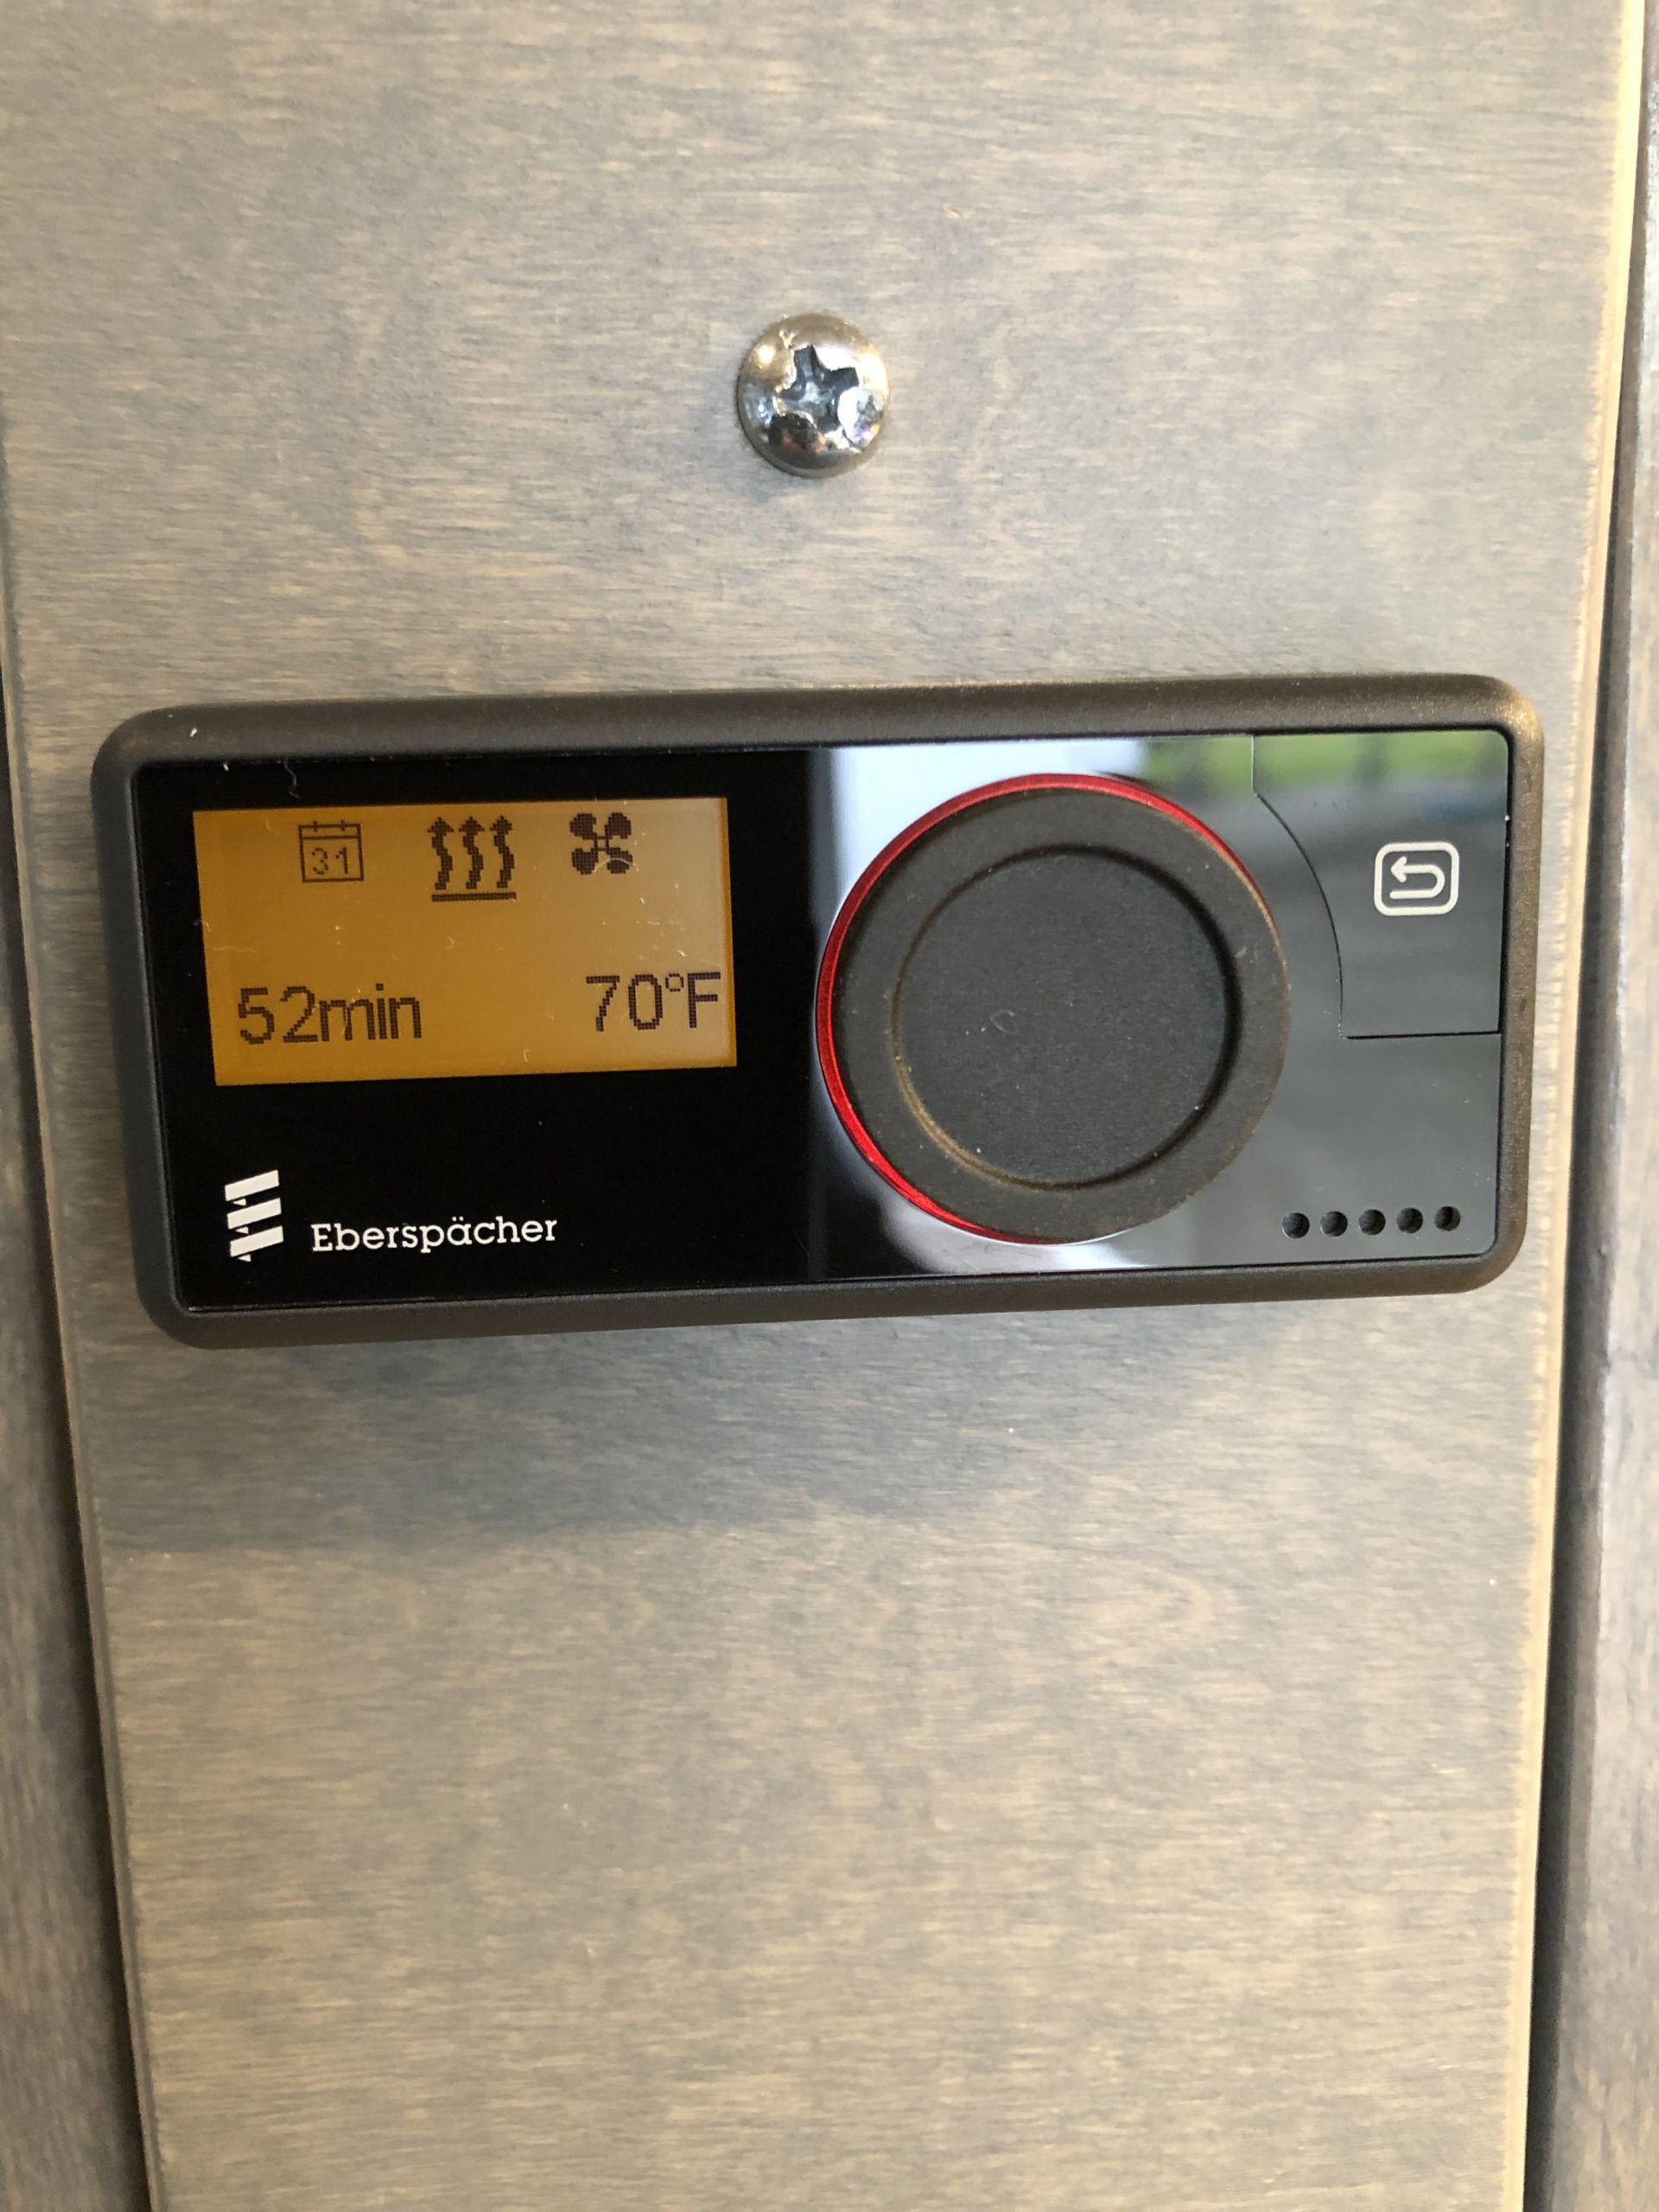
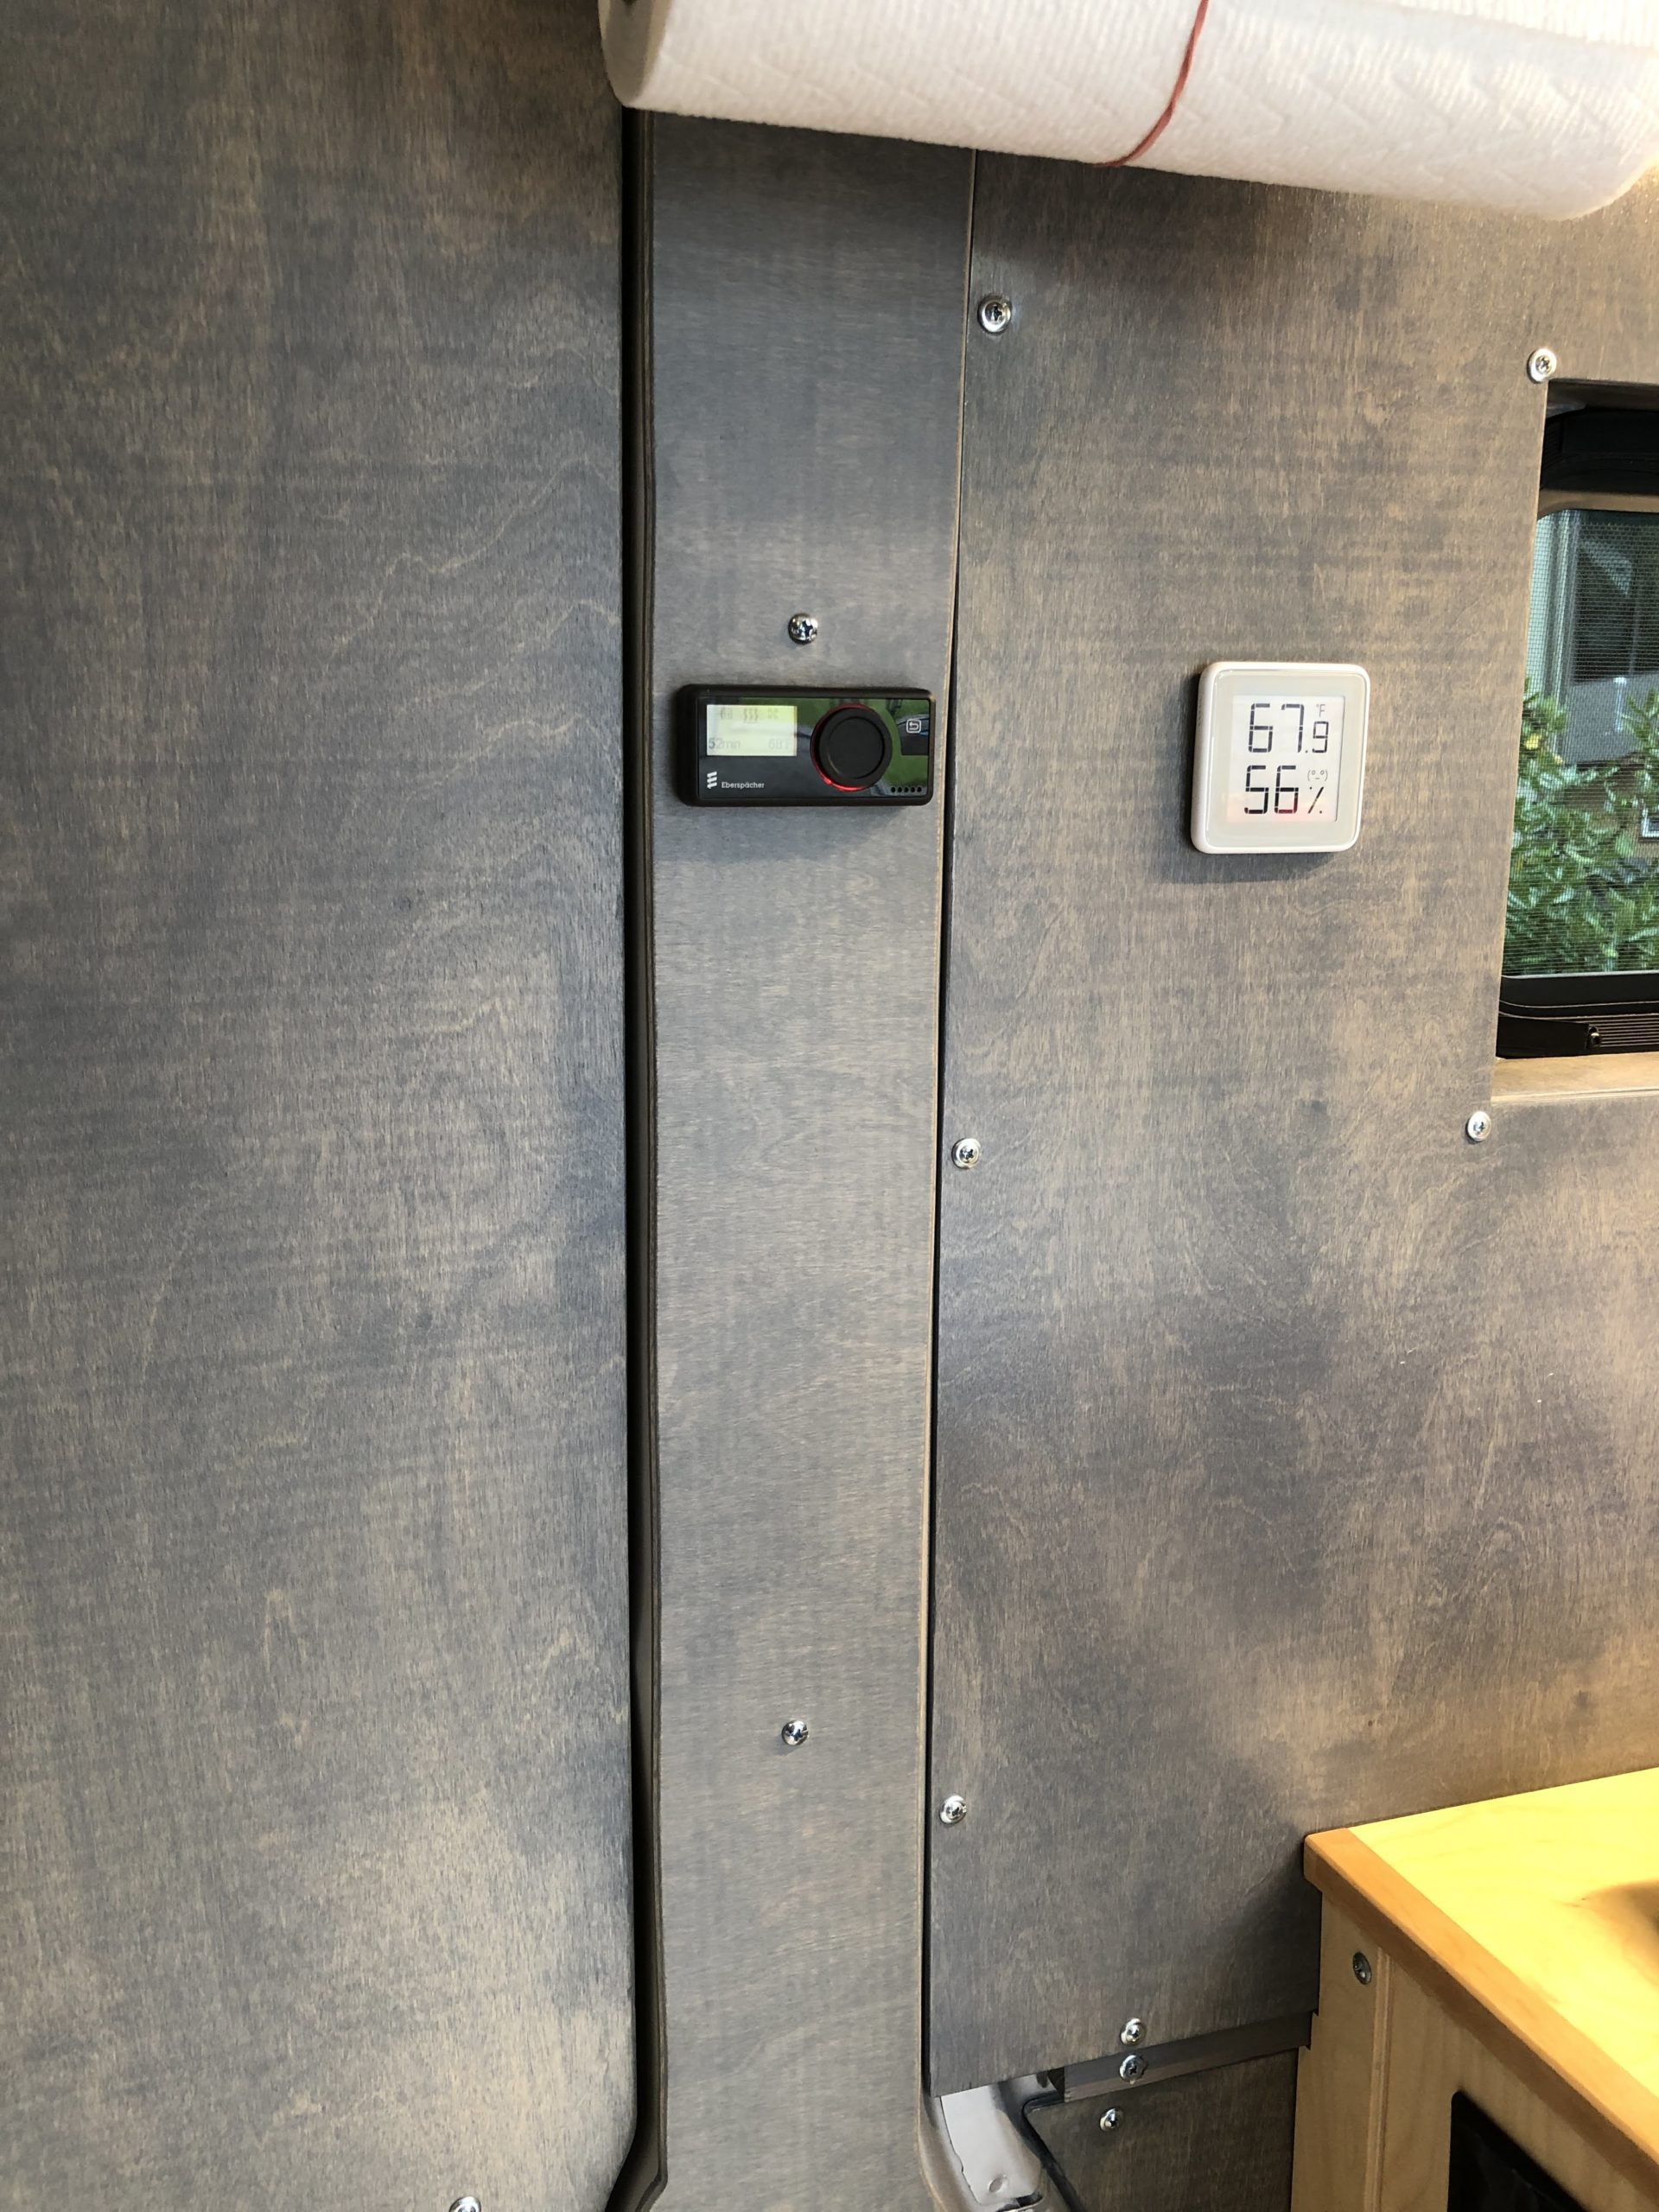
Lastly I installed the control unit up on the wall to control the heater. On initial fire up it took 2 complete cycles of the system to purge the air out of the fuel lines and pump and get fuel to the heater. The unit handles this fine on it’s own. Each cycle of turning on the heater makes 2 attempts to fire the burner on it’s own. I used the settings in the controller to select, English, Degrees F, and told it to use the controller for remote temperature sensing and displaying. As of yet I have not set an offset, but you can do that later and adjust how hot it actually is at your controller location vs what it thinks it is. Nice feature. Compared to the discount diesel heaters the controller has lots of options and is very clear to setup. Also the manuals are great that go with the unit, you download them from the Espar factory website.
This thing is so quiet when in operation. The pump is silent and the interior fan when on low is SO QUIET. An advantage of the new brushless design is that it’s not low/med/high, it can do completely variable speeds as needed. So while it’s as noisy as any other fan when on high, once it’s up to temp it spins down so slow and quiet you would never know it’s still on. But put your hand in front of the vent and it’s blowing nice hot air. Outside it’s still the jet engine sound at the exhaust. I got both the intake silencer and exhaust muffler. It is quieter than my Son’s Chinese diesel heater in his van. He thinks the pump is the best part and is looking to replace his with the new Espar unit.
The final step was to build a cover to go around the heater.

