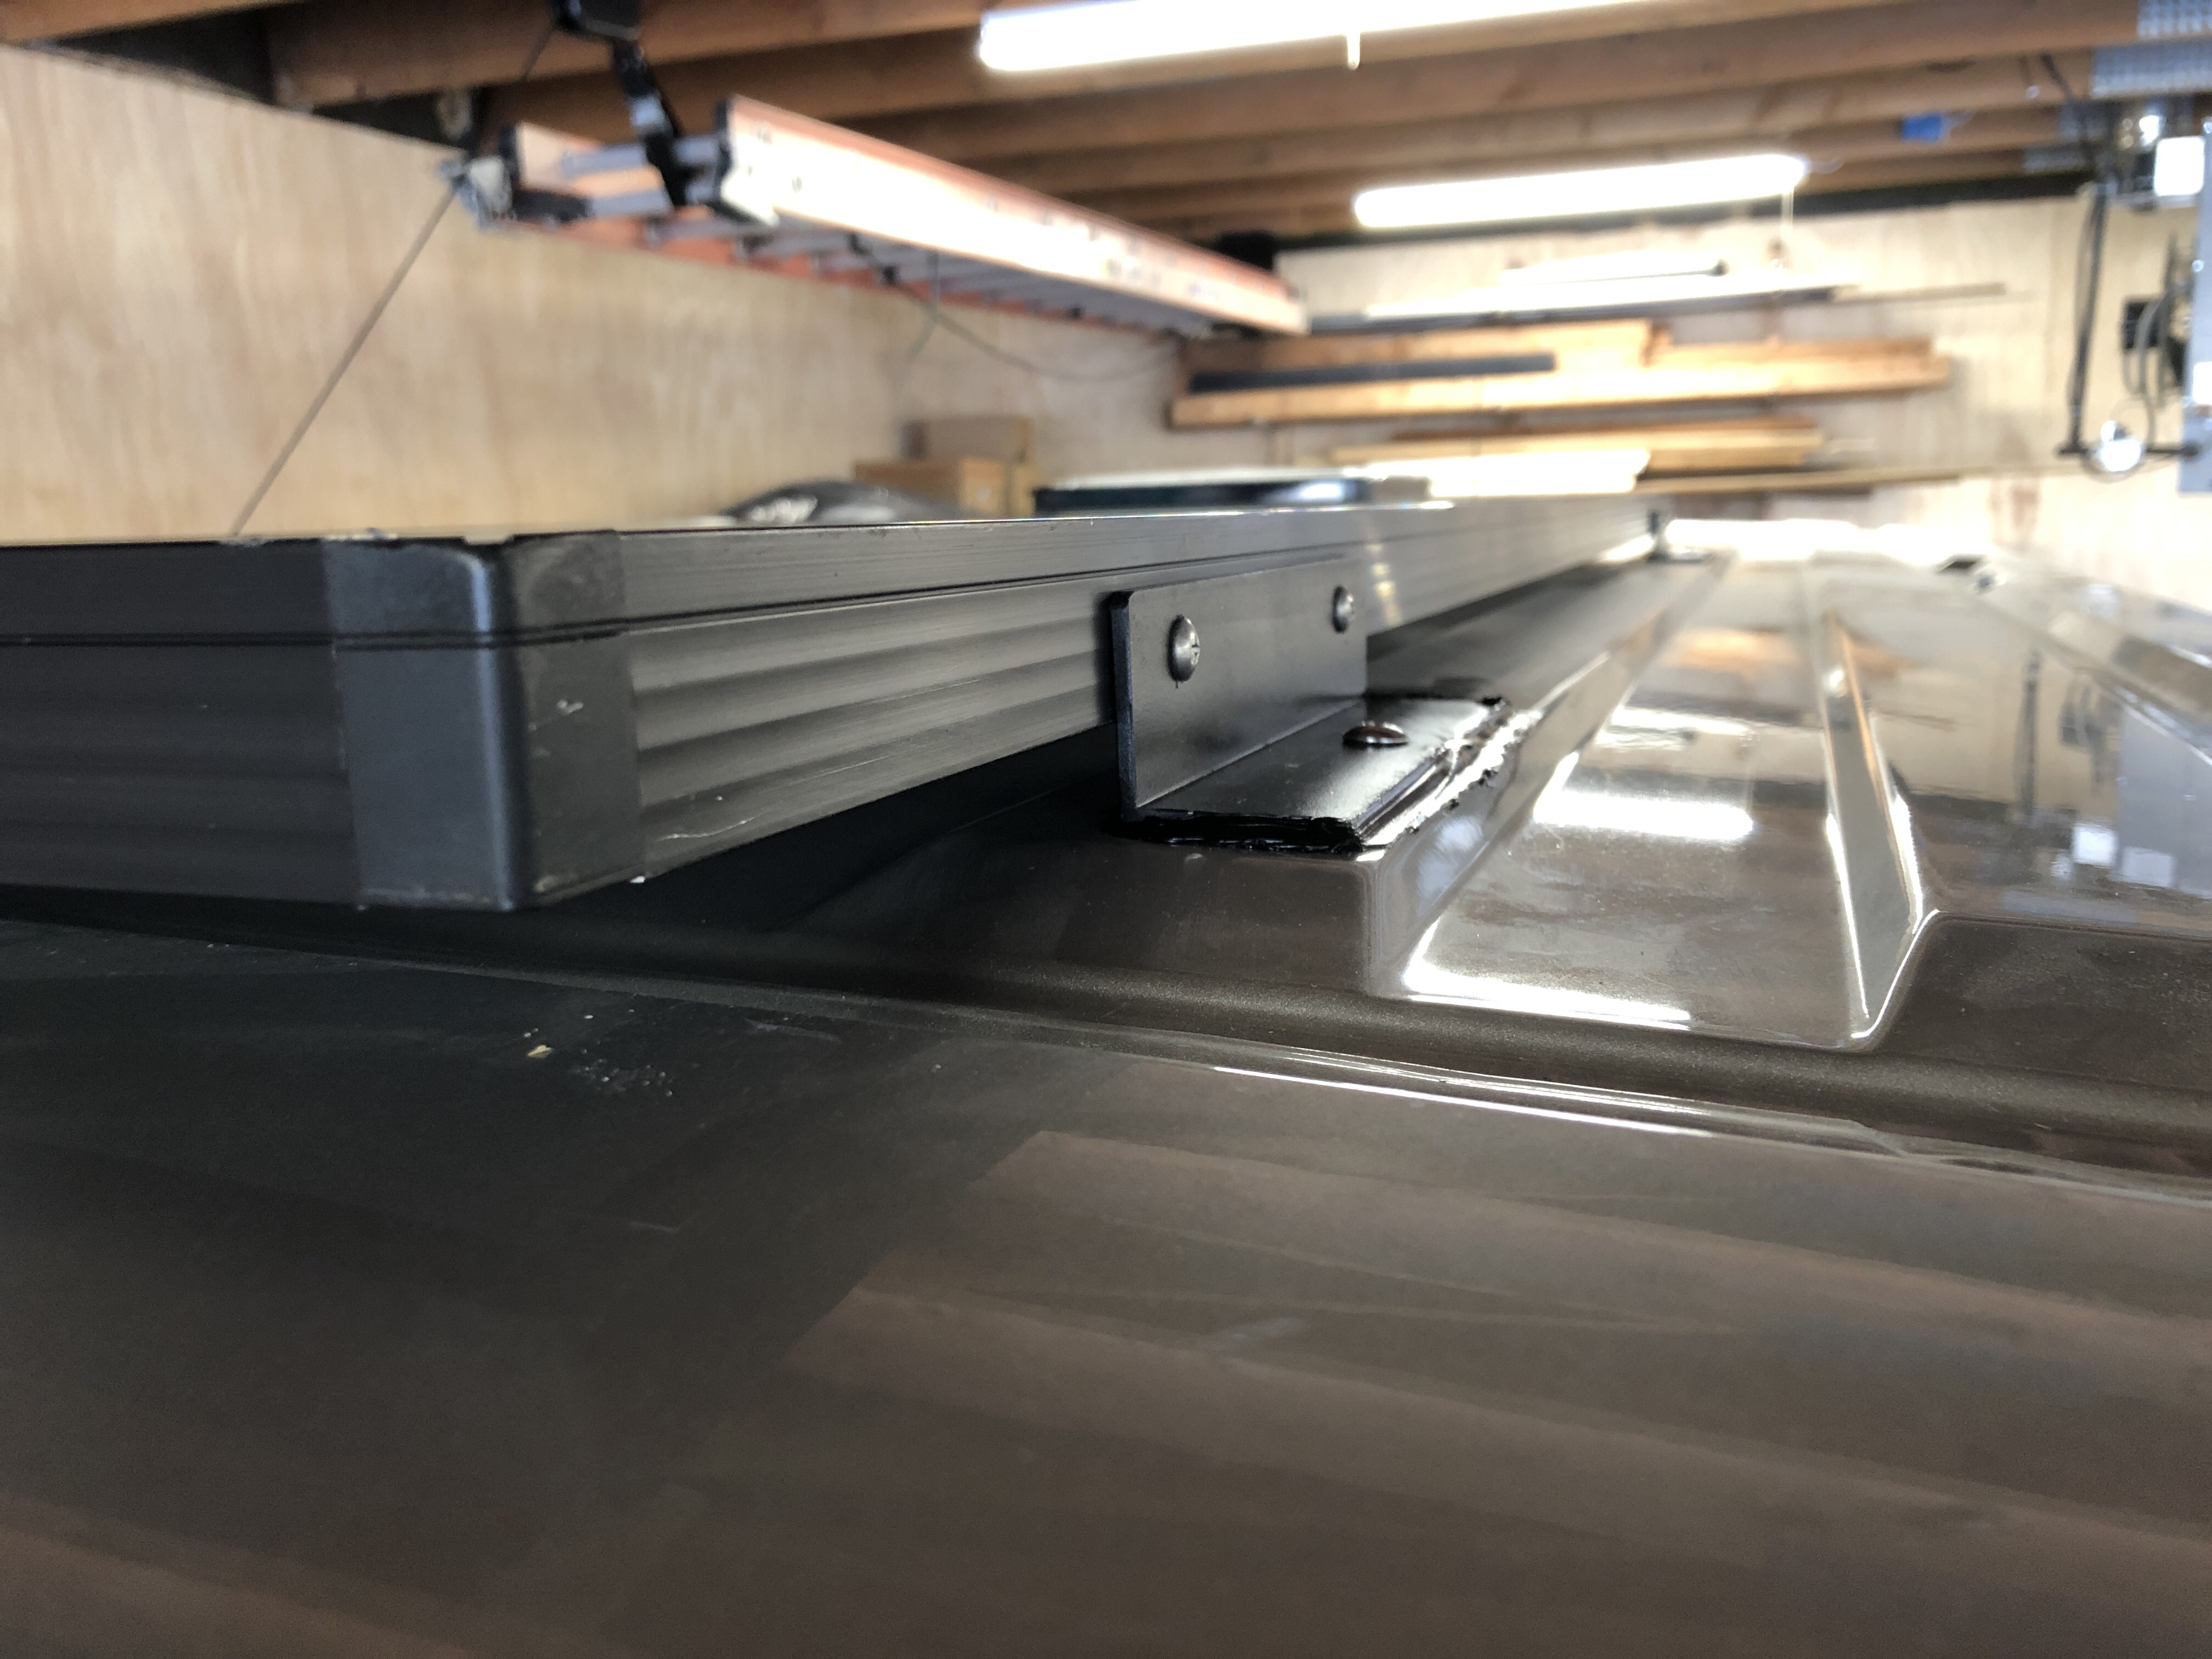
I’m mounting a single 285W 60cell solar panel to the roof. First up is to figure out the brackets to hold it in place, but allow it to be removed if needed down the road. Thinking about doing something like this. With nutplates riveted to a carrier strip of aluminum that is glued to the inside of the panel frame using VHB tape. This would allow the threaded bolts to secure the angle to the panel, and still remove them later if needed to remove the panel.

I got the panel from Platt Electric locally which was great since they shipped it for free to the store and I just went down and picked it up in the car.
It just fit in the Volvo.

I ended up building the brackets exactly as described above in the design notes. It worked out fine. I made the angle out of some 1.5″ aluminum angle and bend the legs open a bit to match the curve of the top of the van. I made a template of the angle needed and then clamped each bracket into the vice and used a large Crescent wrench to open up the angle a bit.
I then glued them down to the van roof using some urethane adhesive from 3m. I did use a single #14 stainless screw into the roof on each bracket. This helped to pull the bracket down into place and works as a backup mechanical fastener just in case. It’s important not to pull it down too tight when using the urethane as part of the glue strength is having a bit of material left between the parts. It’s a moisture cure so I expect it to take awhile to fully cure. I raised the temp in the shop for 12 hours, and after 4 hours of initial cure I misted some water around the shop and roof of the van to raise the humidity a bit to help the cure.
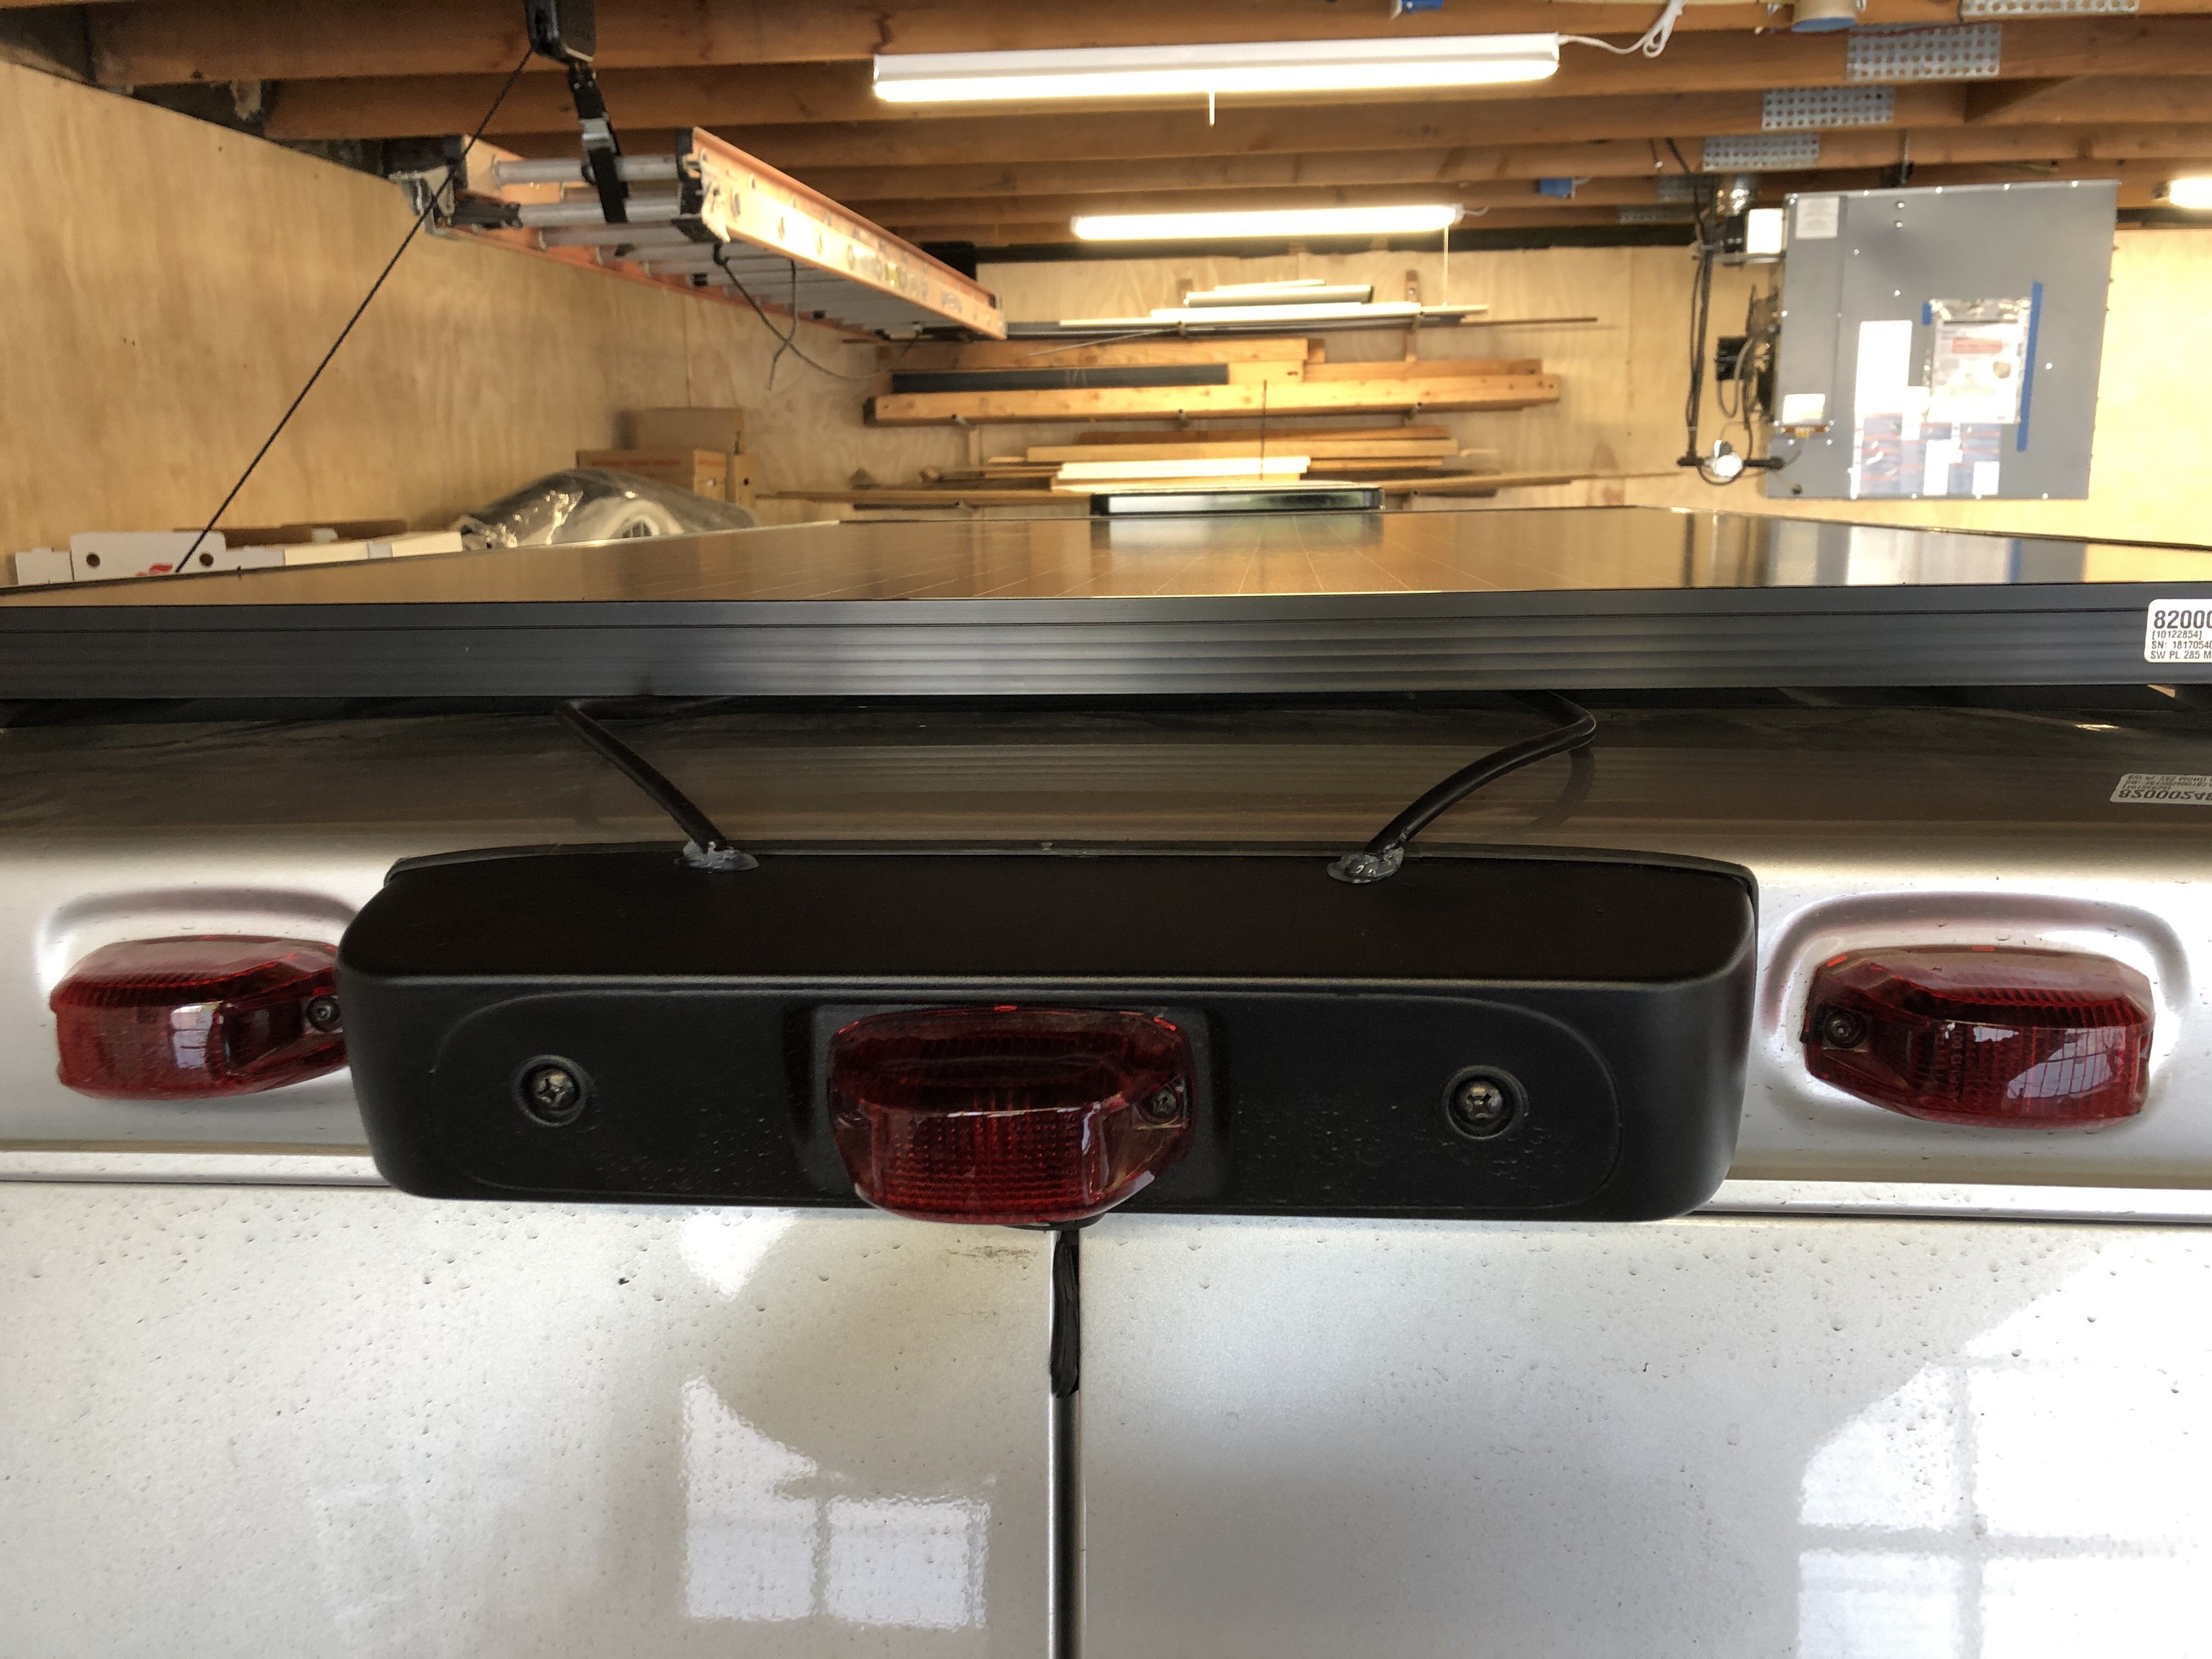
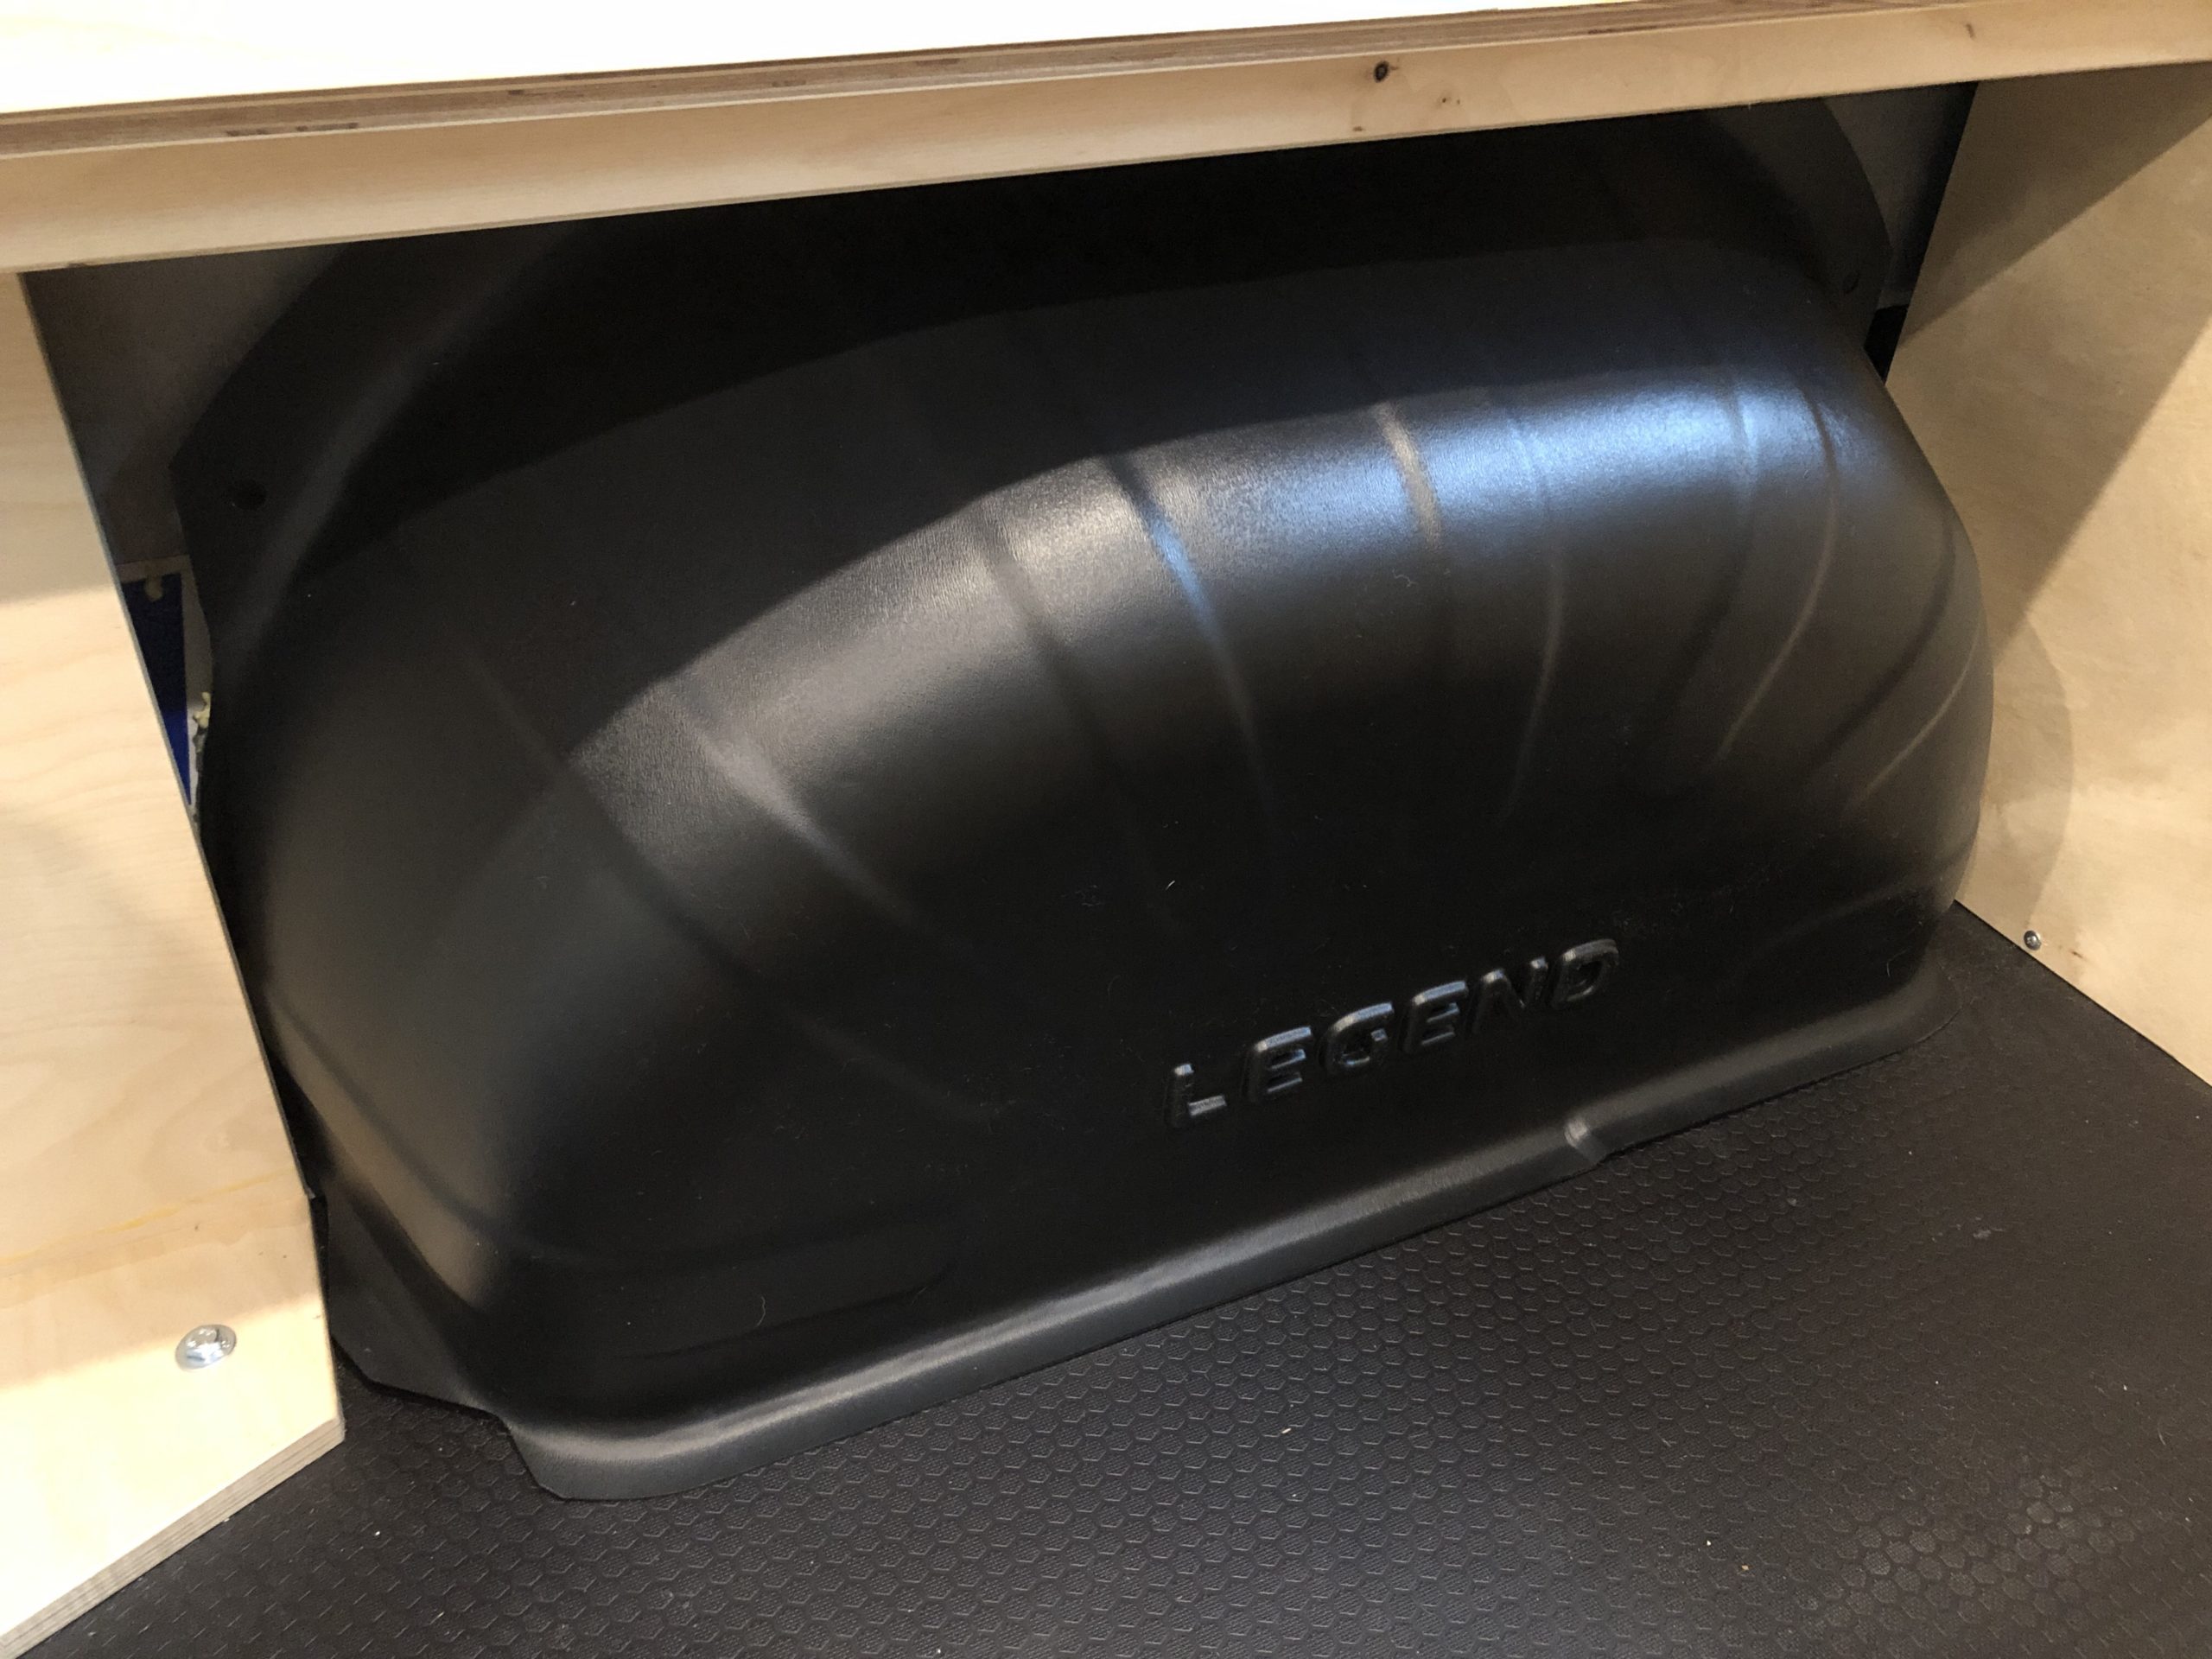
I brought the wires out the back from under the panel and into the backup camera housing. There’s lots of room inside. I simply made some slits filed into the cover so the wires could pass through. This allowed me to make the connections inside the van where they can stay dry.
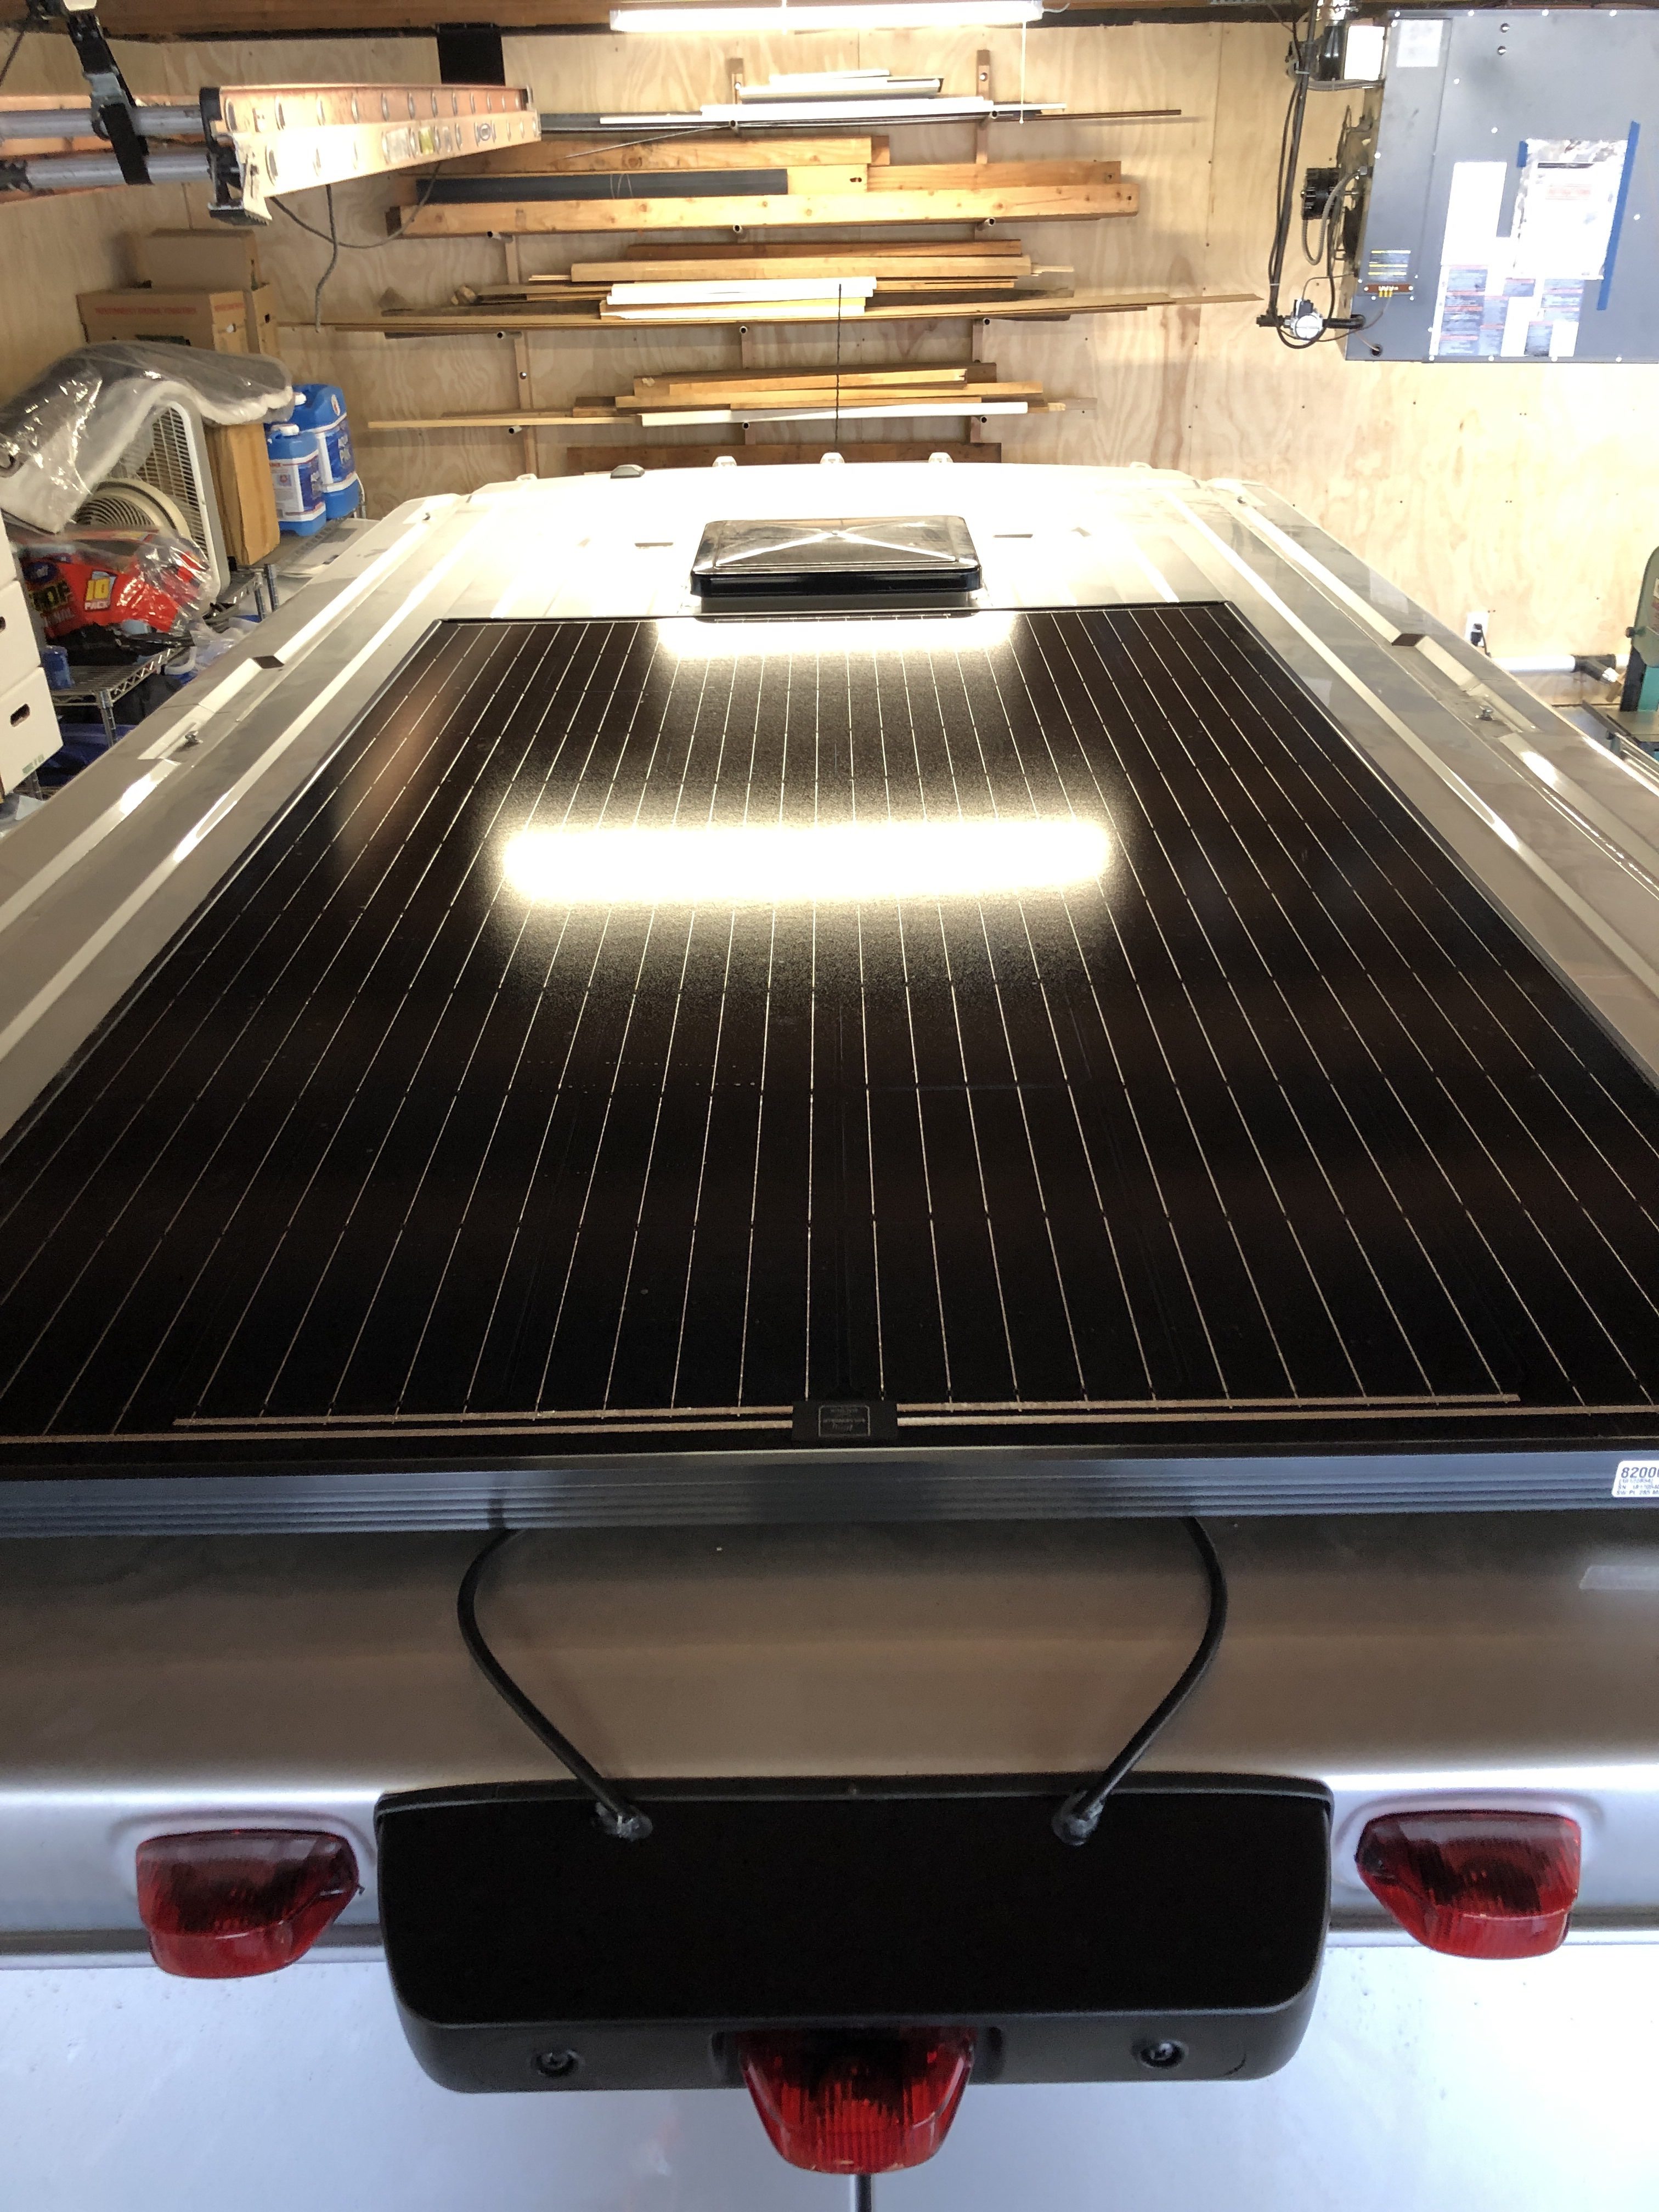
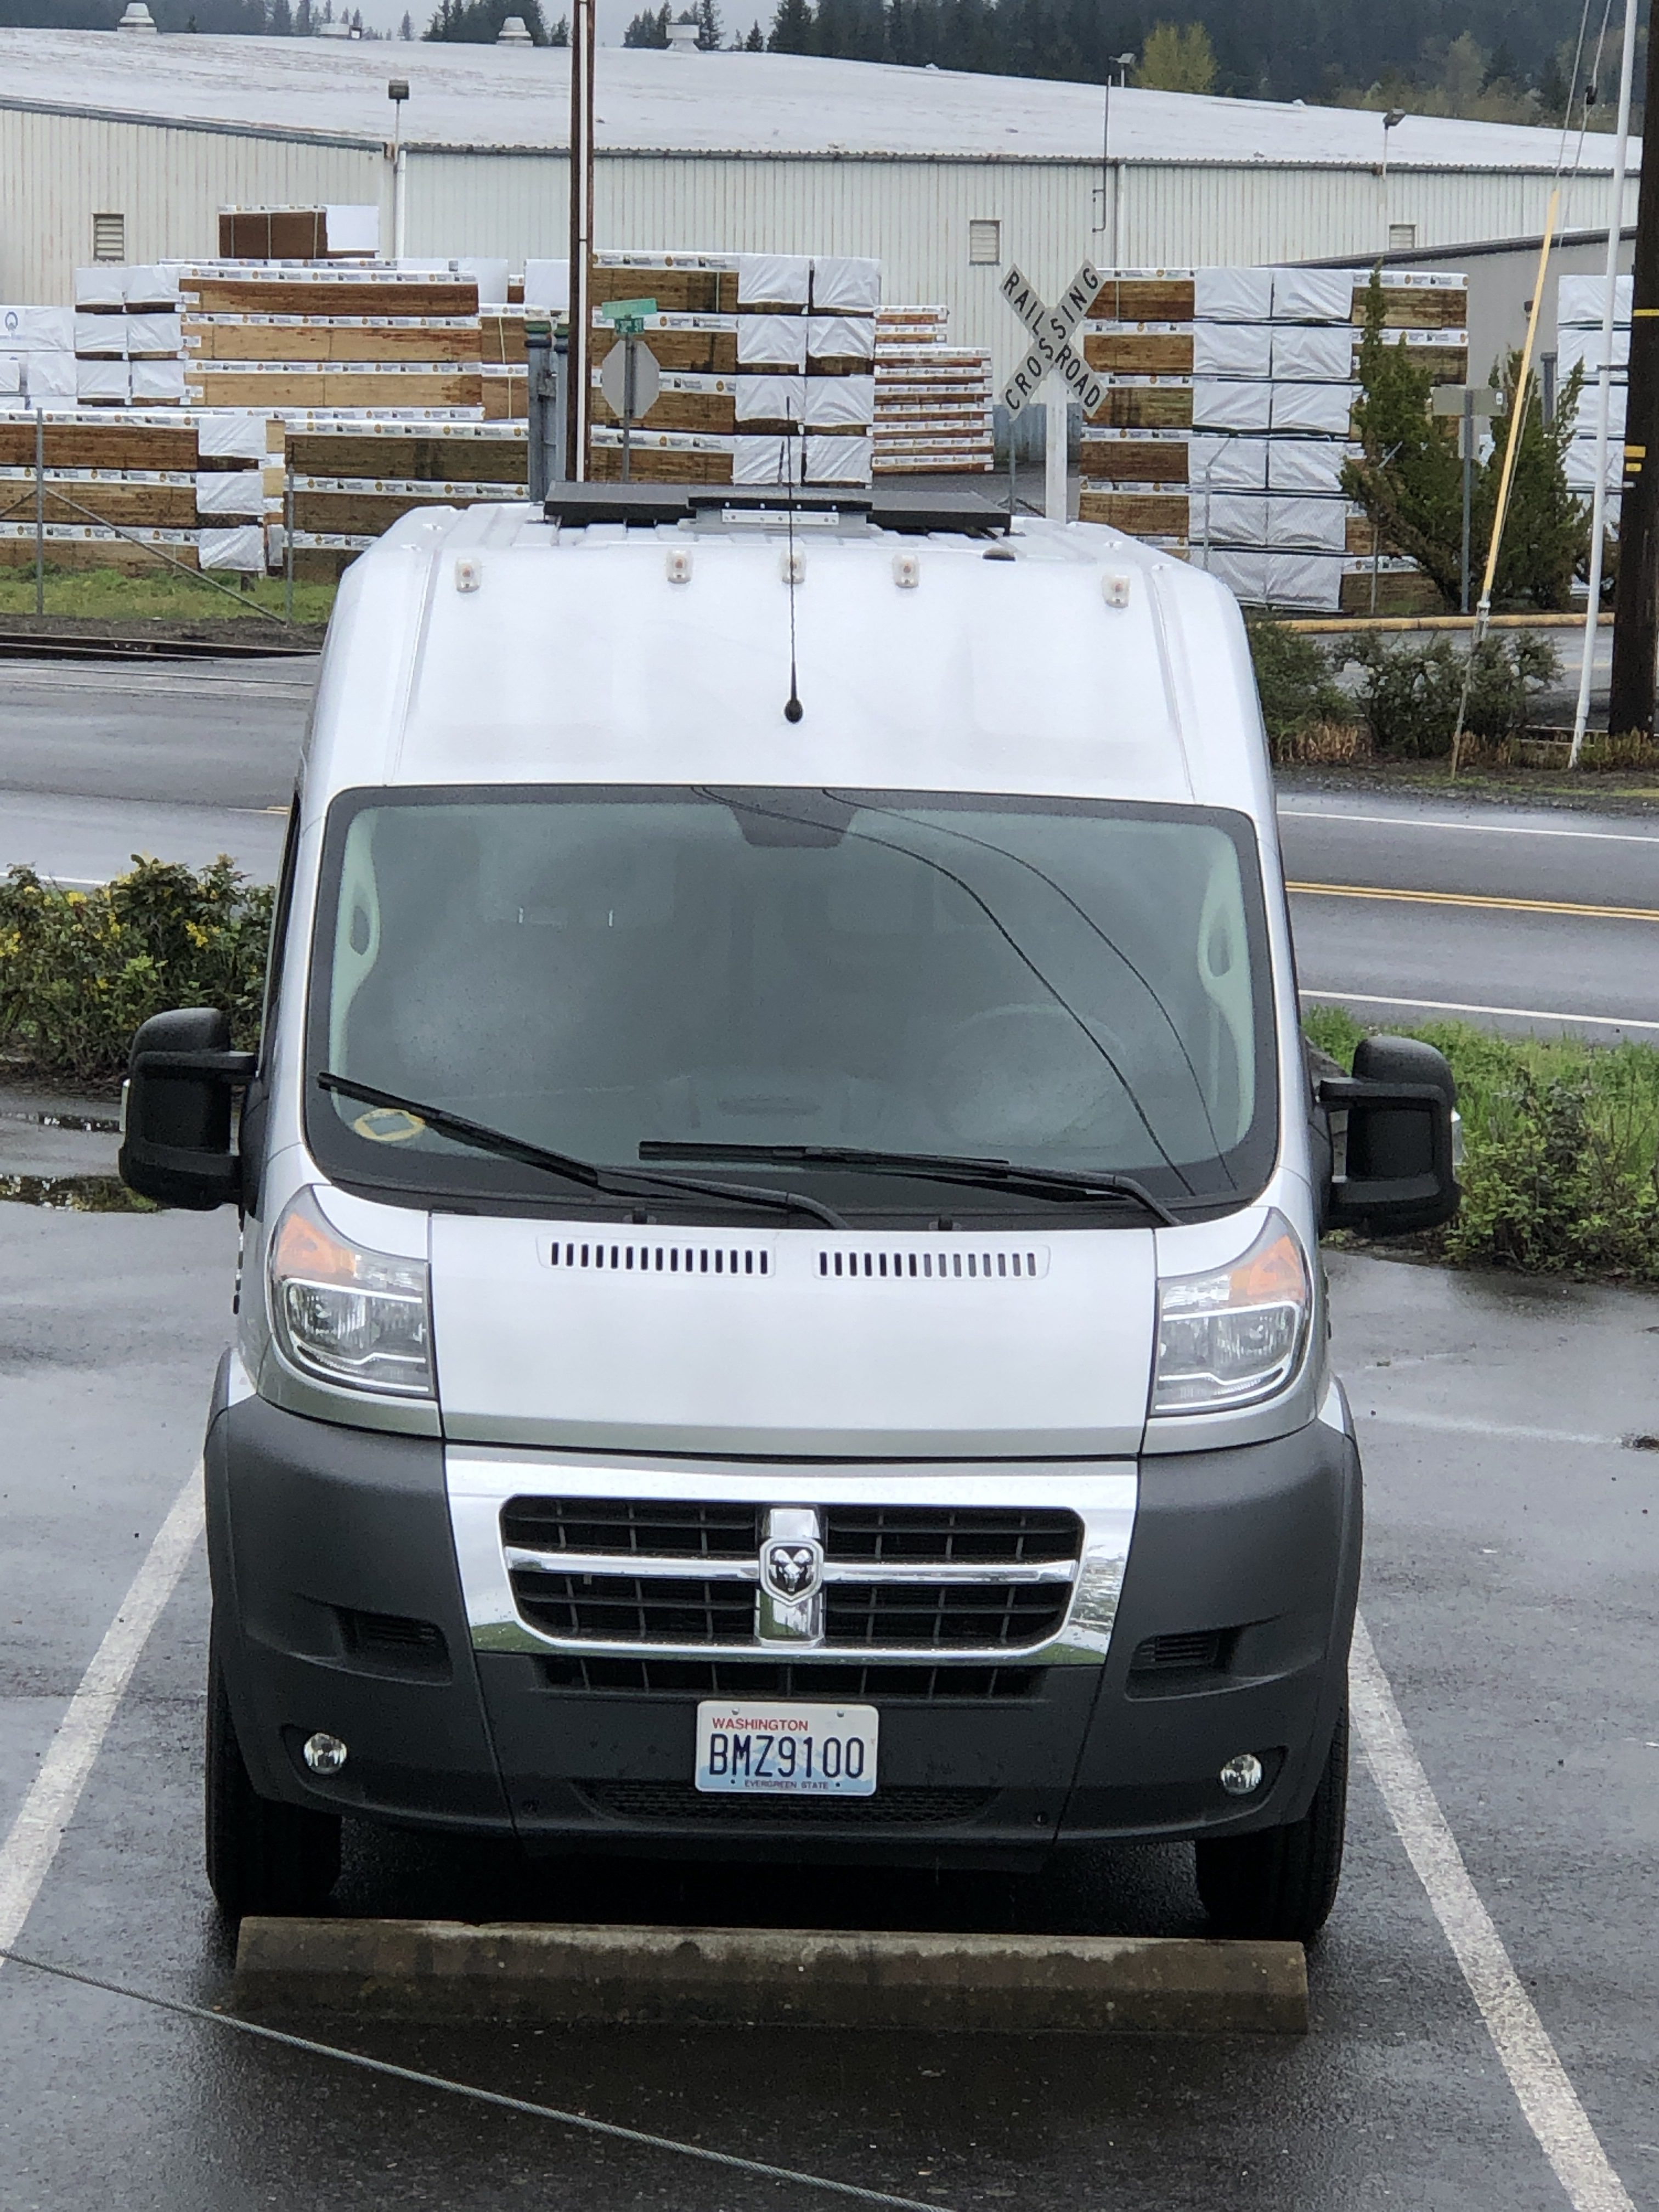
There was just enough room for the panel. Ideally I should have moved the vent forward another 6 inches. Oops, next time. 🙂
I hooked the lines up to the Victron solr mppt charge controller inside in the electrical box.
All that’s left is to take it outside and see how the panel works in the sun!
The view from the front is quite low profile. From the sides you can’t see the panel if standing near the van.


Exactly, what pv did you use ? I’m wondering about the mechanical side of it. is the aluminum fram tuff enough ?
This is the panel I used
https://www.platt.com/platt-electric-supply/Solar-Modules-Monocrystalline-60-Cell/SolarWorld/SW285BLK33MM5BB/product.aspx?zpid=85998
It seems to be holding up just fine. There’s really not that much force pulling on it, and it’s tucked in tight against the roof as well.