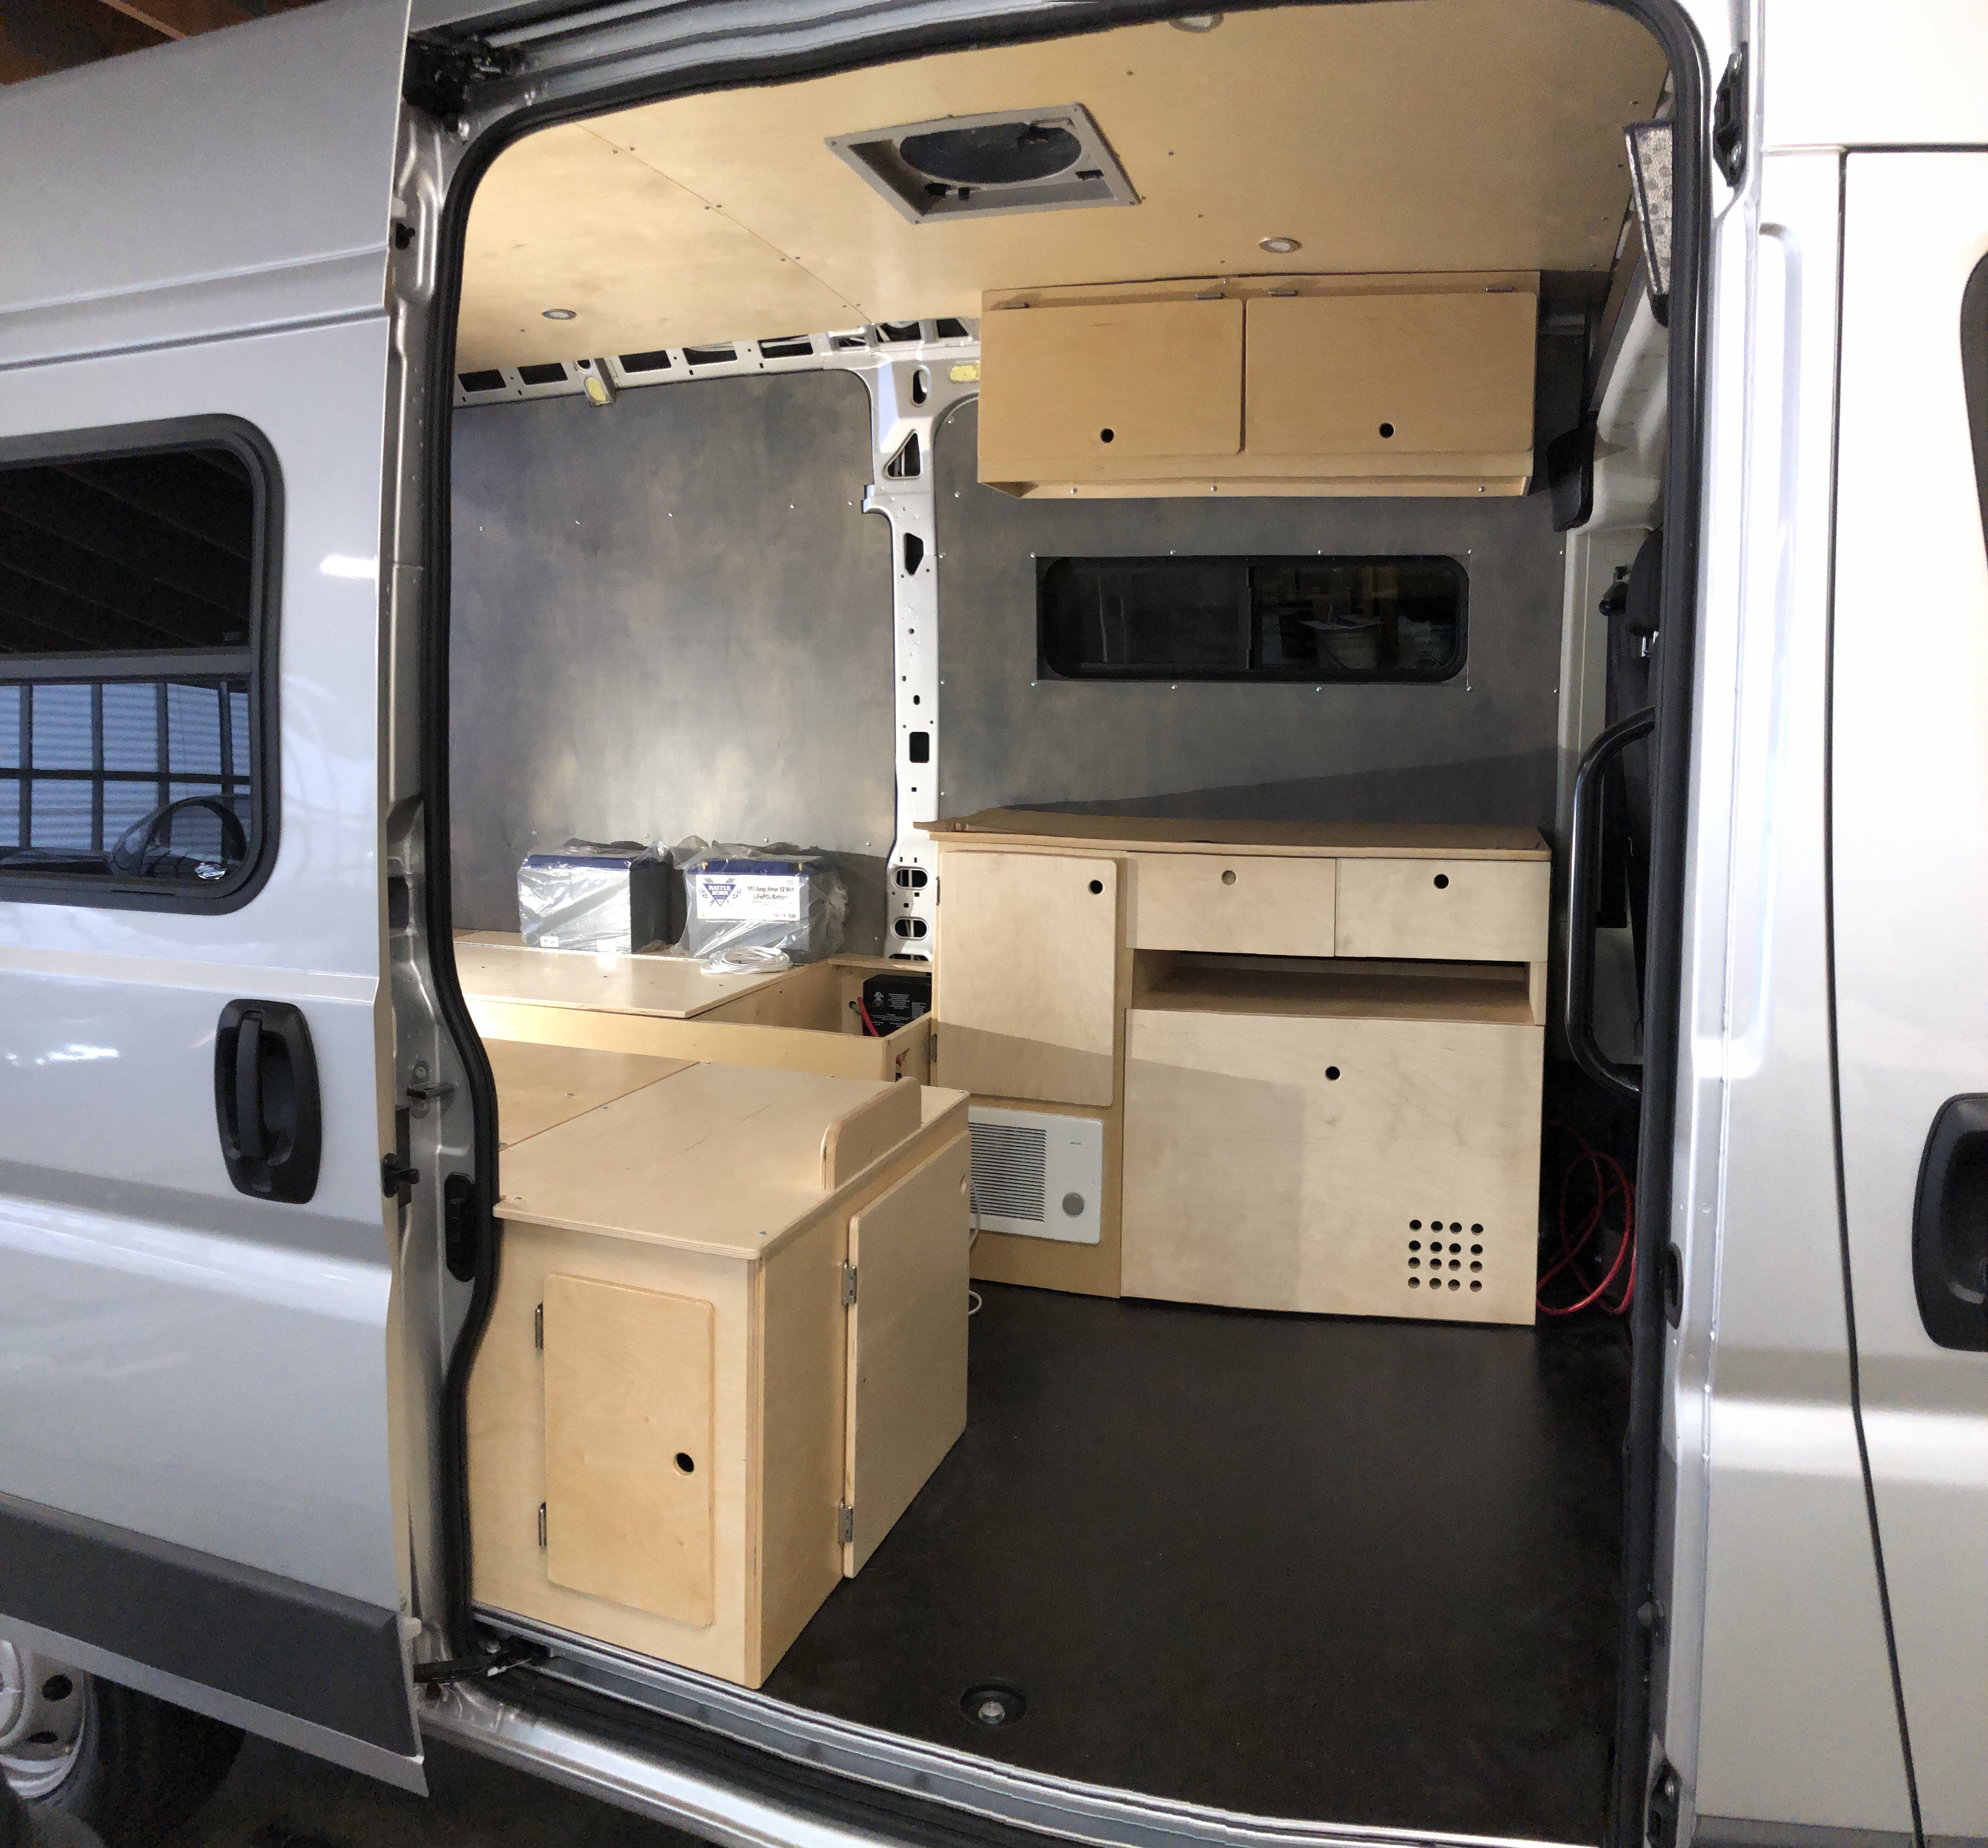

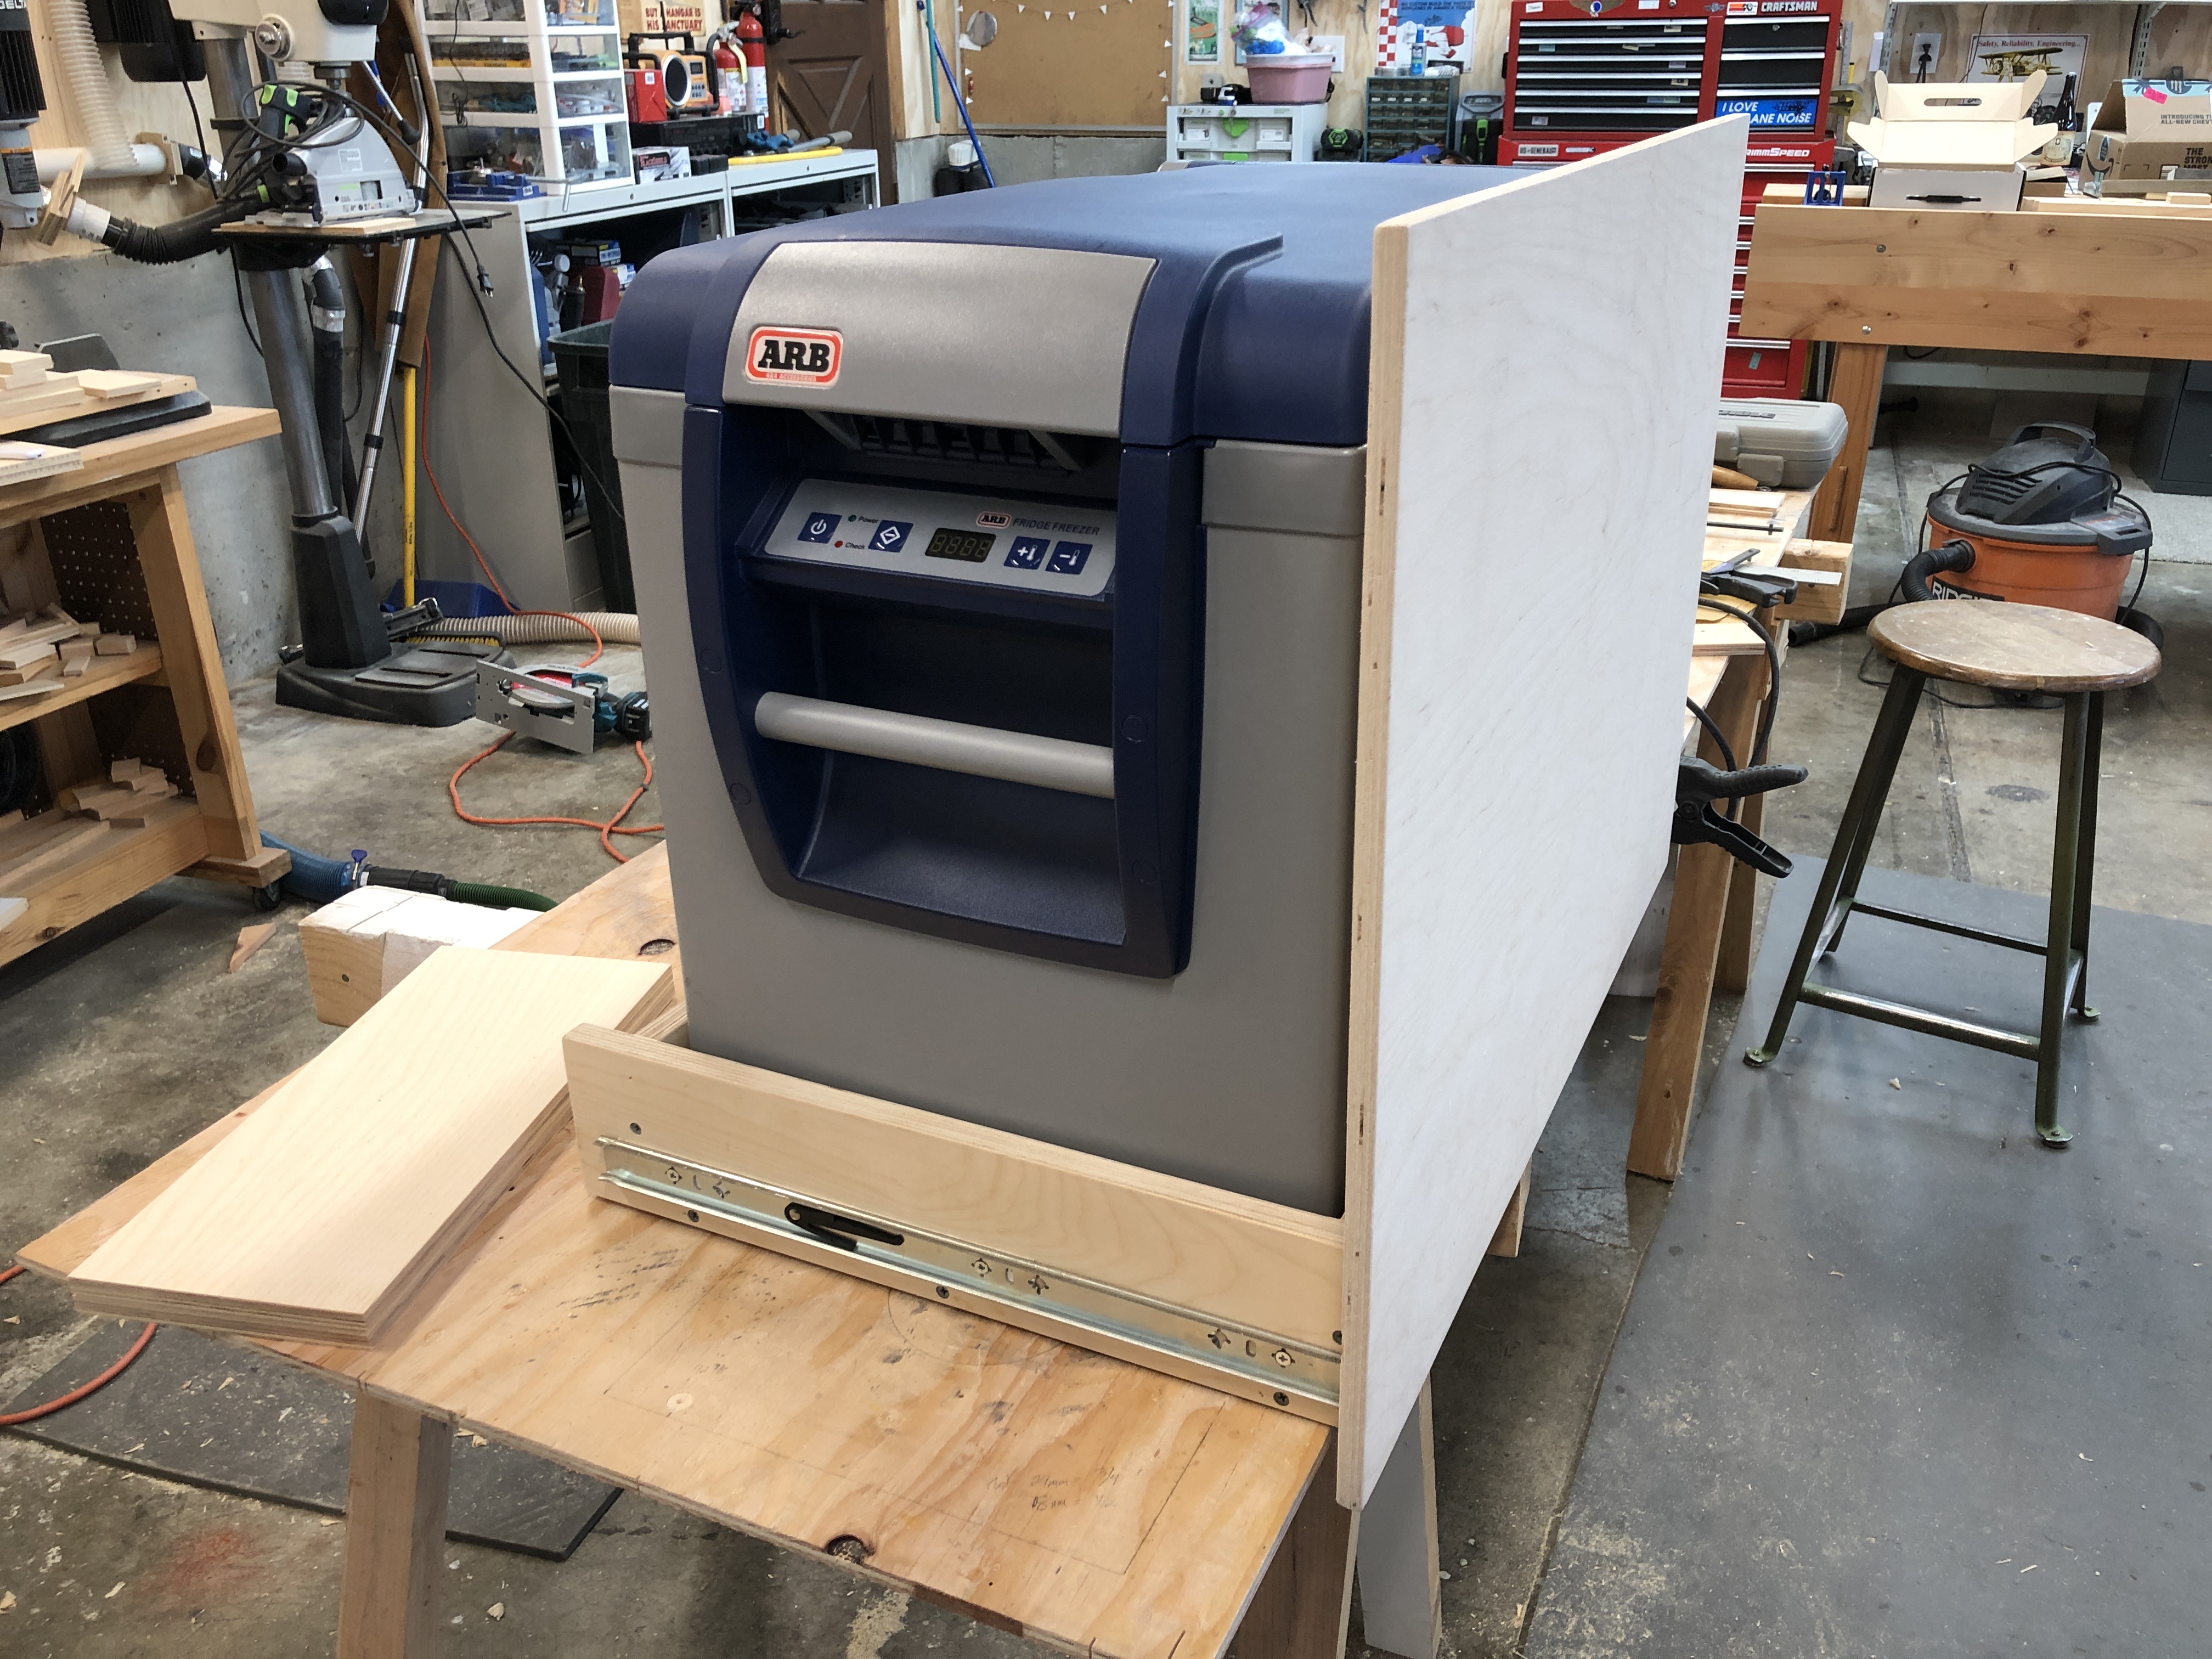
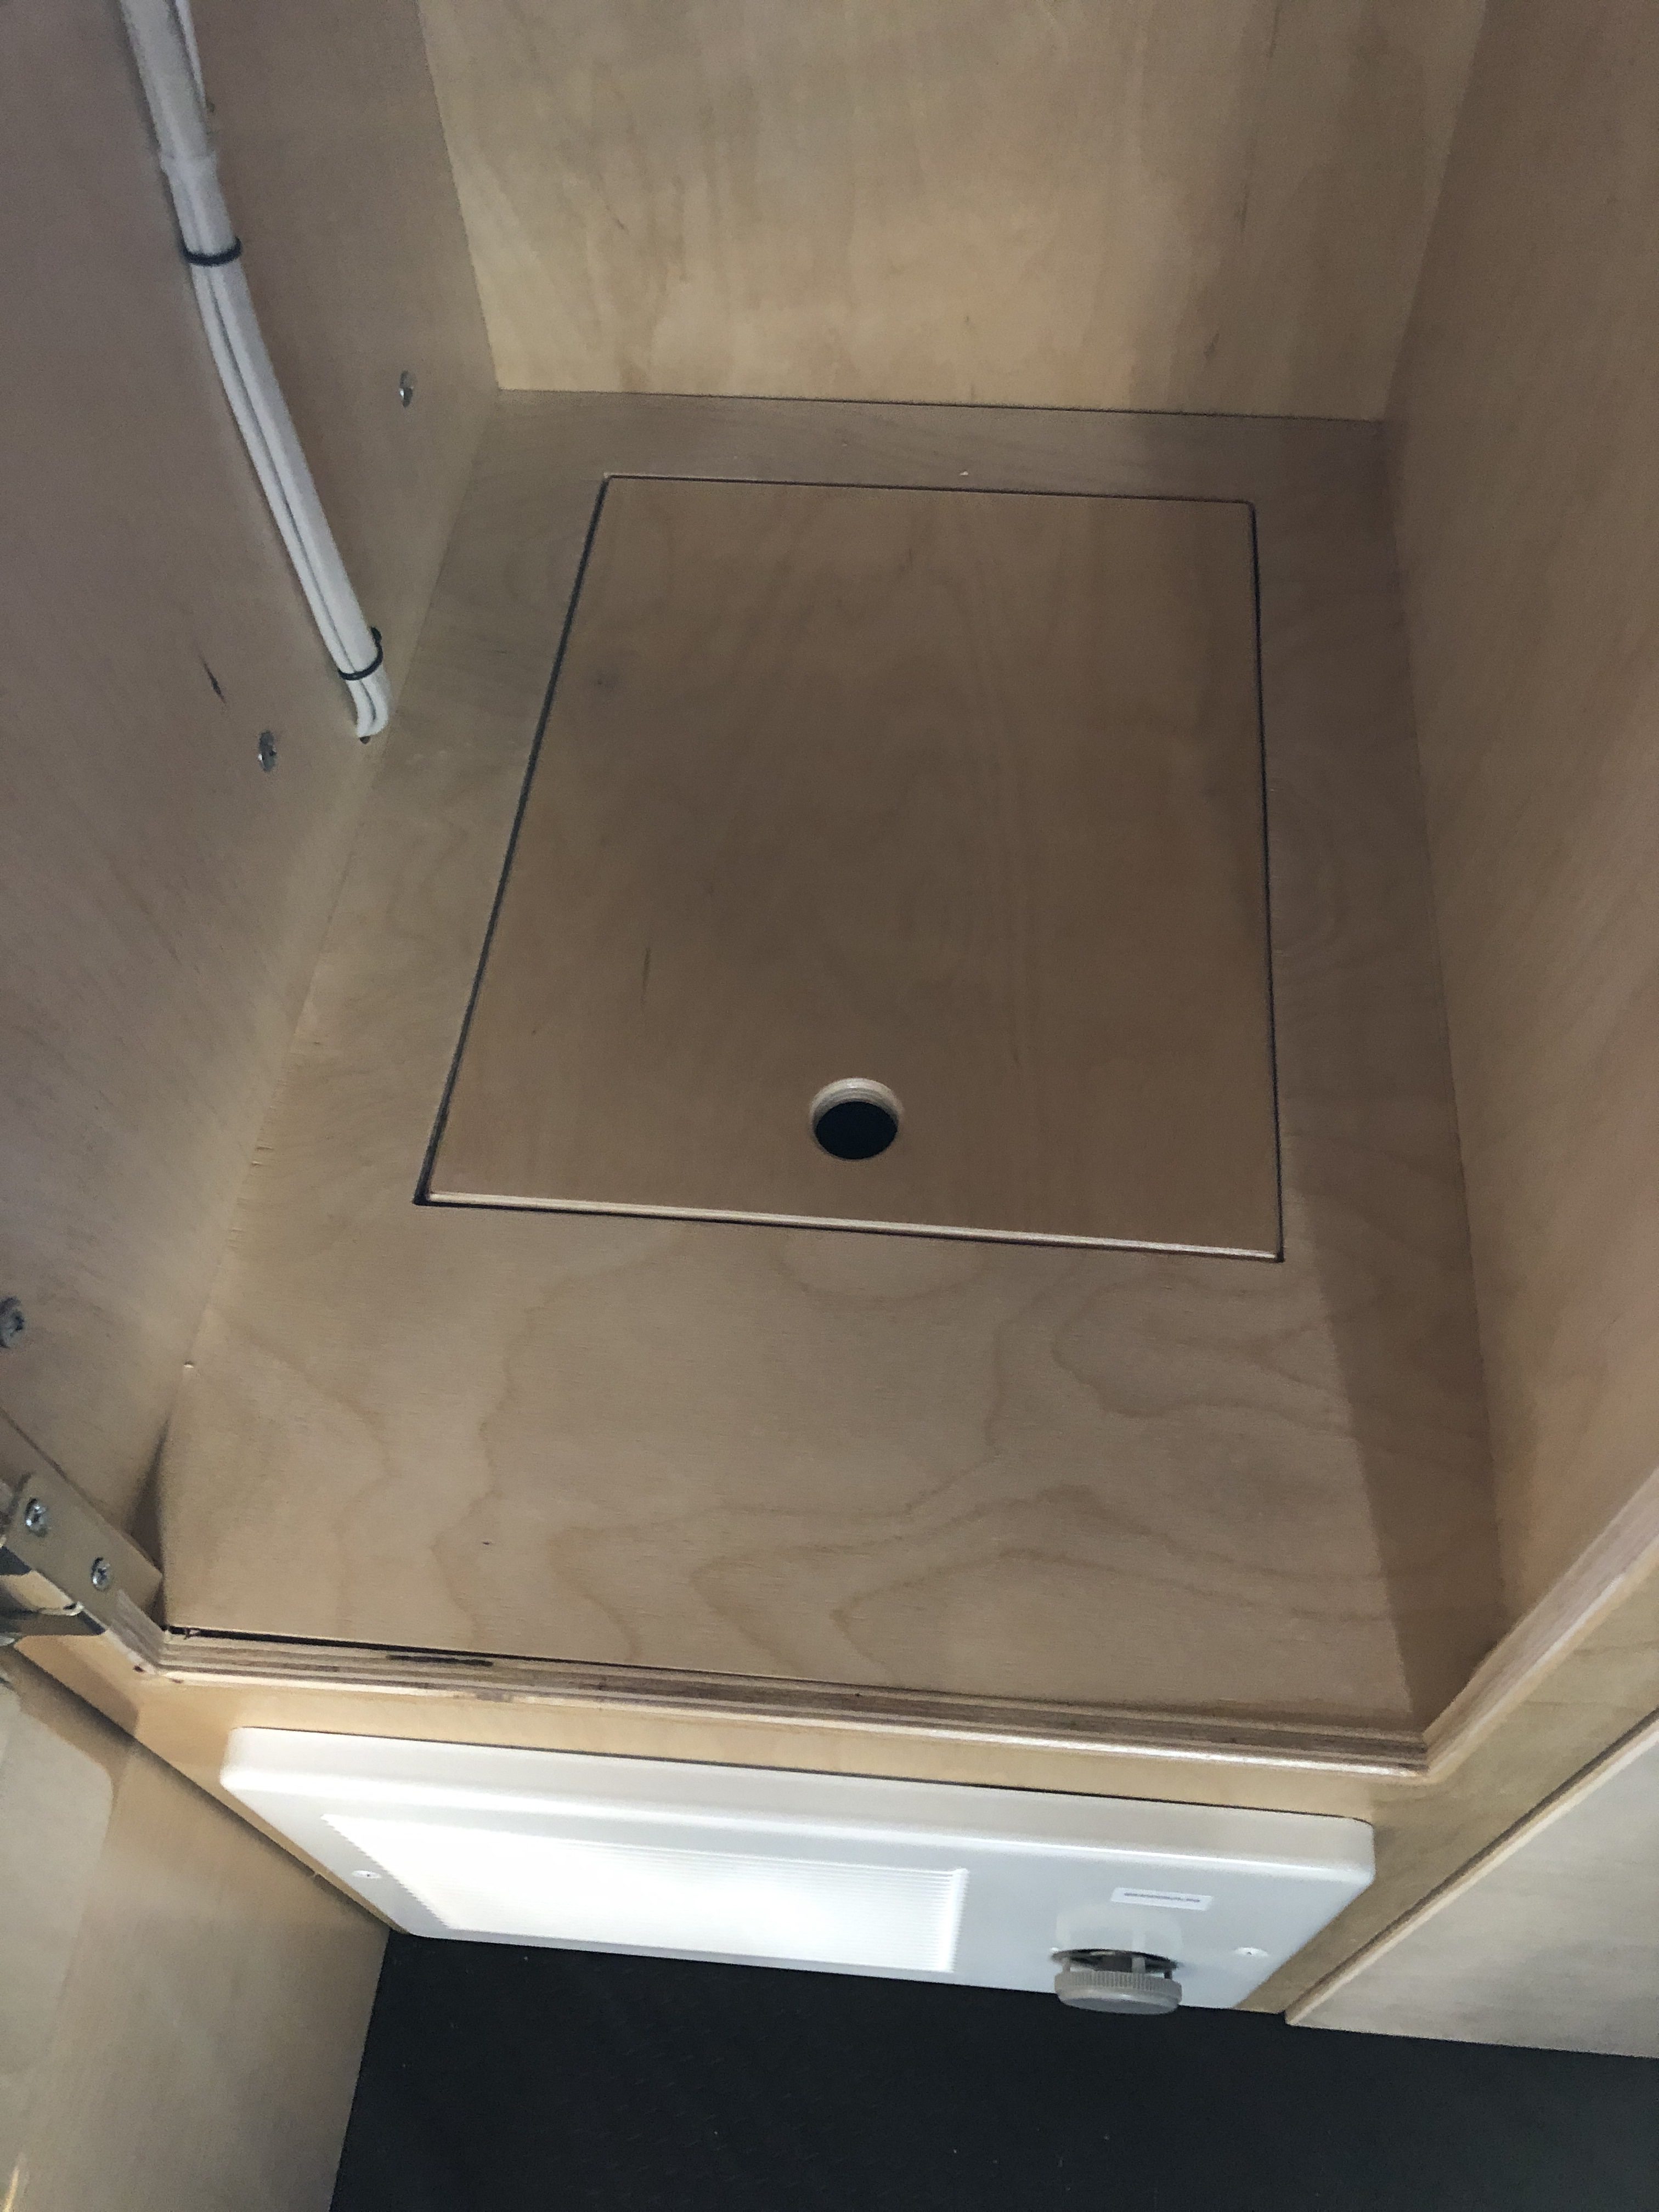
Might be a bit much calling it the kitchen, but still, it’s at least the galley cabinet and fridge. I’m using an ARB50QT fridge, mounted on a custom built slider tray. There are two drawers at the top, one of which has a sliding tray inside for silverware. Then the heater is on the left lower side. Behind that is a hidden storage vault located underneath the top door area. Not sure how much use this will get, but it was wasted space that I figured we could store things we don’t need as often.
The slot above the fridge is a place to store the stove in. Plan is to have a single burner butane and an induction electric stored in there. Need to figure out some way to securing the front. Para-cord possibly?

here’s the layout with the rough opening sizes. These got tweaked a bit during construction to accommodate the devices and thickness of the wood being used.

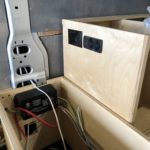
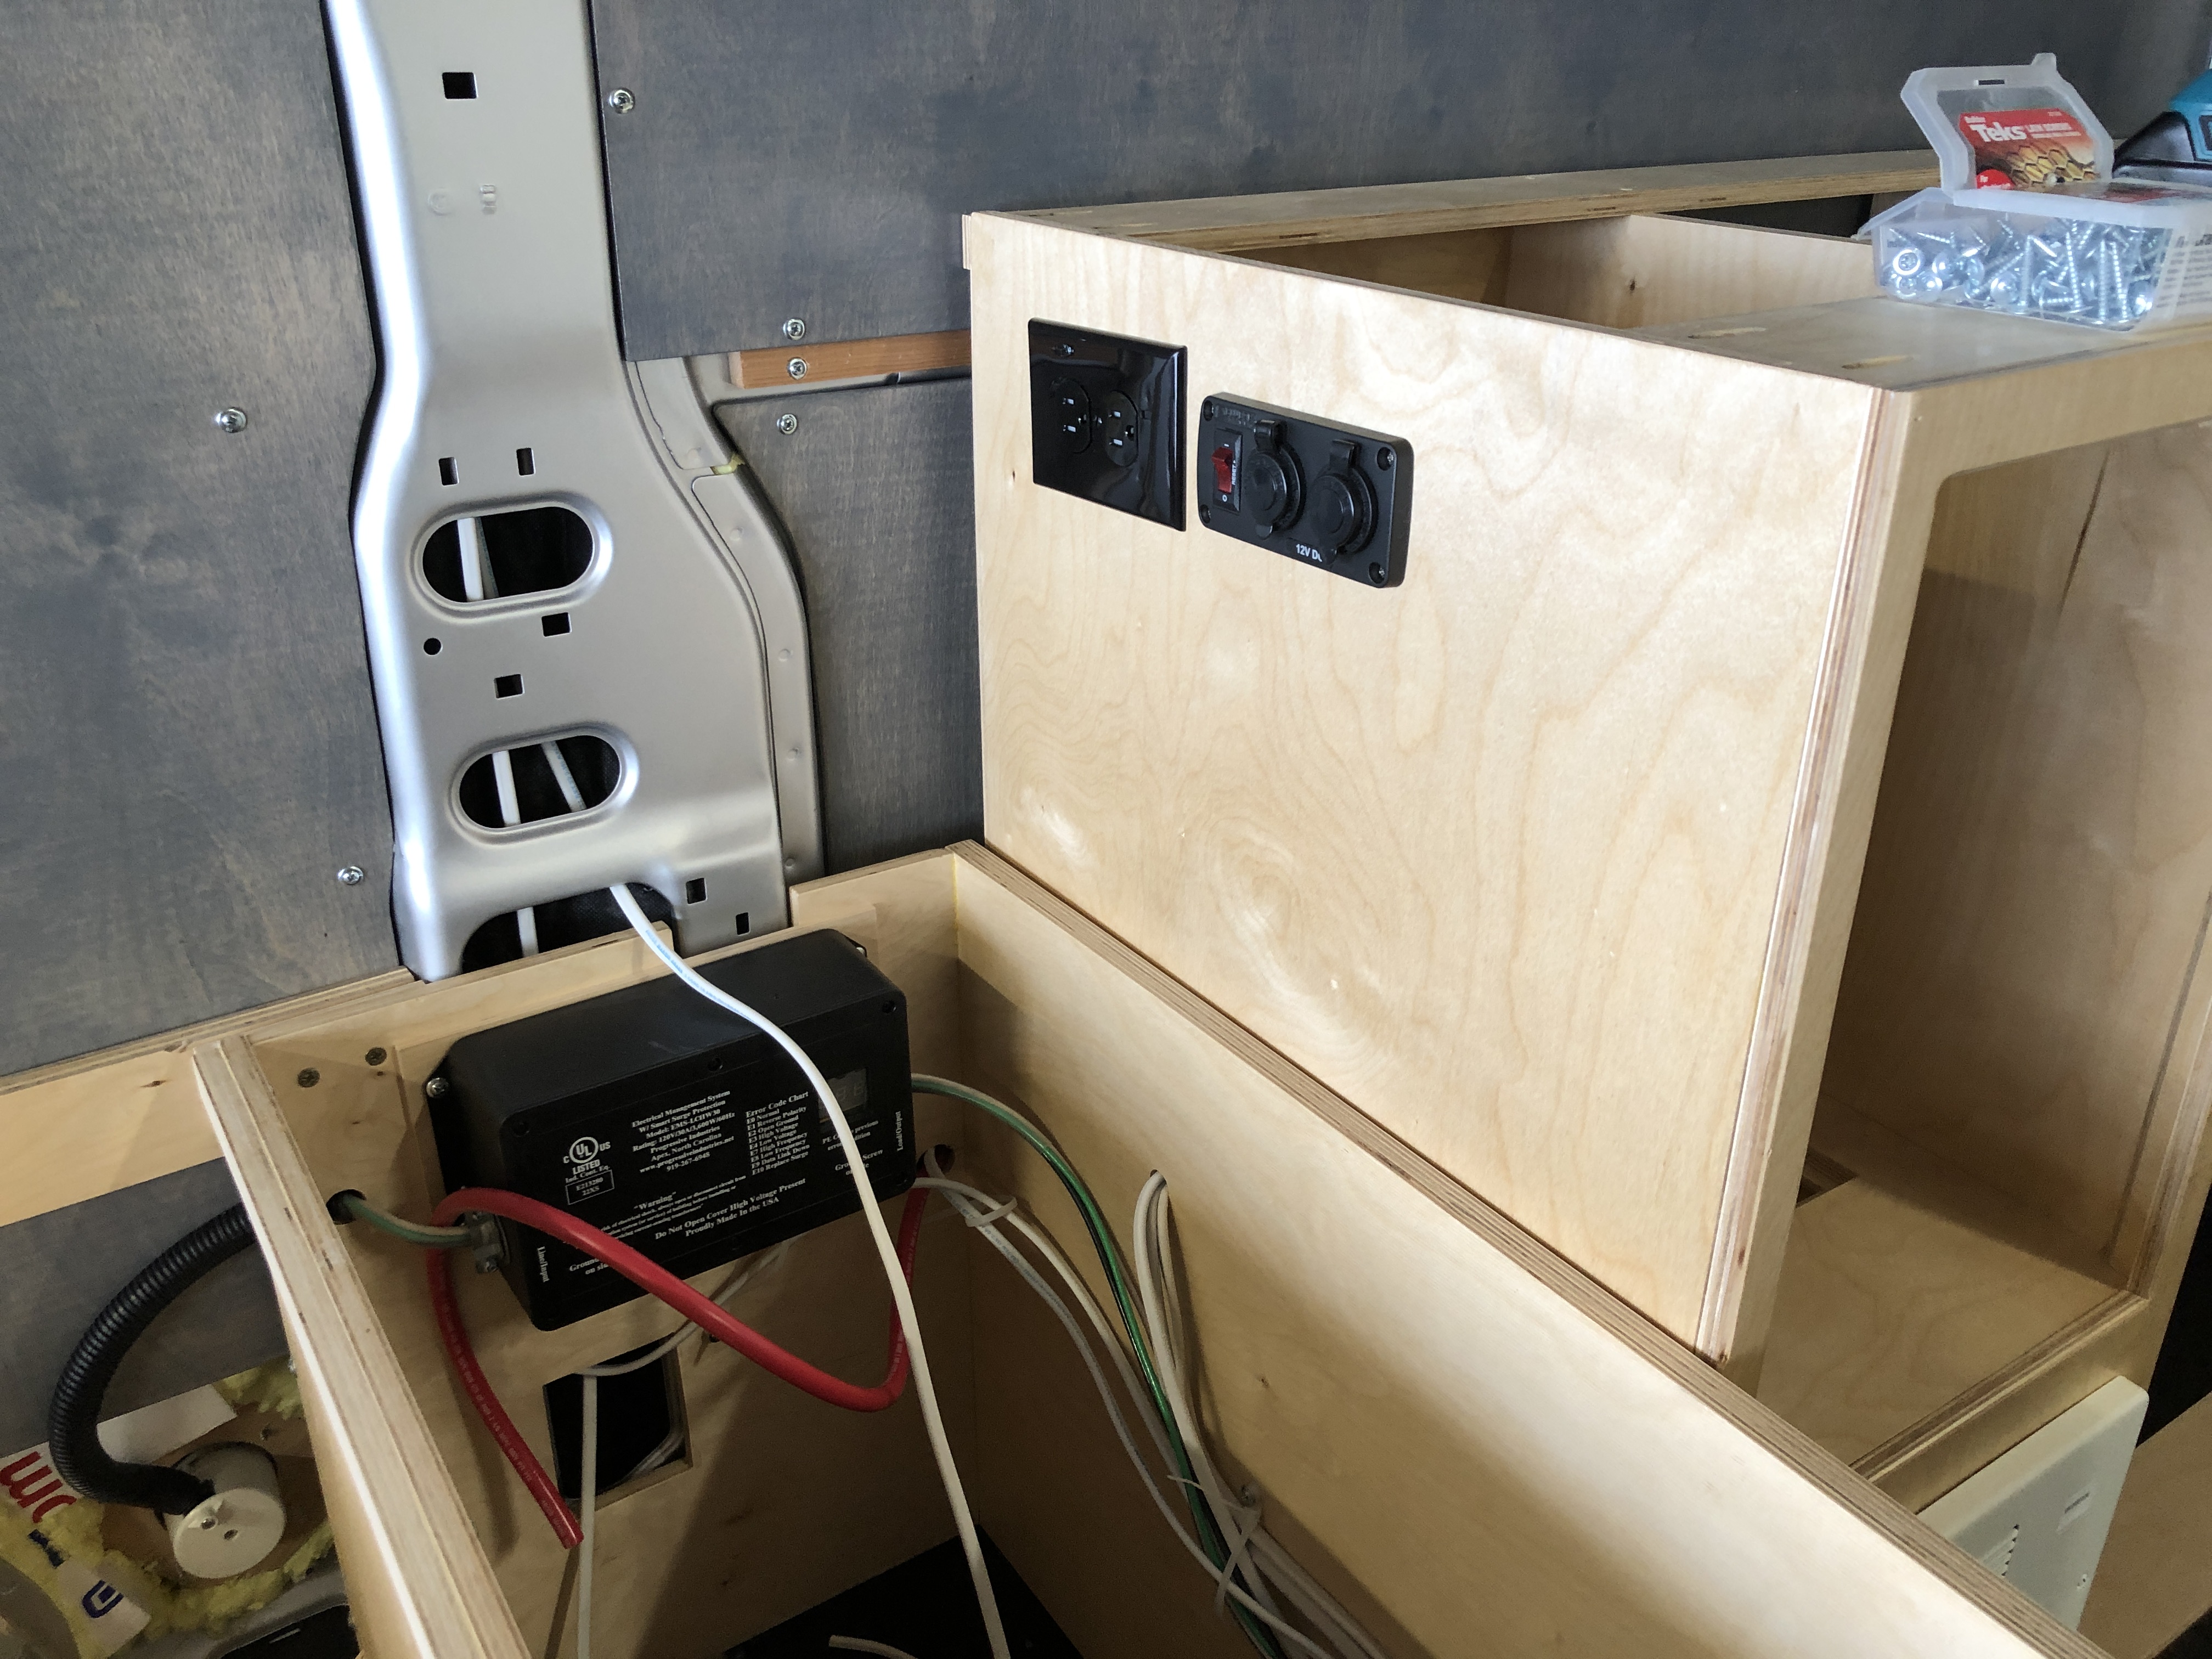
The end of the cabinet has a 110V, 12V, and USB power station. These will have easy access to use from the kitchen counter top.
Here’s the cabinet installed into the van. I have wired in the heater and the line for the ARB fridge is mounted at the back of the drawer opening. Still need to add something to secure the front of the shelf to keep the stoves secure while driving.

Here’s the lid for the hidden trap door behind the heater. It’s actually quite a bit of space, but access won’t be too great.
Building the overhead cabinet starts with a frame. The plan is to build a structural frame and attach it to the finished walls and ceiling to save weight of the finished cabinet. It’s mostly built with pocket screws and birch plywood and custom fit to the angles on the wall and ceiling.
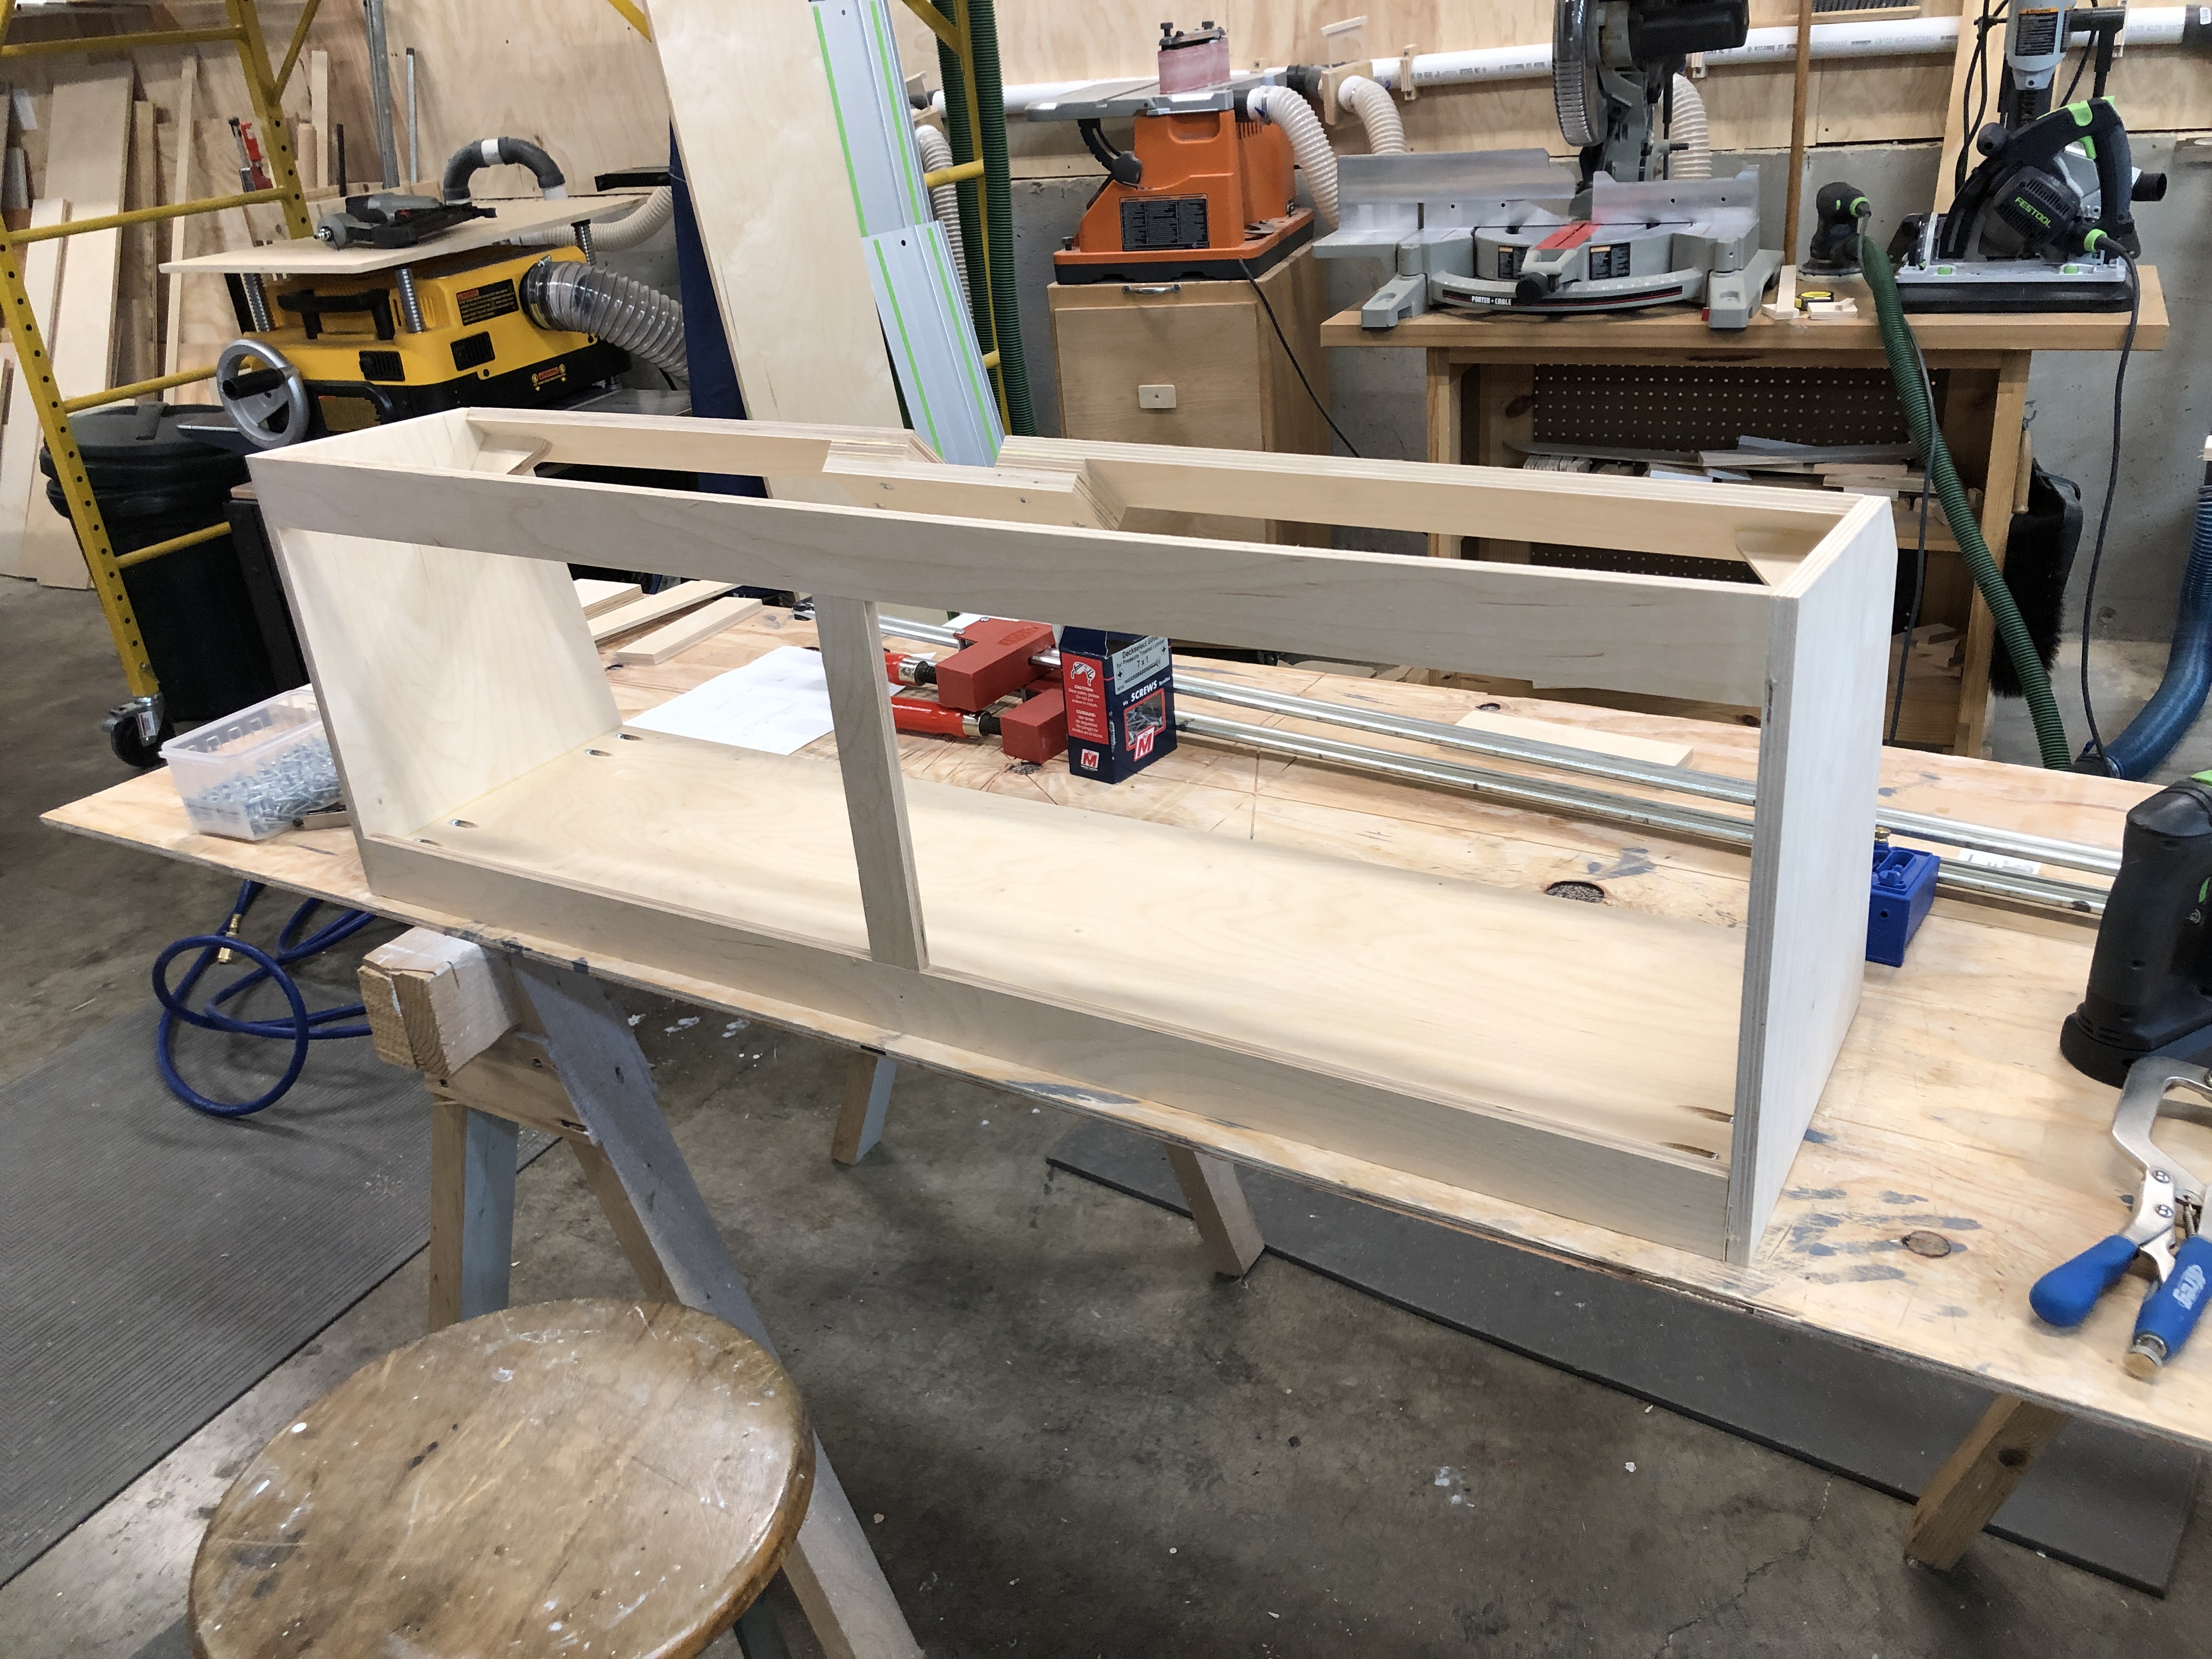
The little joggle in the top structure is to accommodate the van rib structure that passes behind the cabinet location.

I installed some 1/4-20 riv-nuts into the side ceiling corners to secure the overhead cabinet.
The doors are held up with gas struts that give a nice full open and soft action. They were fairly easy to install and came with instructions and measurements to get them to fit nicely.

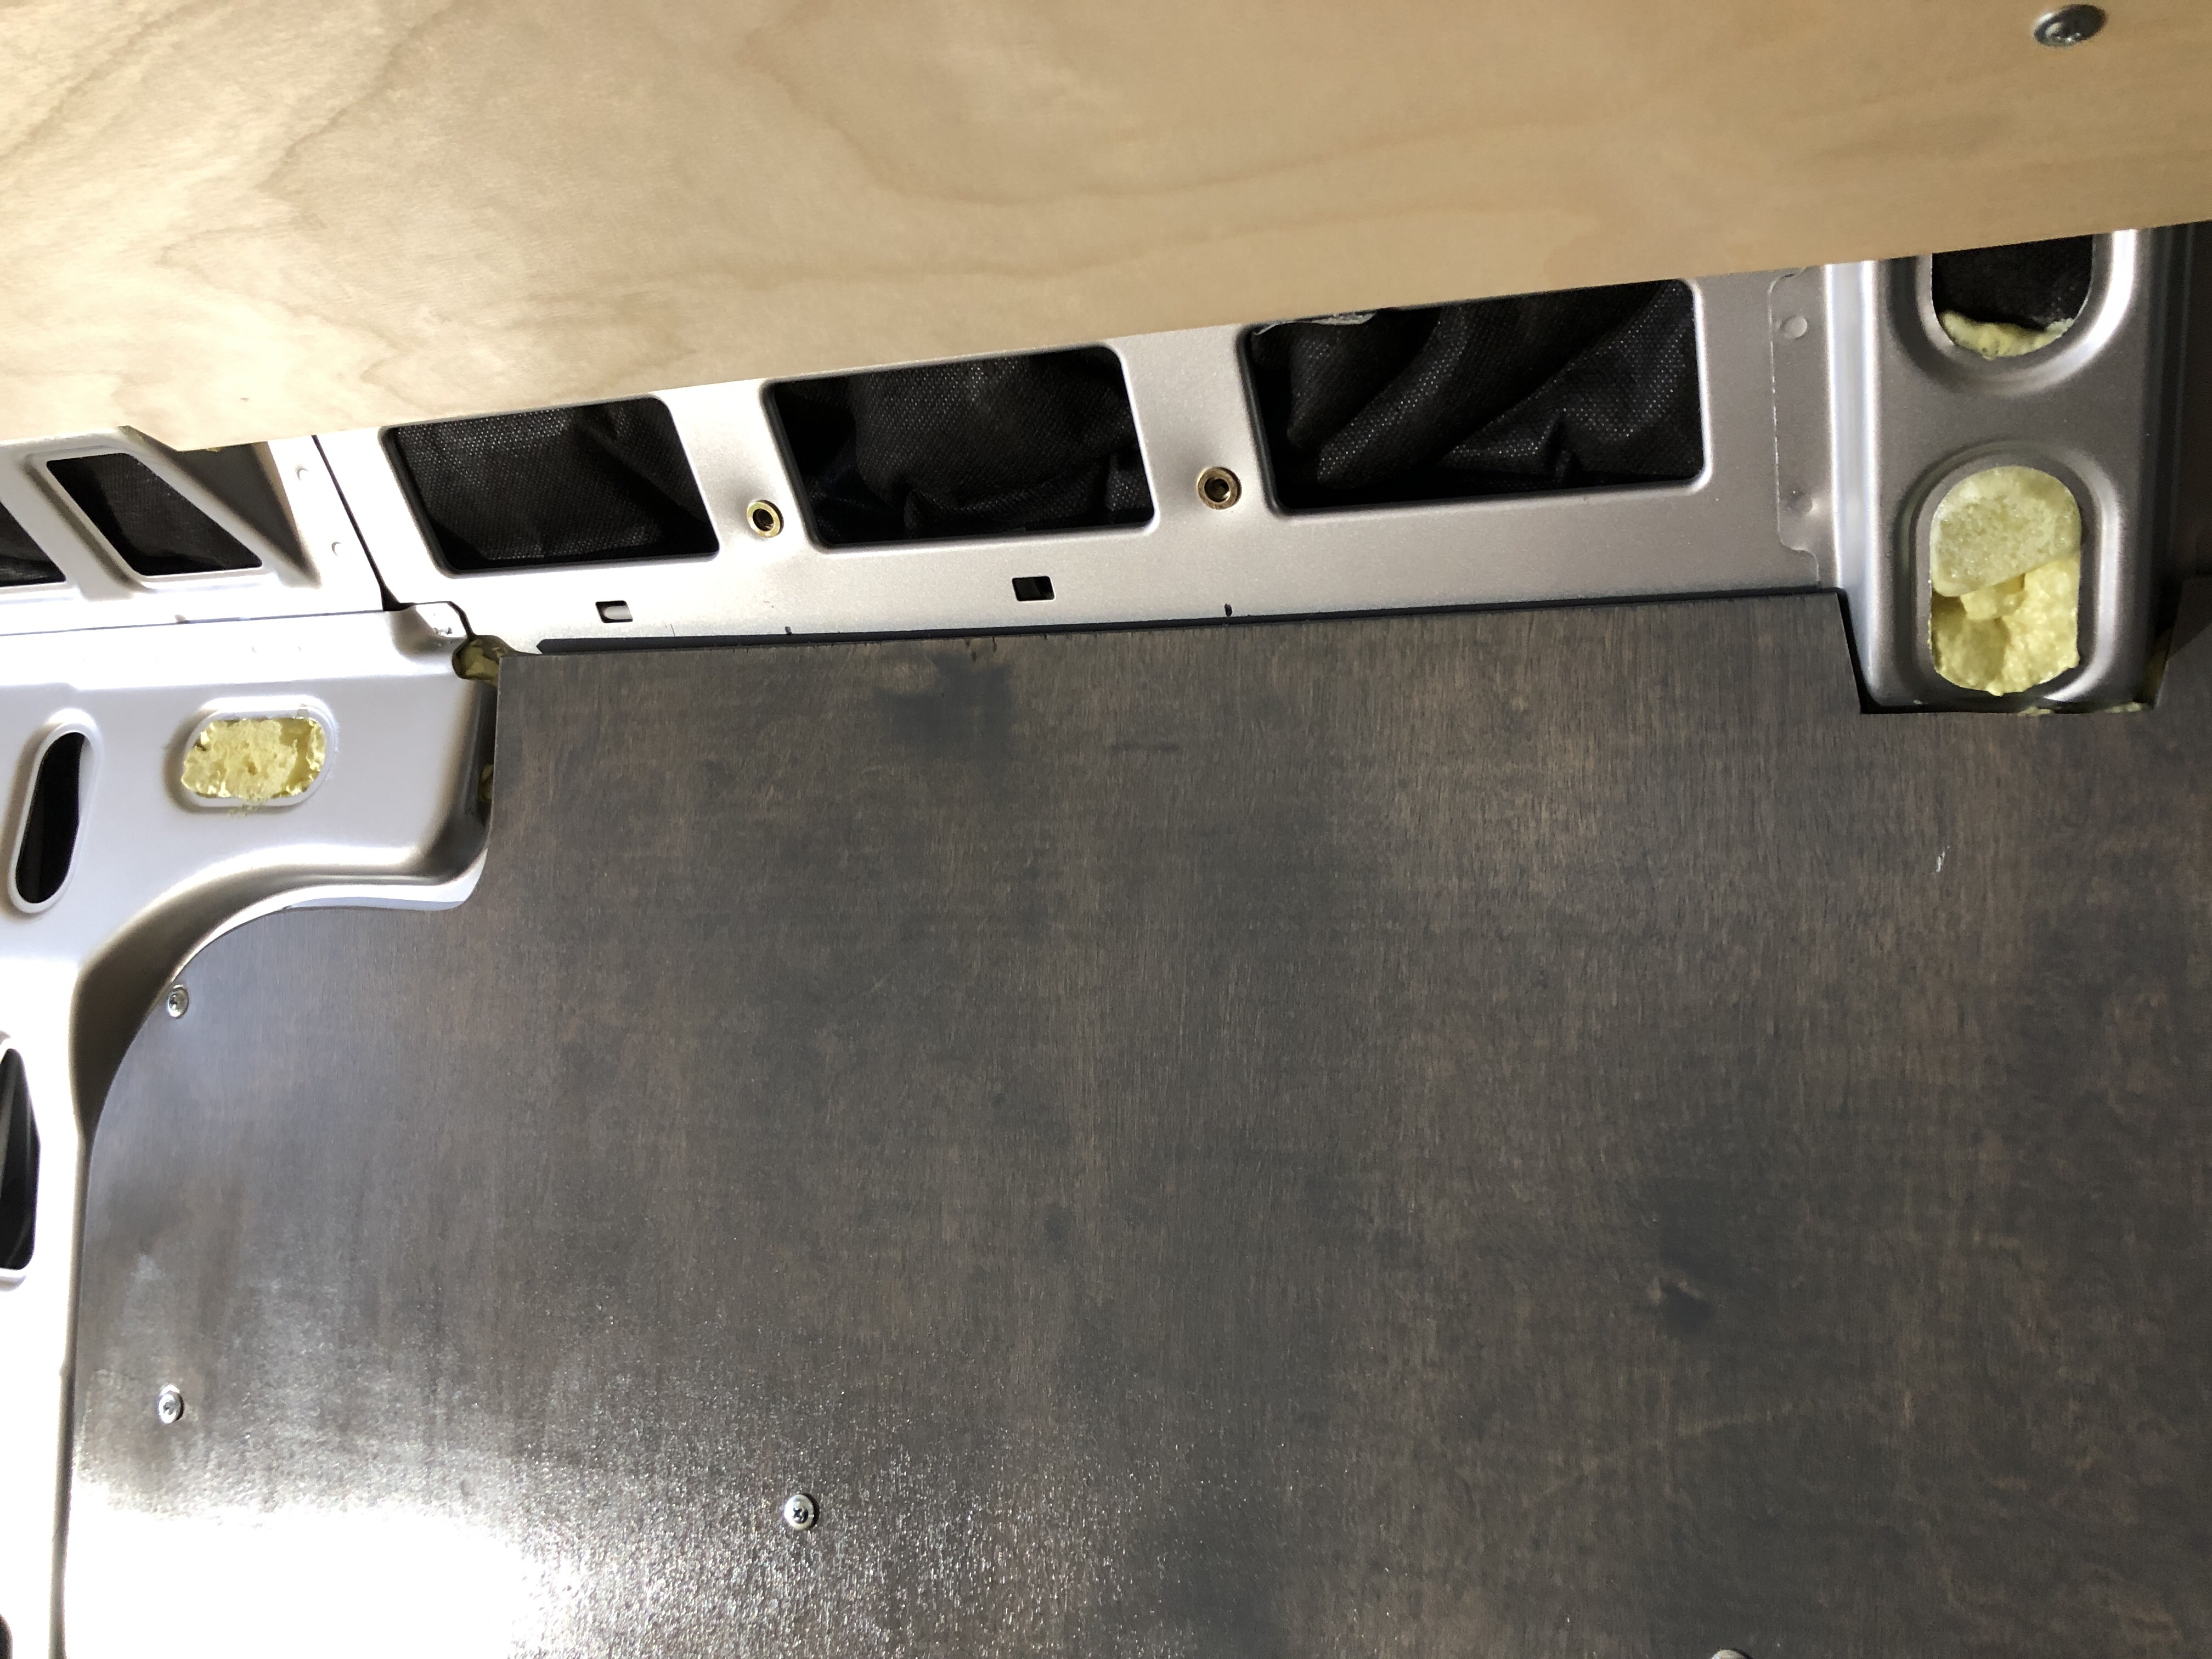
With the top of the cabinet held in place with riv-nuts, the back strip is secured into the horizontal steel structure behind the wall paneling. Between these 2 locations it is very secure in place.

Now you can see the entire kitchen setup. It’s getting closer to done now.

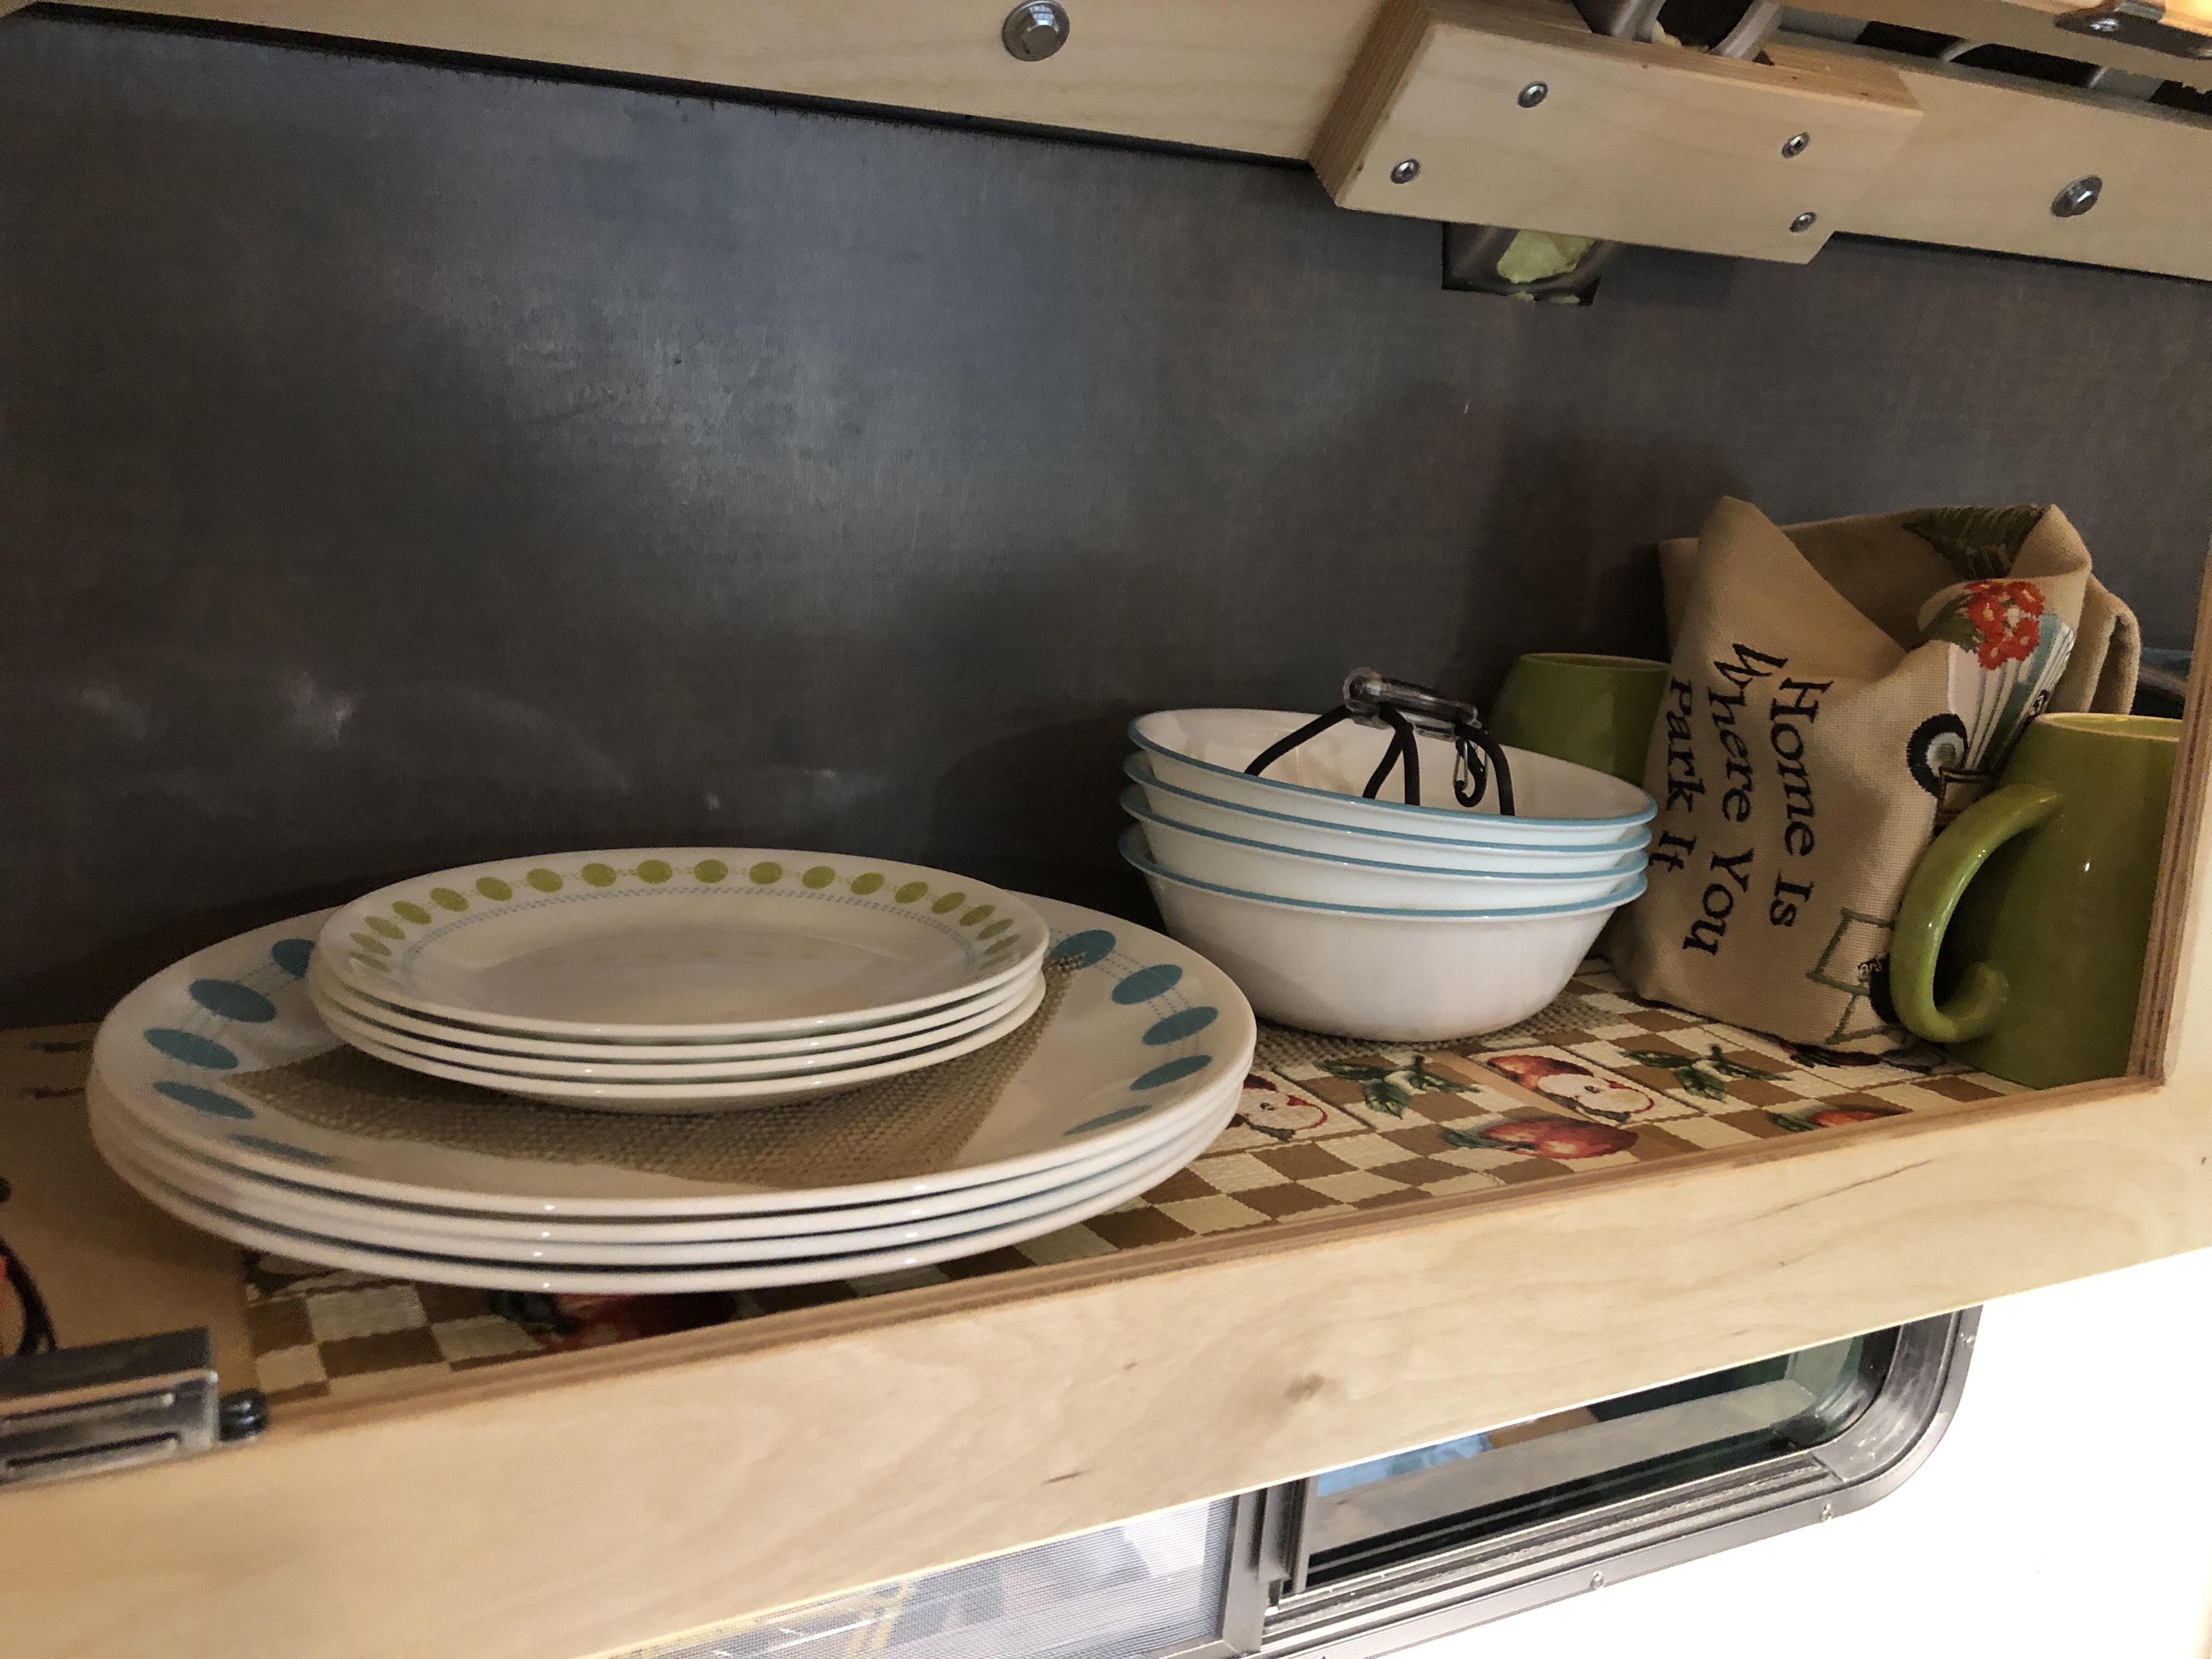
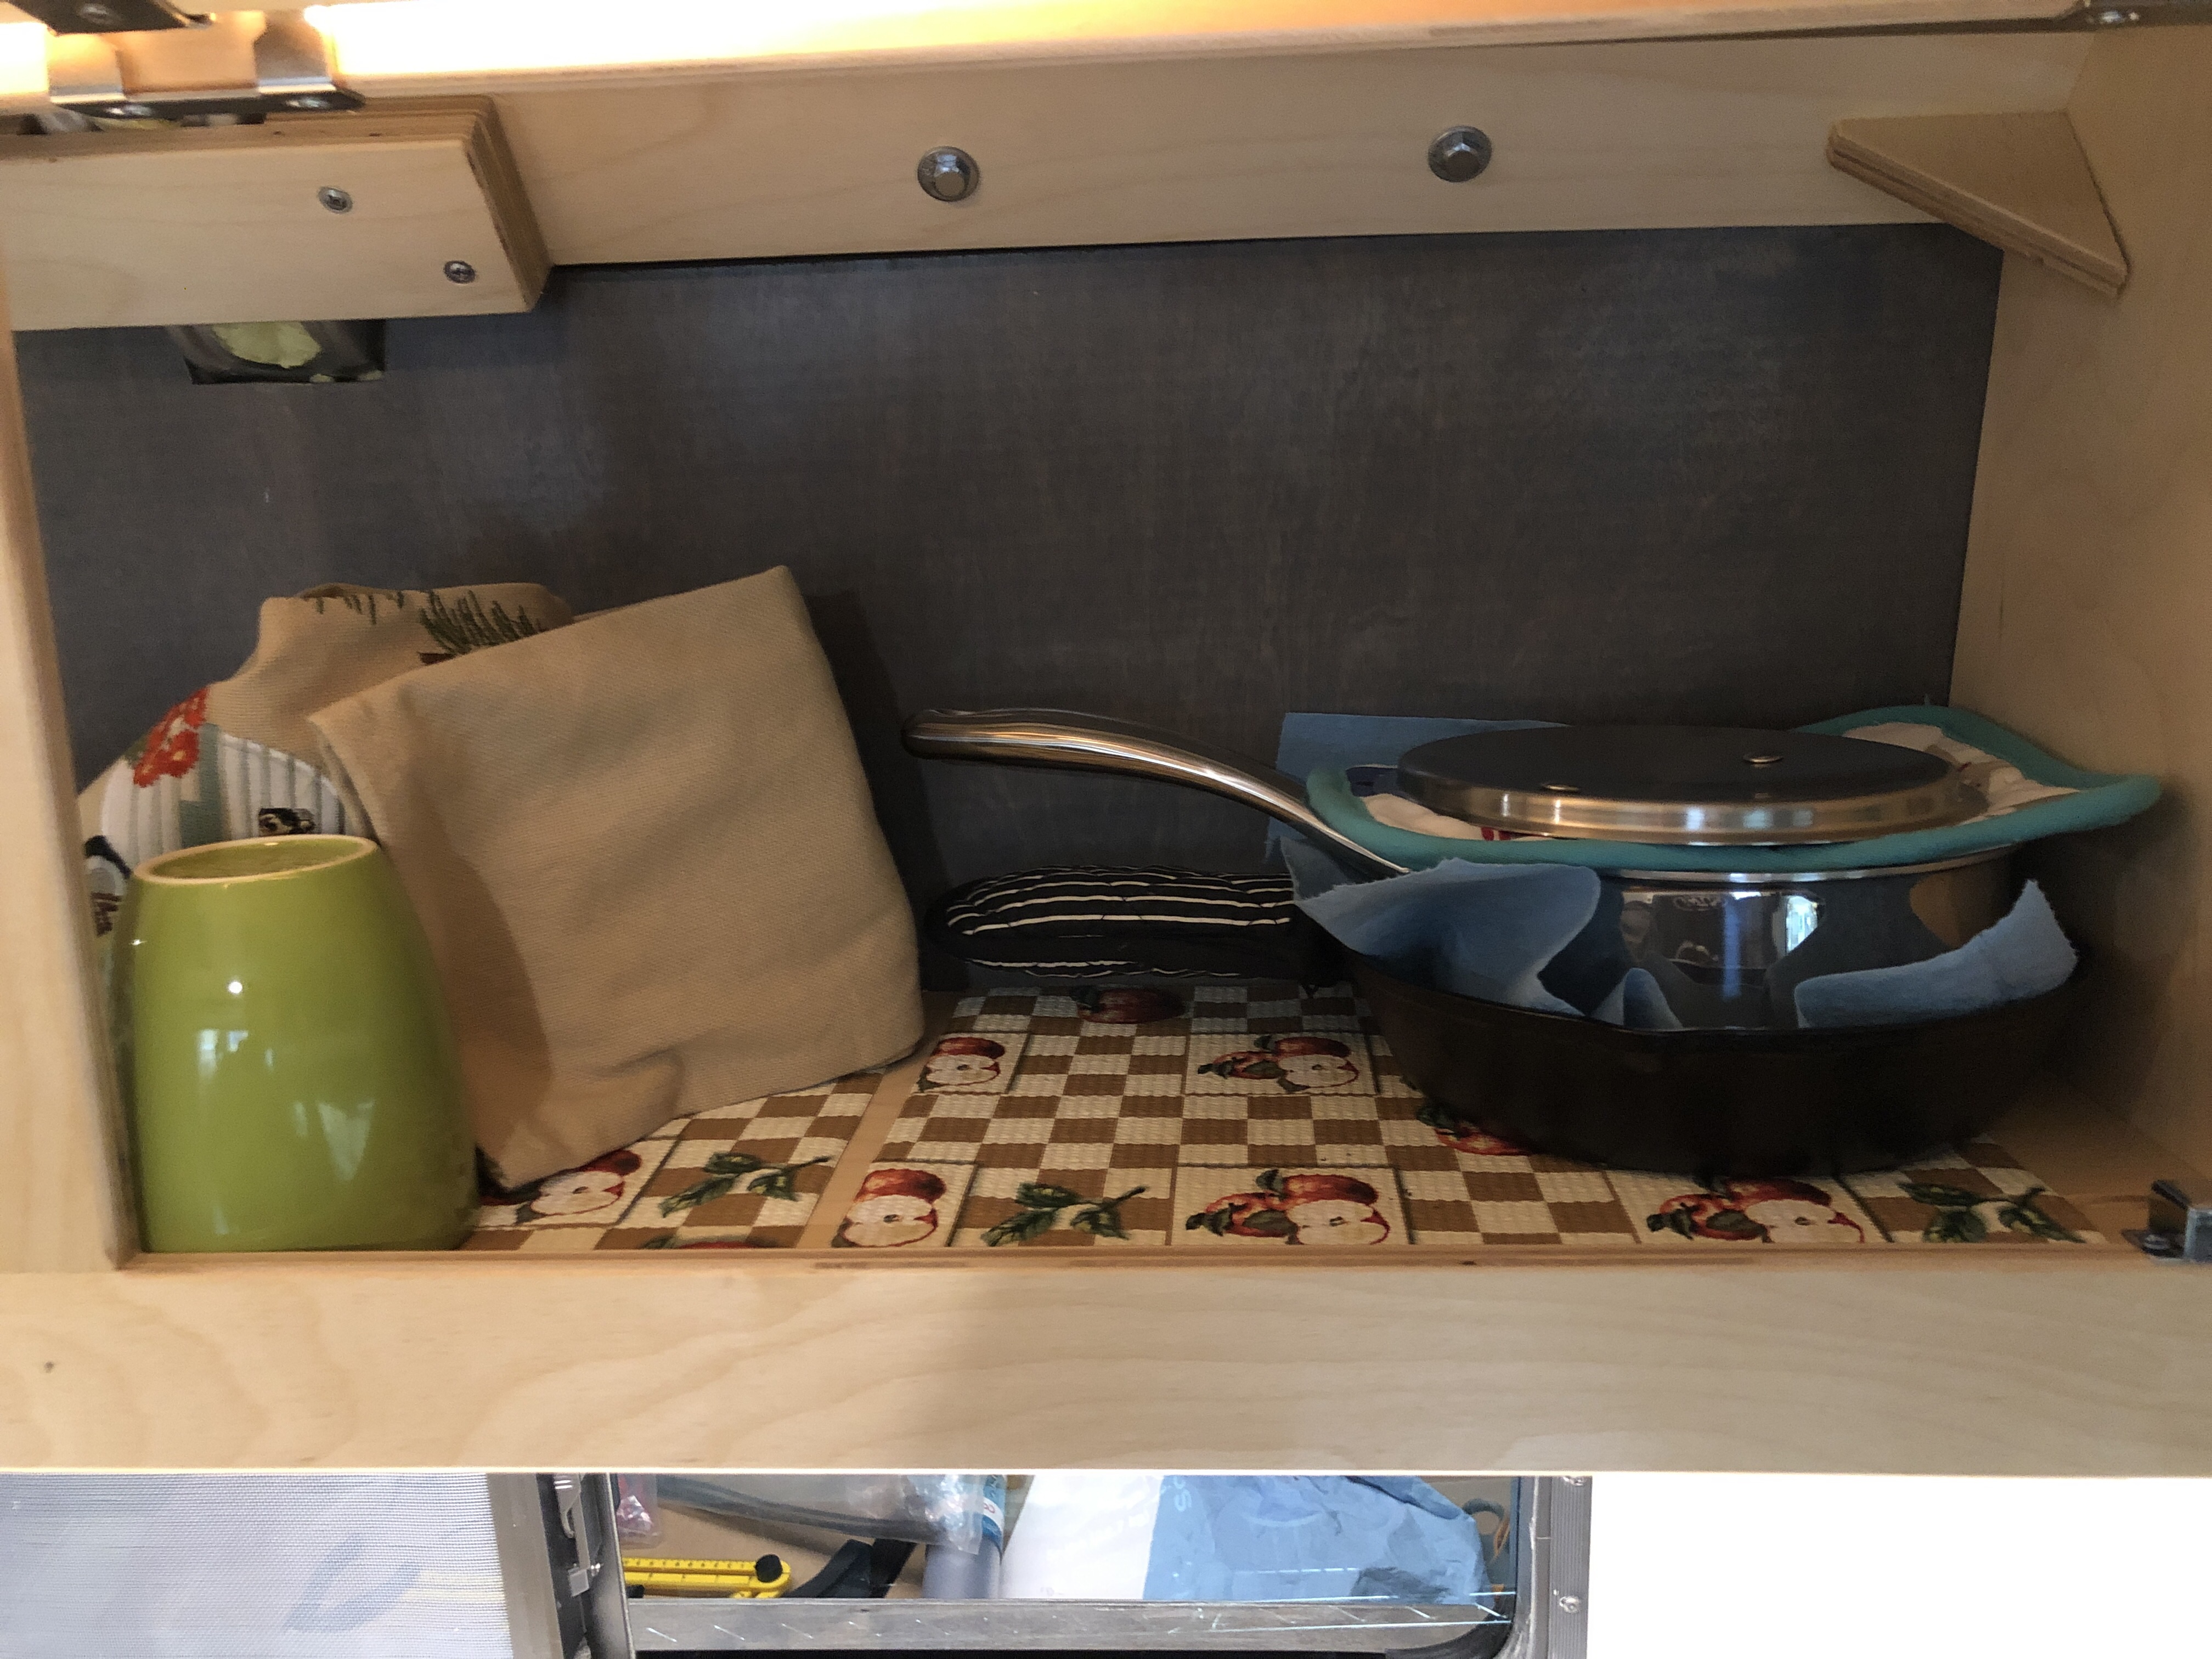
Starting to move in the accessories
Latch detail on the fridge drawer