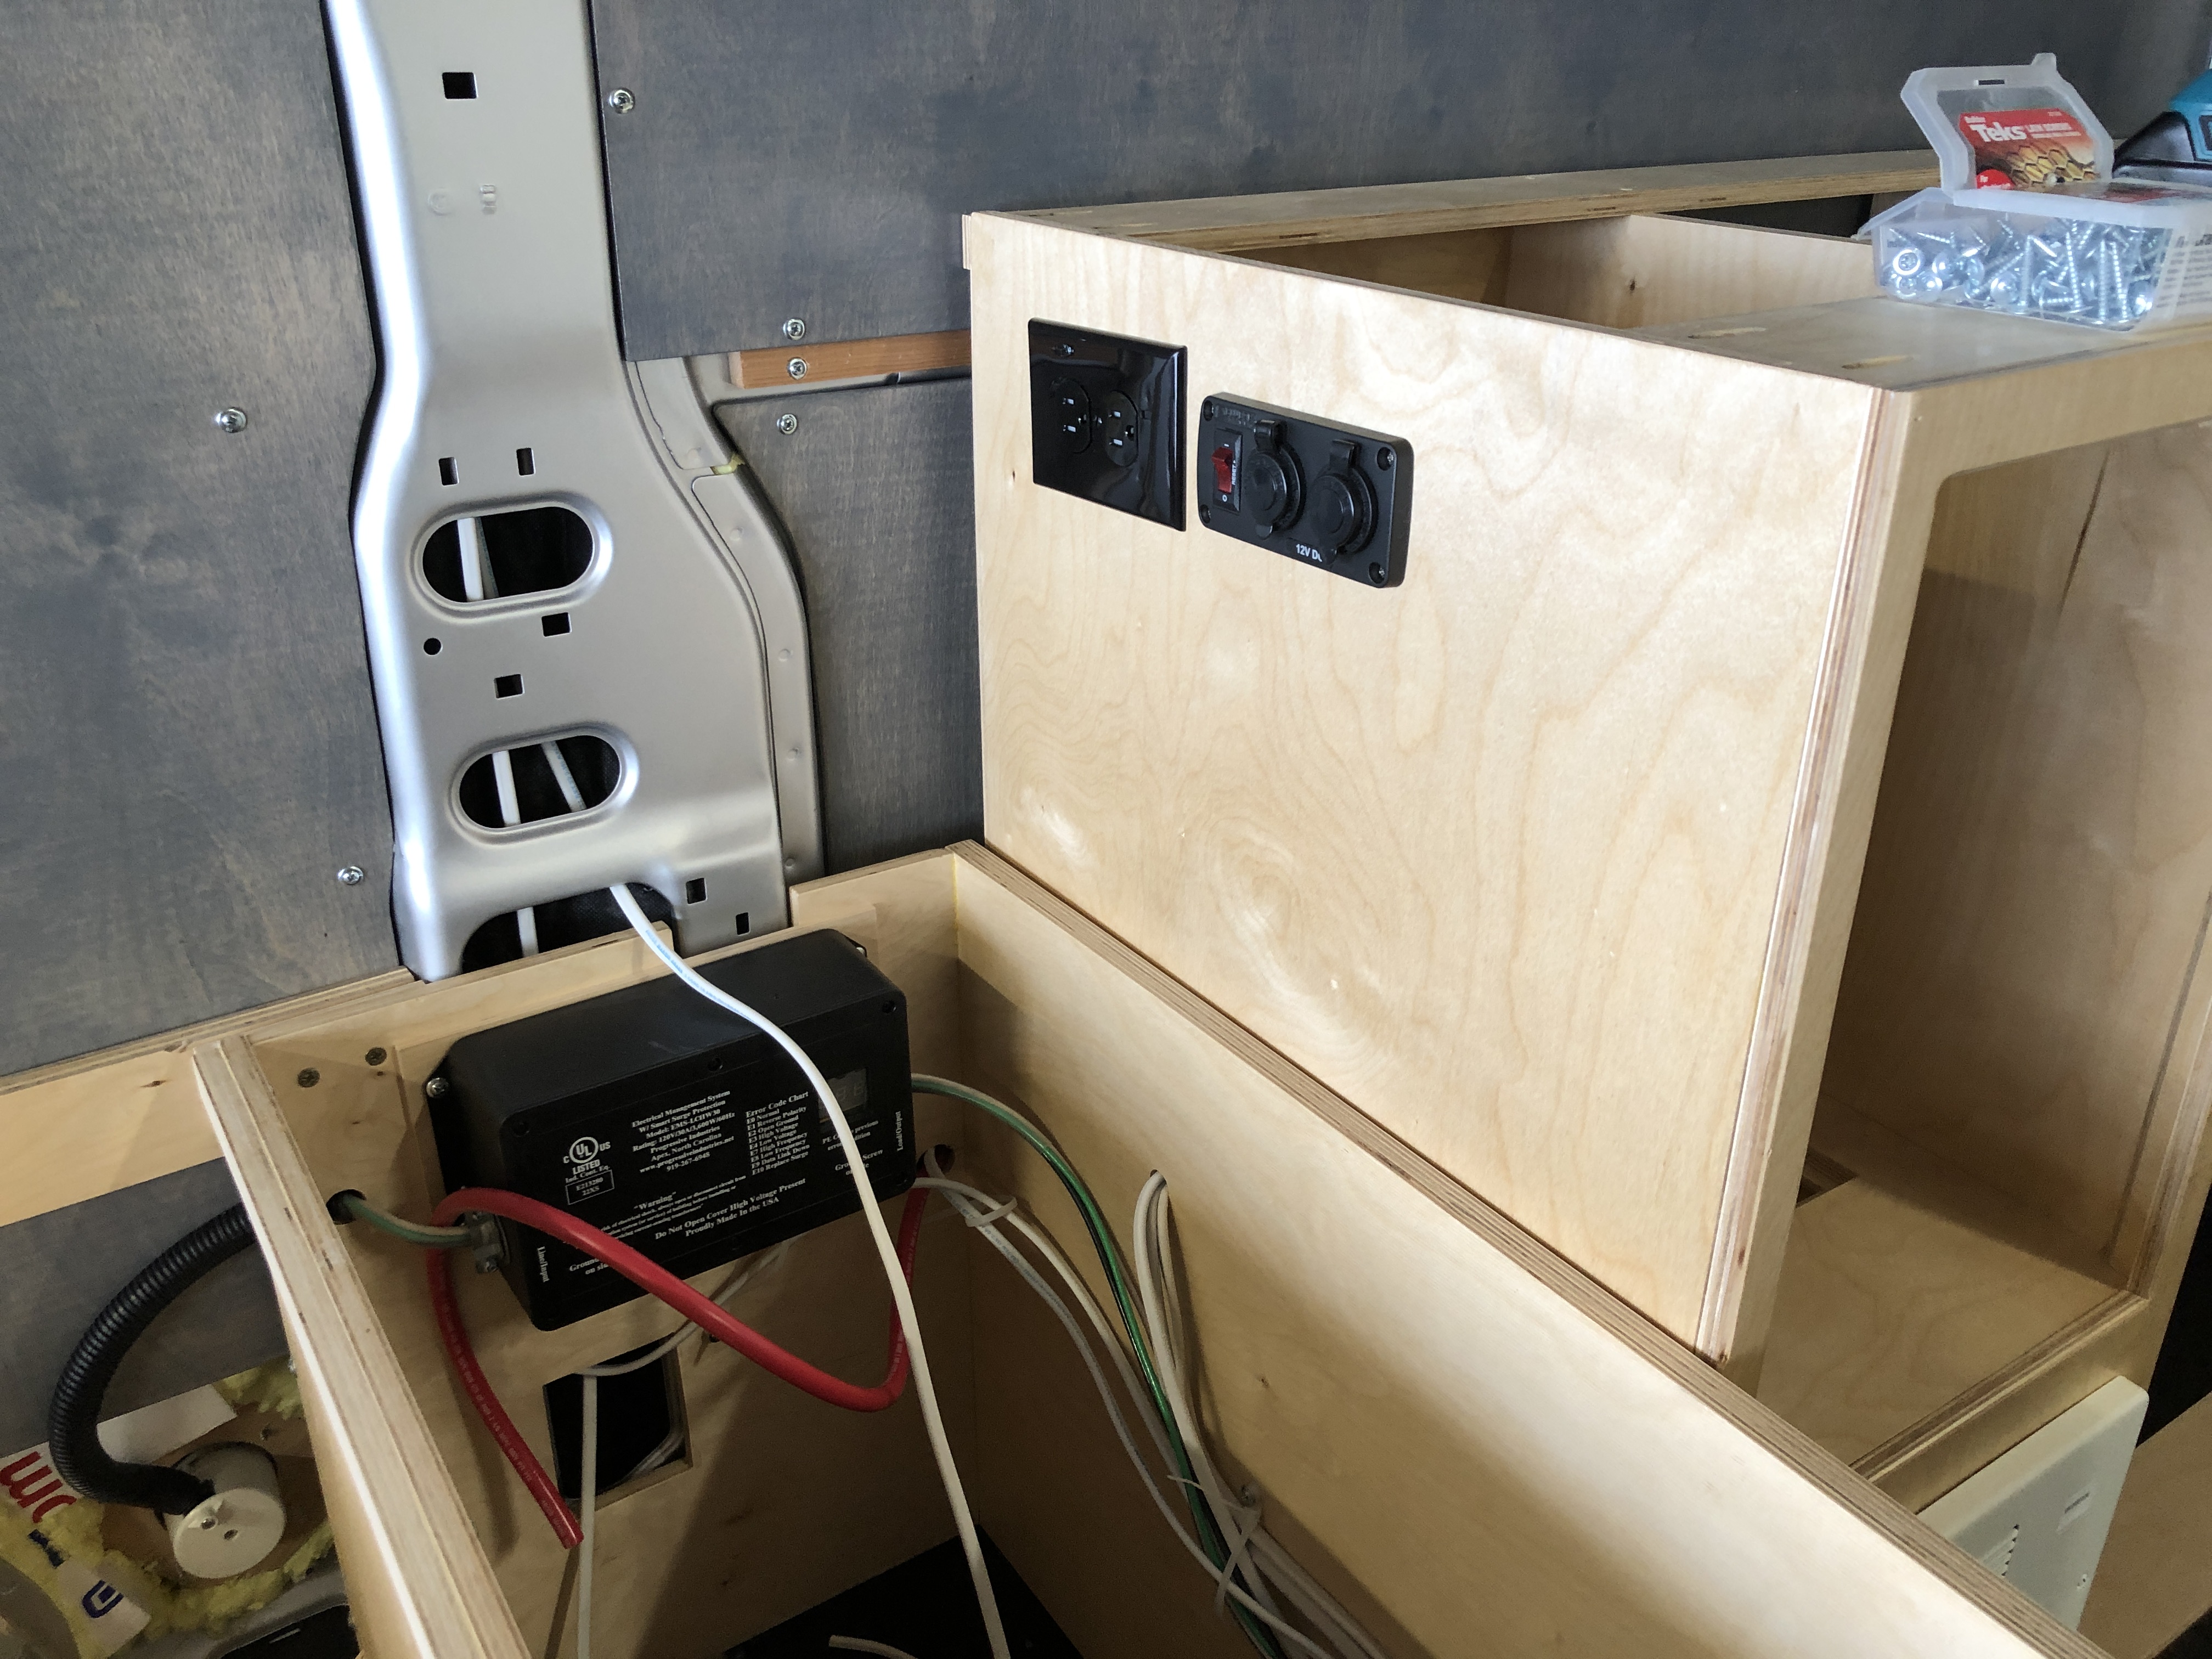
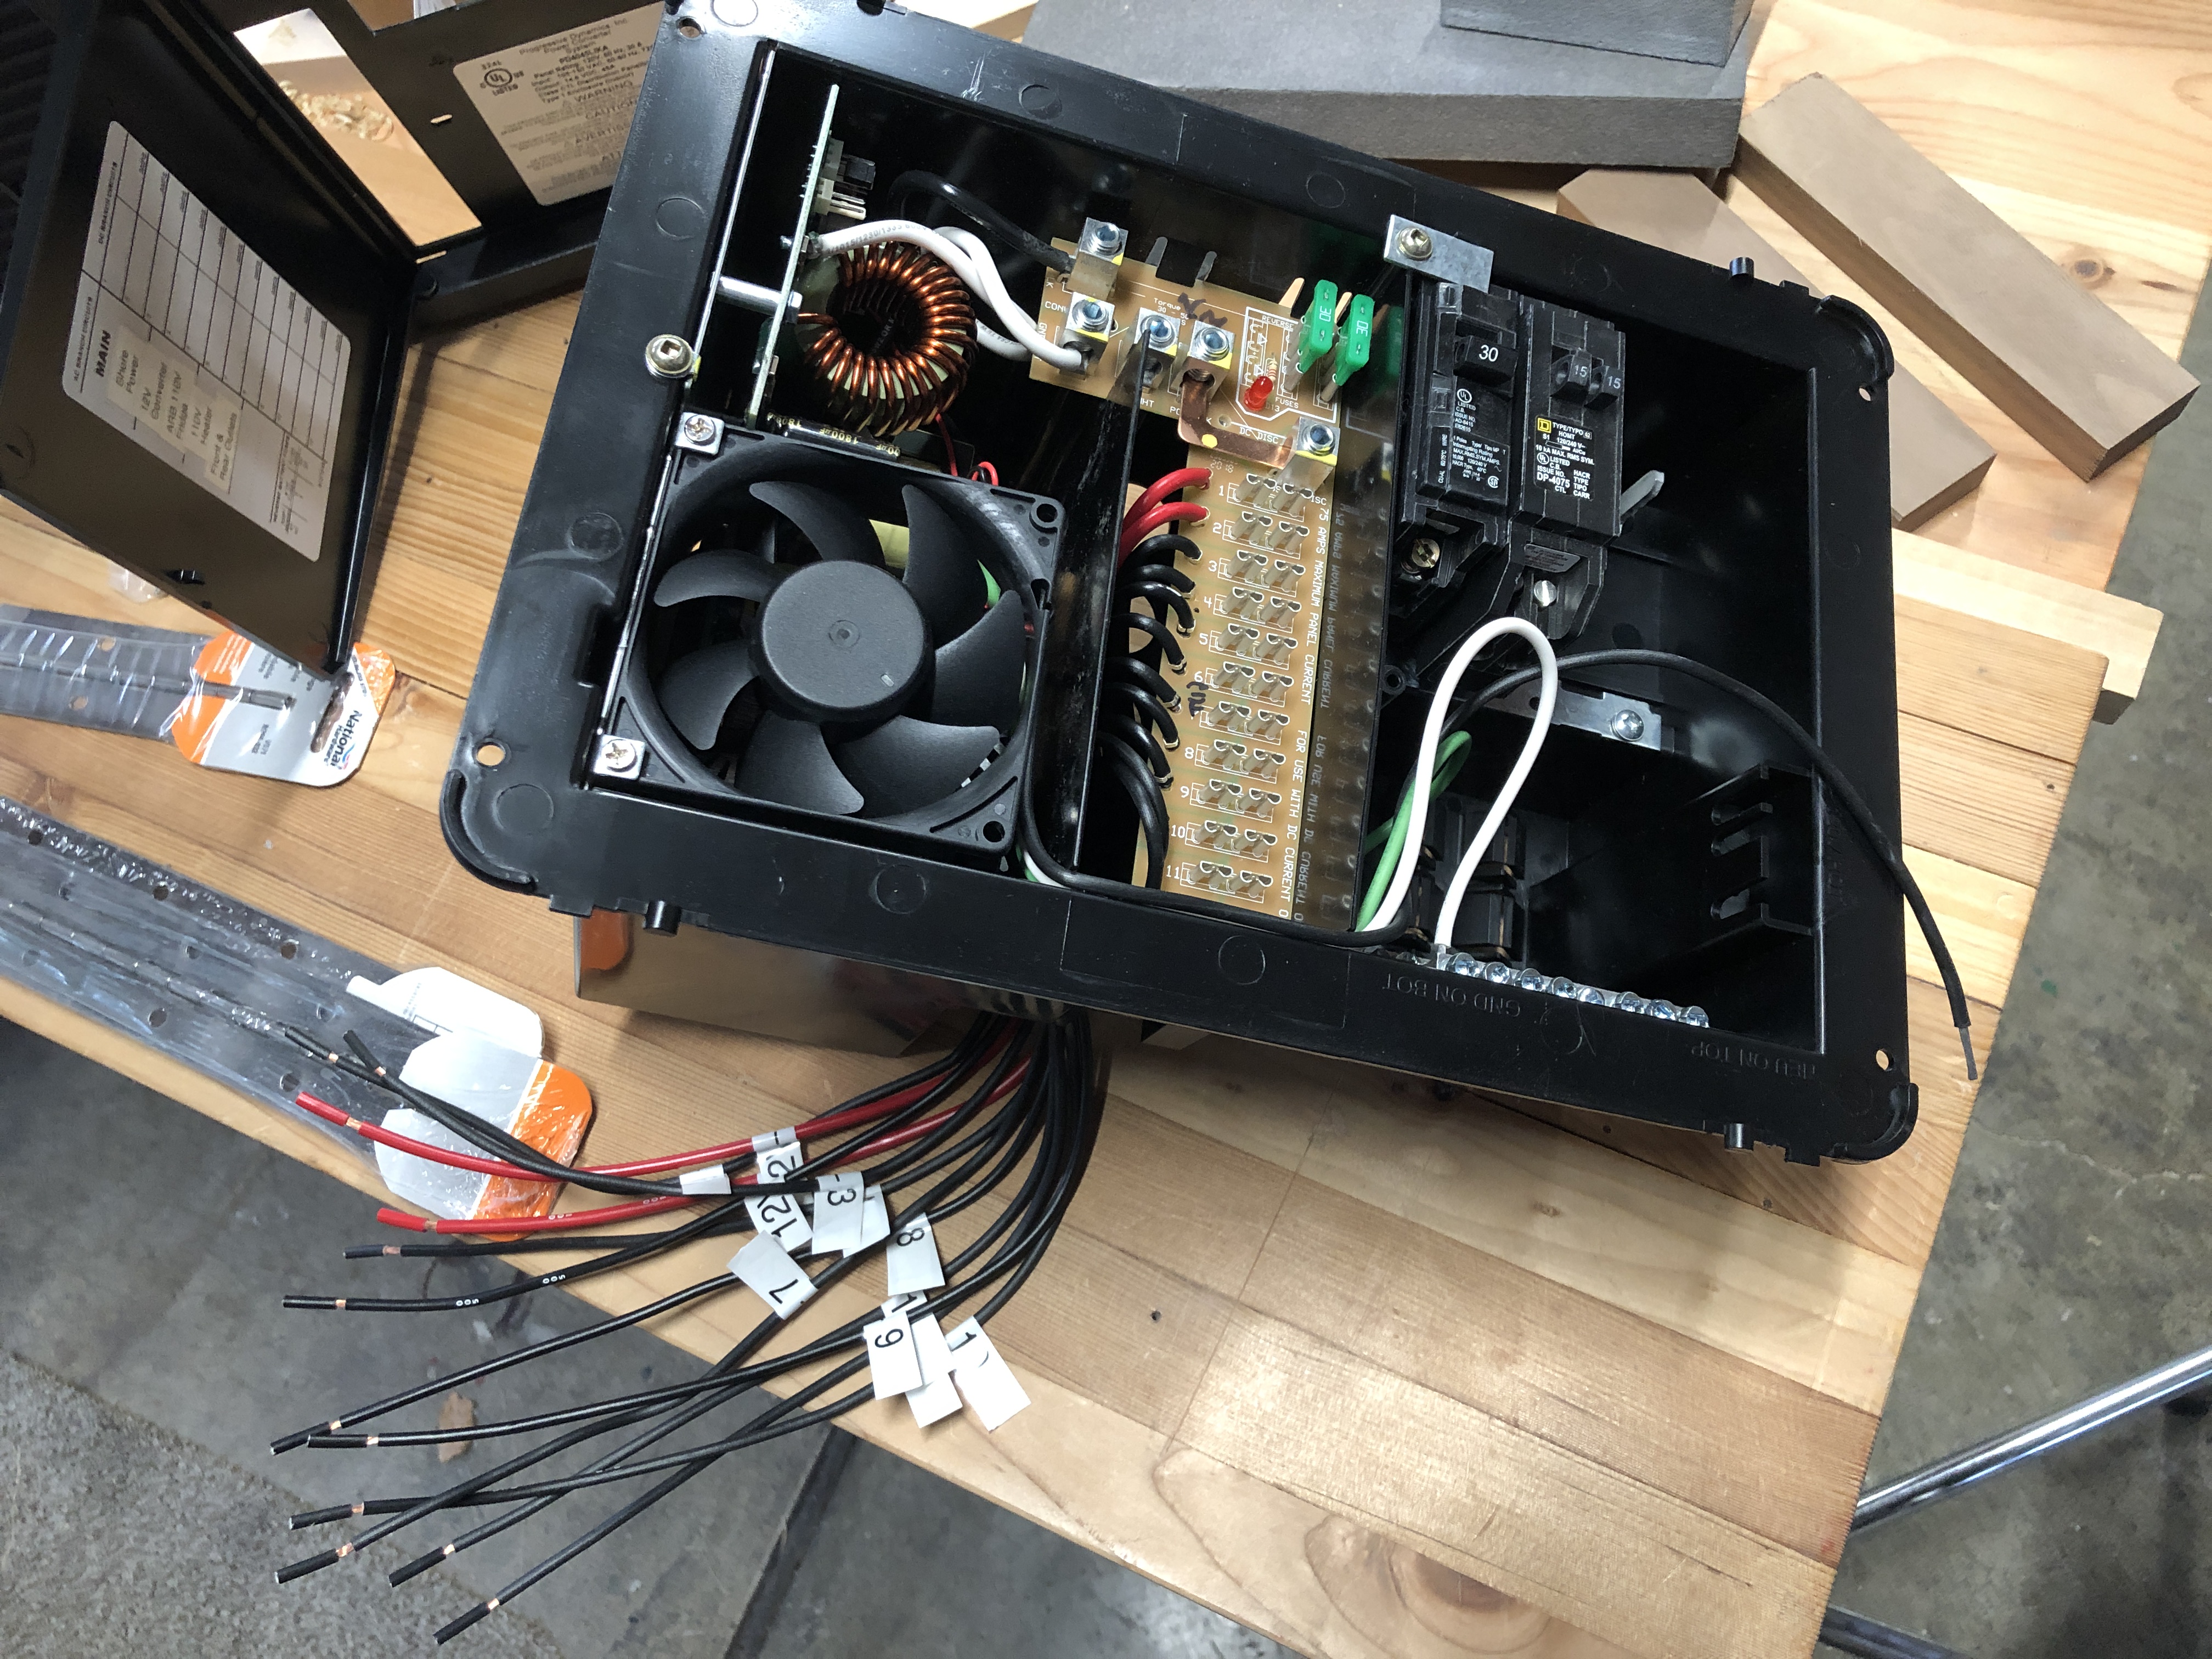
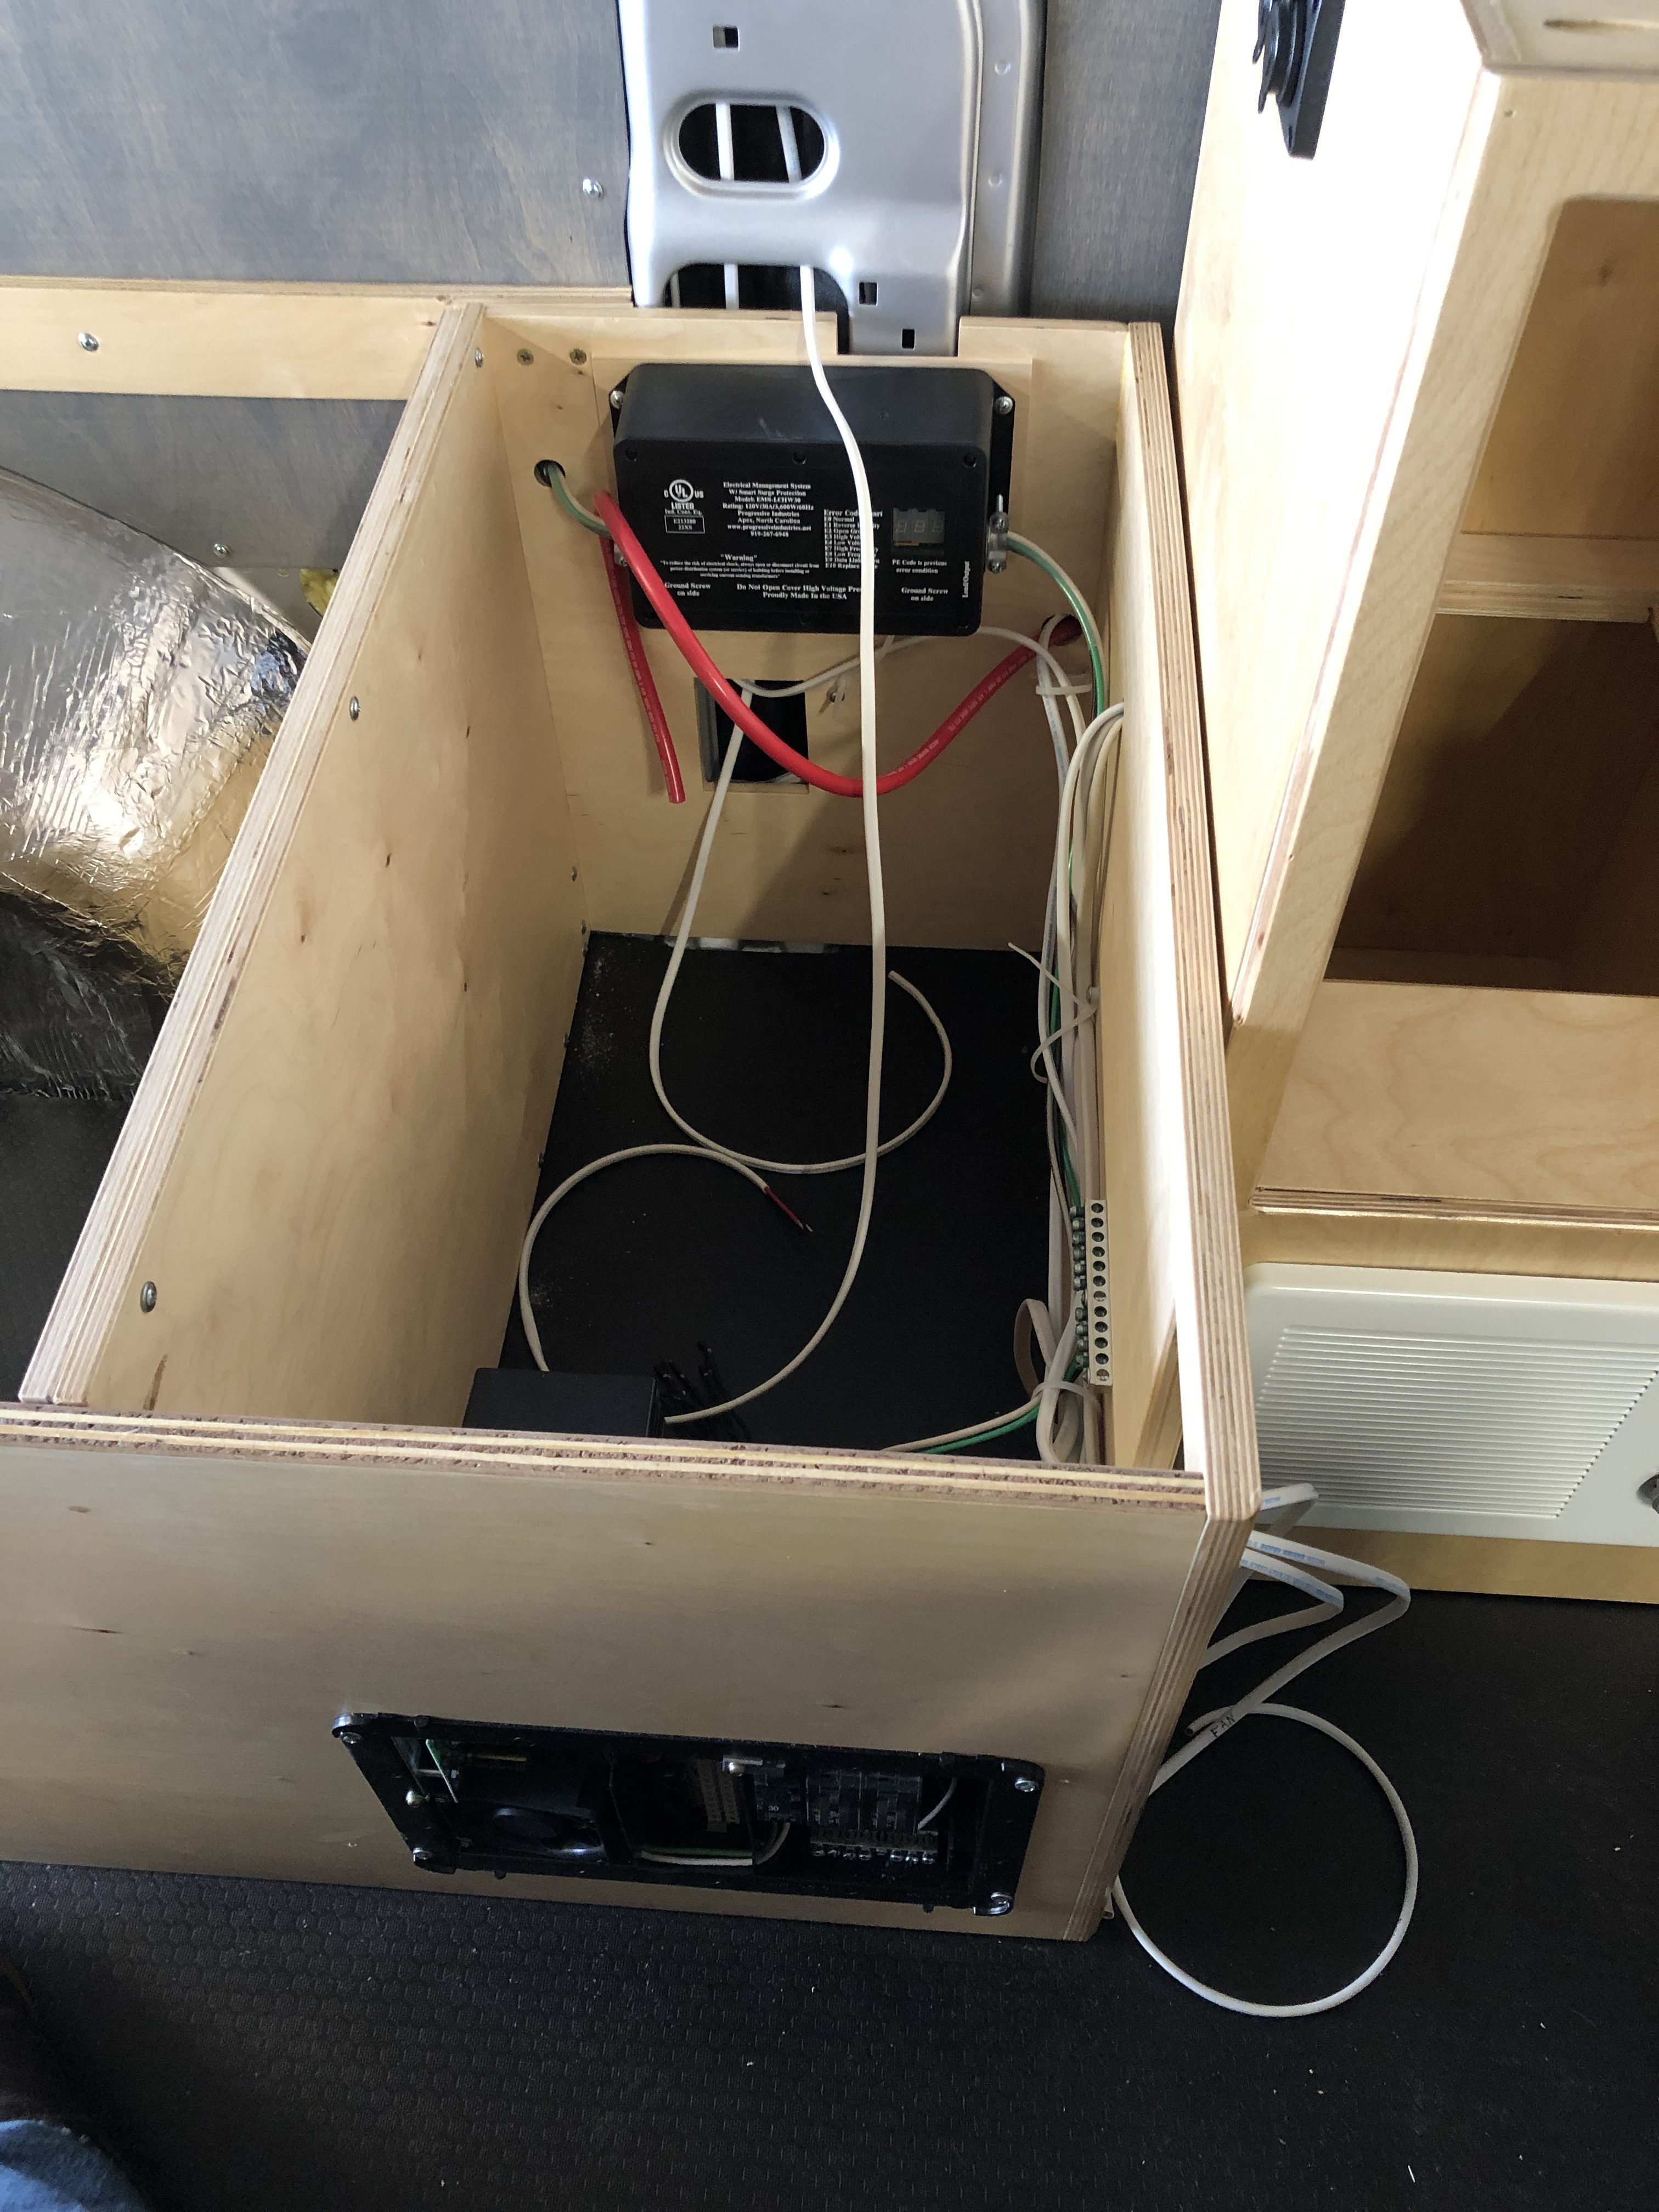
The very first thing was to take a volt-meter and test and label all the 12v circuits so that later once it’s in place in the van I can easily attach the branch circuits to the correct locations. I also added the 110v breakers that will serve the shore power system in the van.
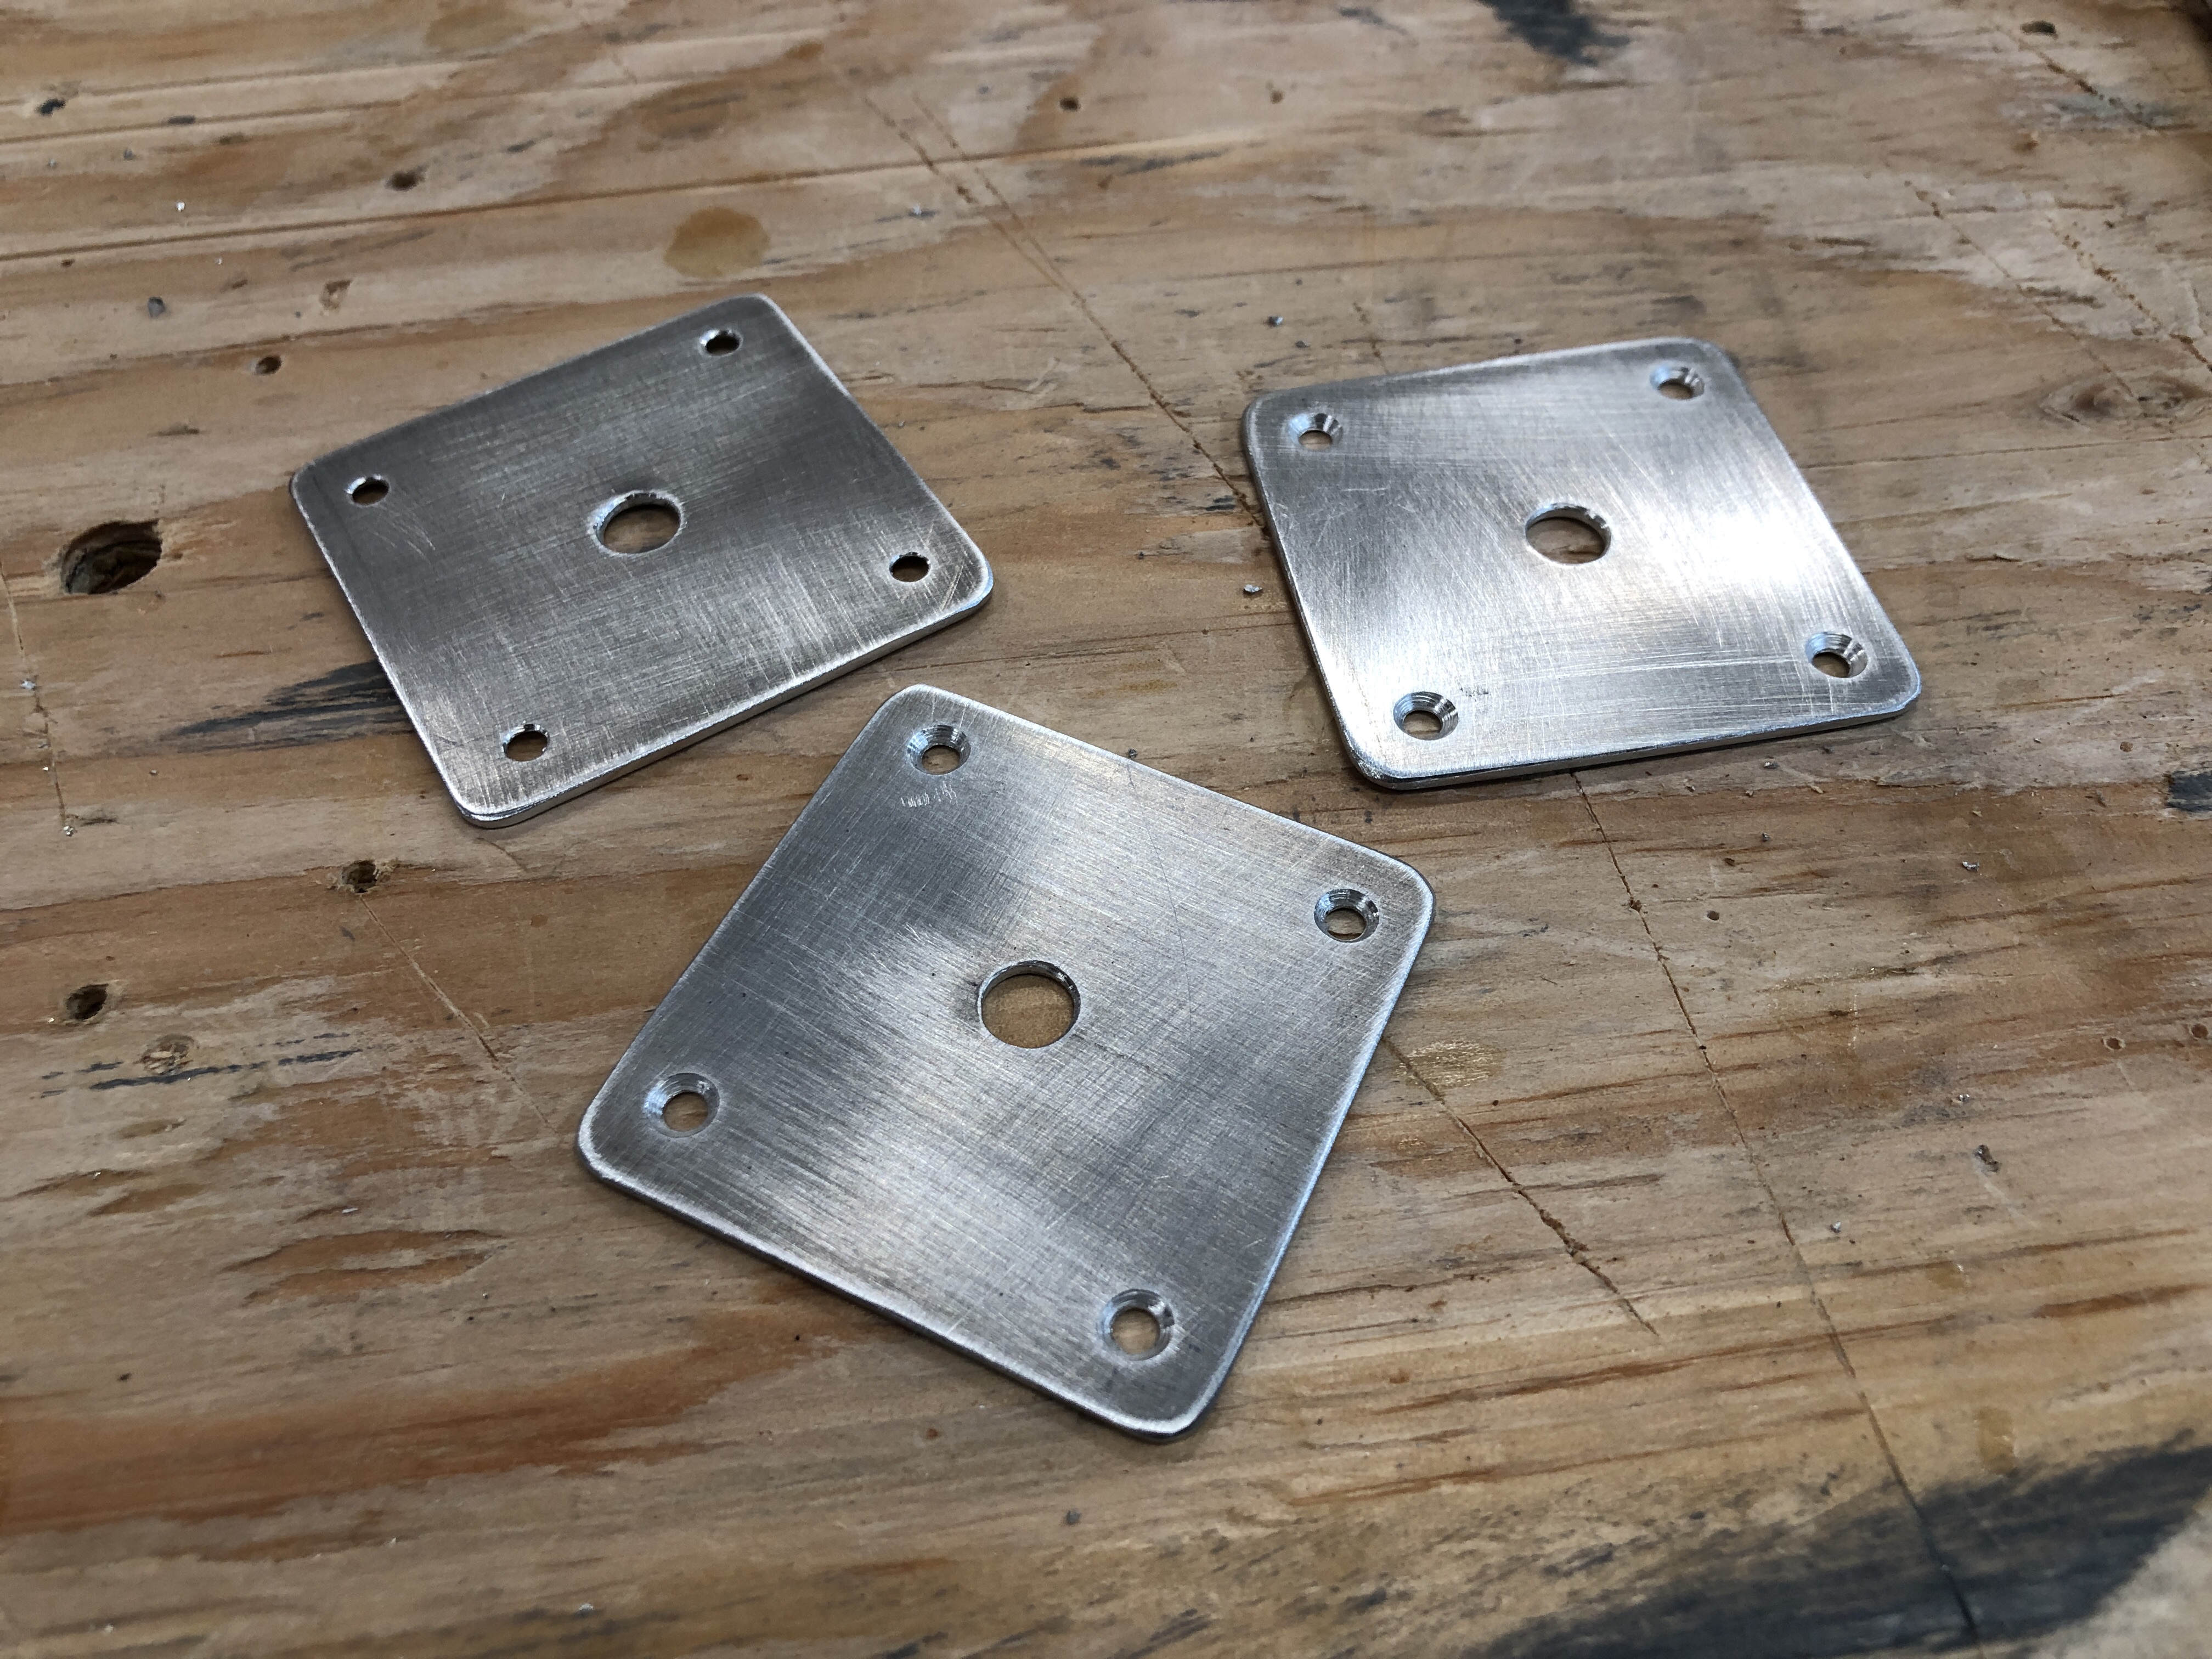
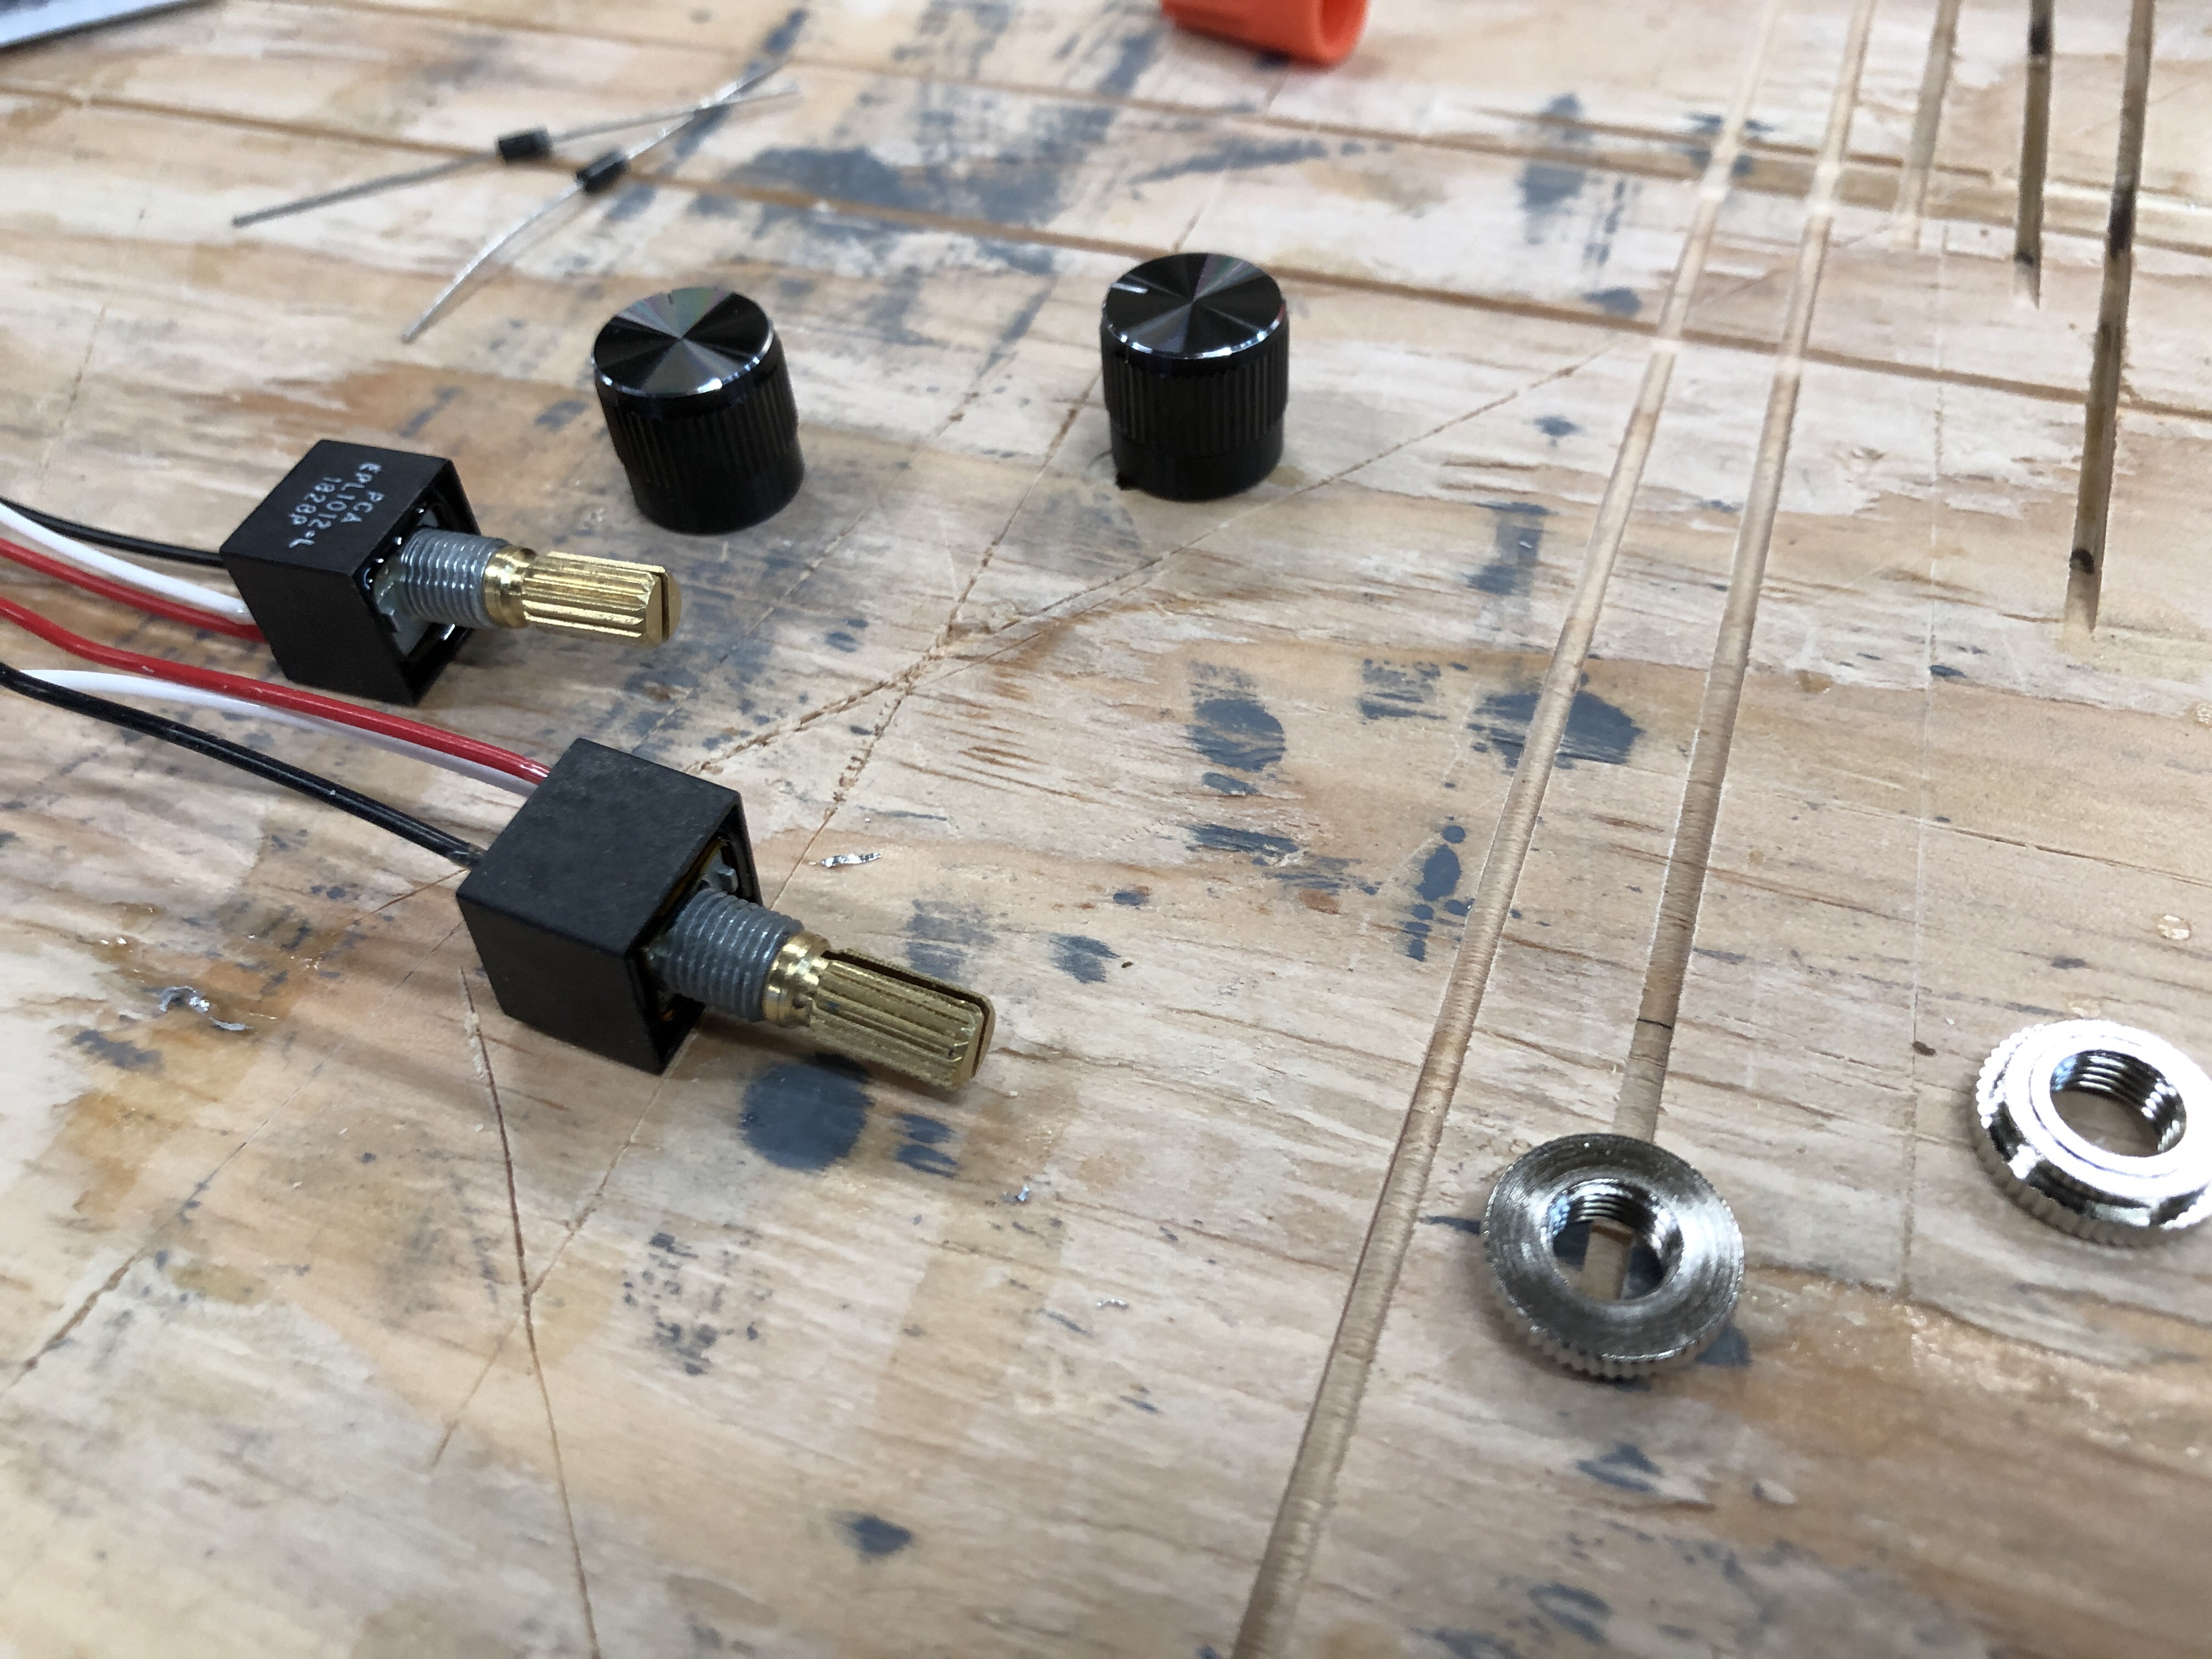
I had to build some backing plates for the light dimmers. They are too small to fit into the wood cabinets so I made these aluminum plates that will get painted black. then you just drill a 7/8″ hole in the cabinet and secure the dimmer with these plates.
These are the light dimmers I’m going to be using. They are a solid state dimmer with positive off click position. They work by controlling the path to ground so you can wire them up with just 2 wires by putting it inline with the ground line to the lights you want to control.
This is the main electrical system location. The batteries, and all the electrical equipment will be secured into this cabinet. All of the wire connects in here to the distribution panel and fuse blocks.
Things are getting quite a bit more crowded now. The only thing missing is the solr charge controller and associated wiring / breaker. That will go in last once the panel is mounted on the roof. All of the heavy gauge wire is AWG2. The batteries are in parallel to get 200AH of capacity. The large rotary switch on the side panel disconnects the ground line from the batteries to effectively shutdown the entire system for maintenance or storage.

Still some wire cleanup and wire ties required once all the runs are complete. Also need to build a method to secure the batteries in place. For now they are just sitting in the box. I plan to make a cross member so they can’t lift up without removing some hardware.
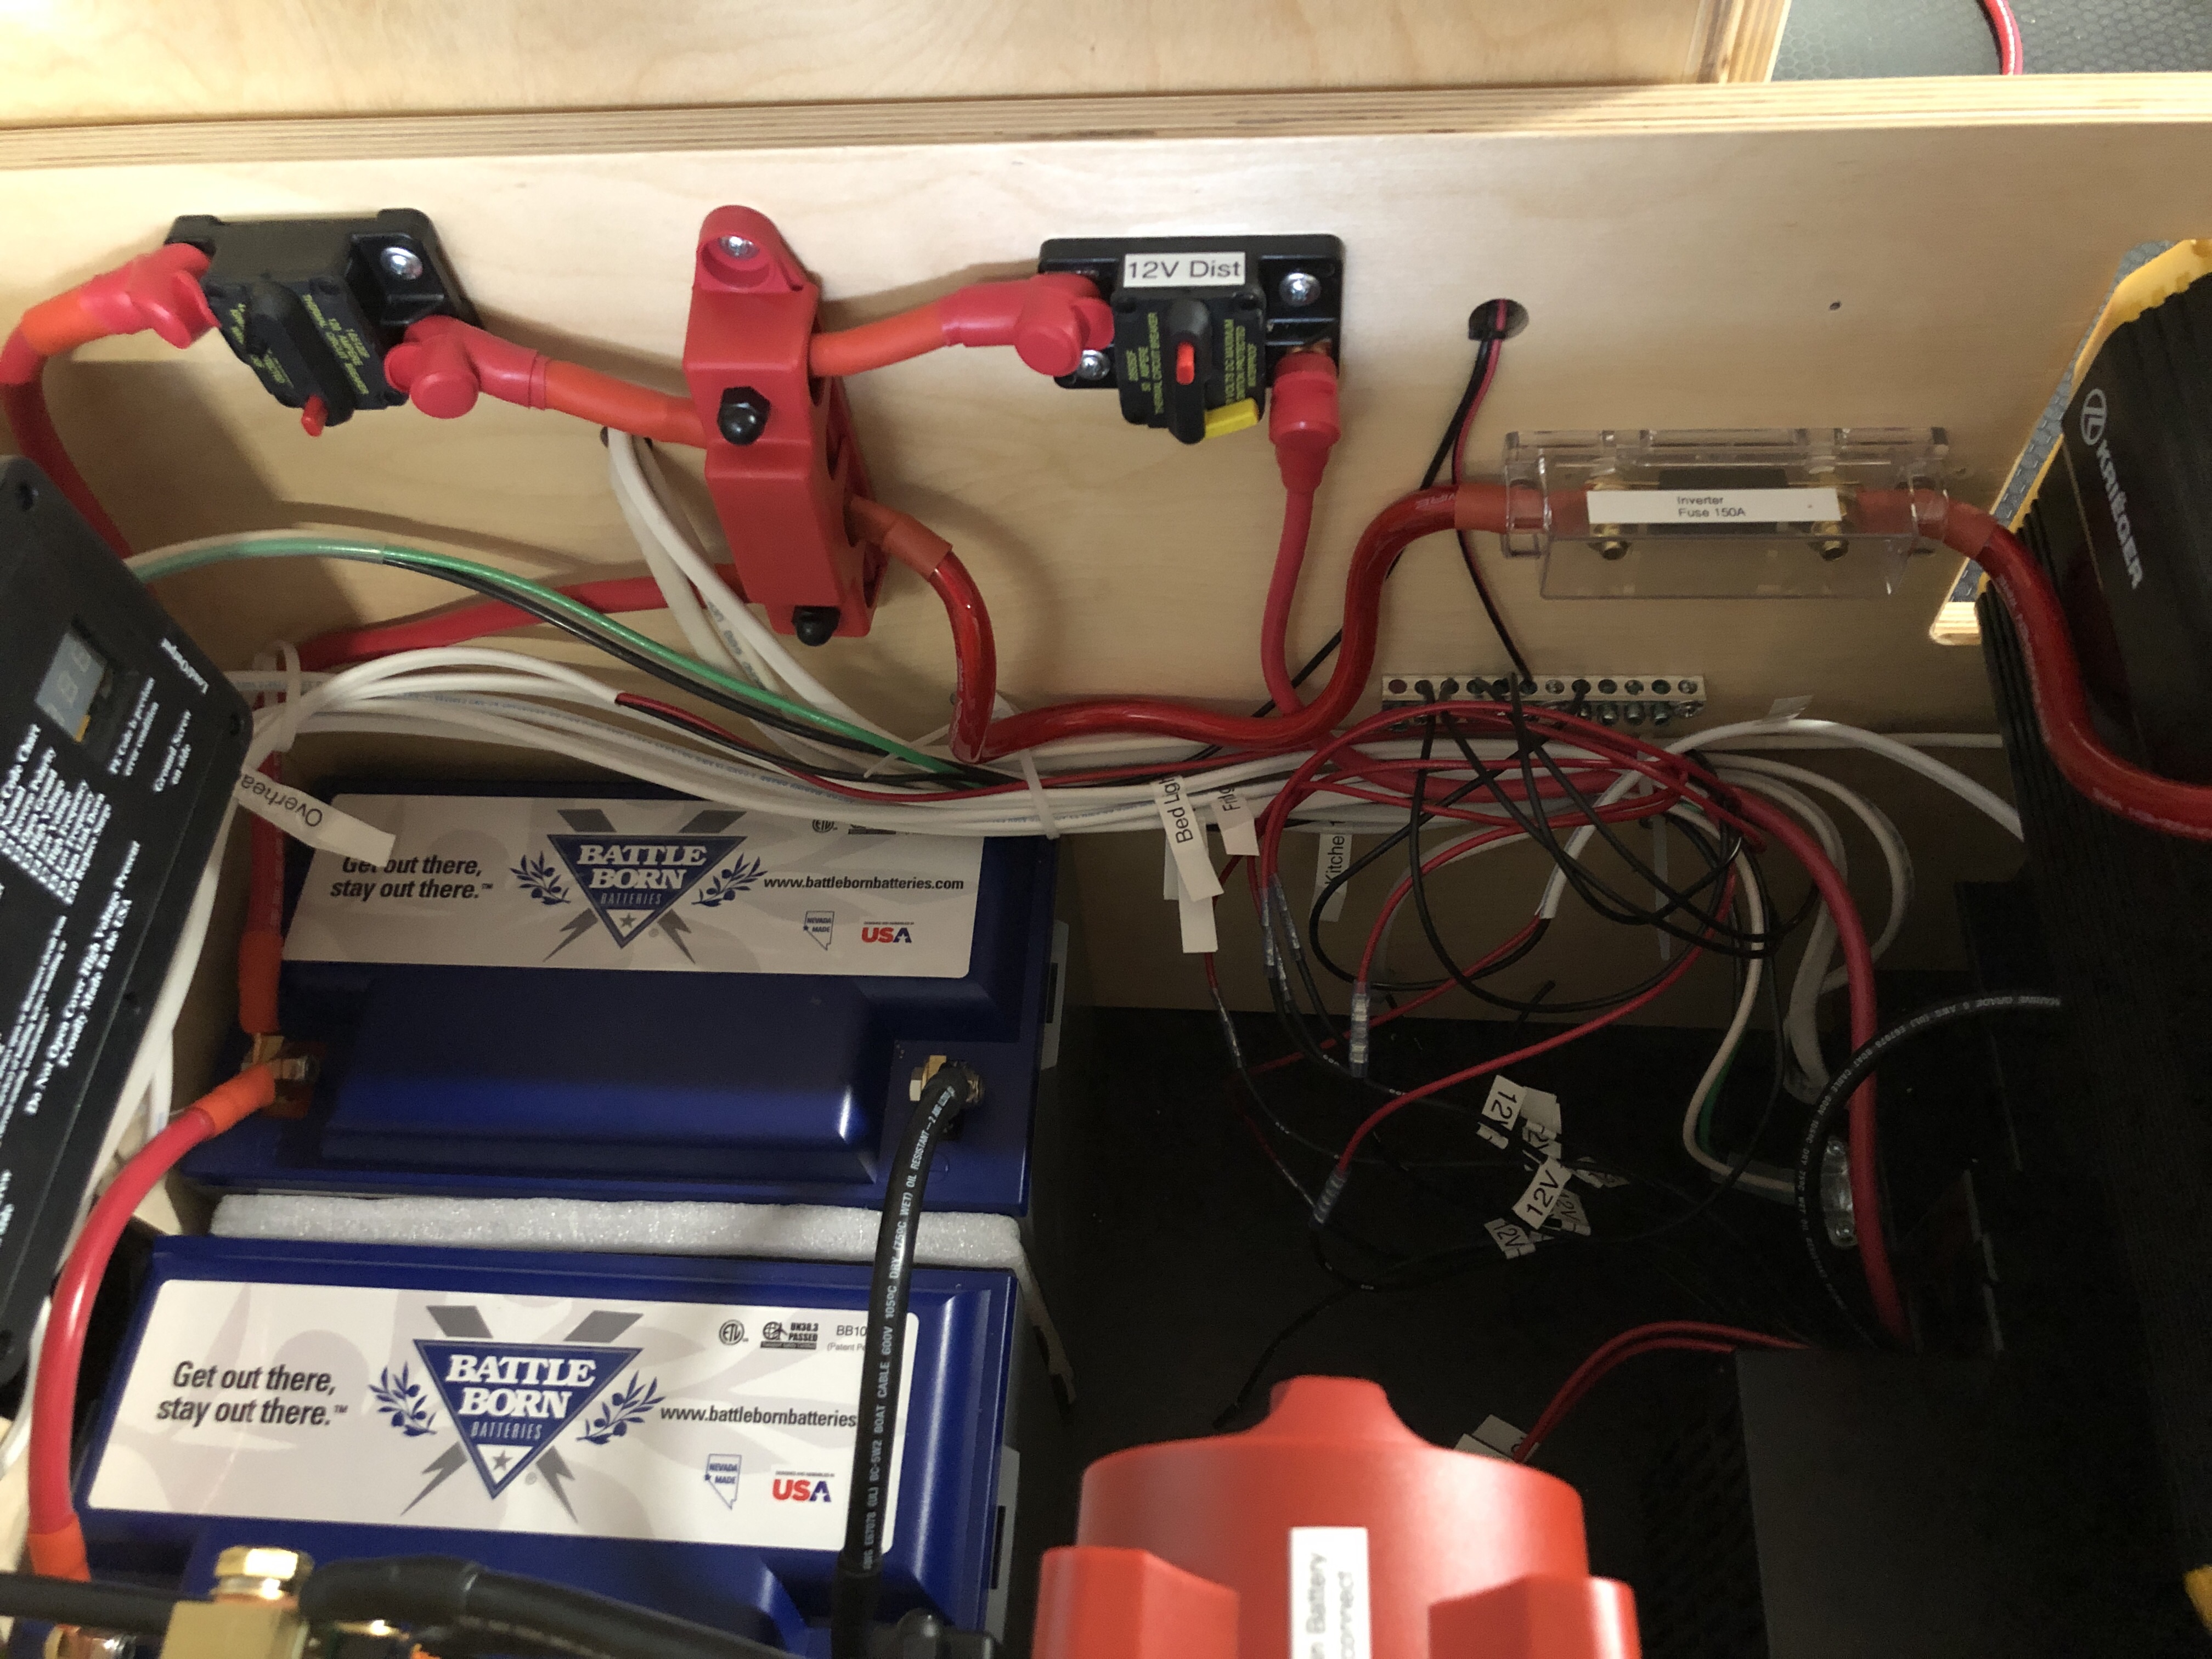
Here’s a good shot of the ground side. The shunt on the right allows for the power usage to be monitored with a Victron 712 power monitor (via bluetooth even). Then the shutoff switch is in the center. The free space on this wall will be for the solr charge controller.

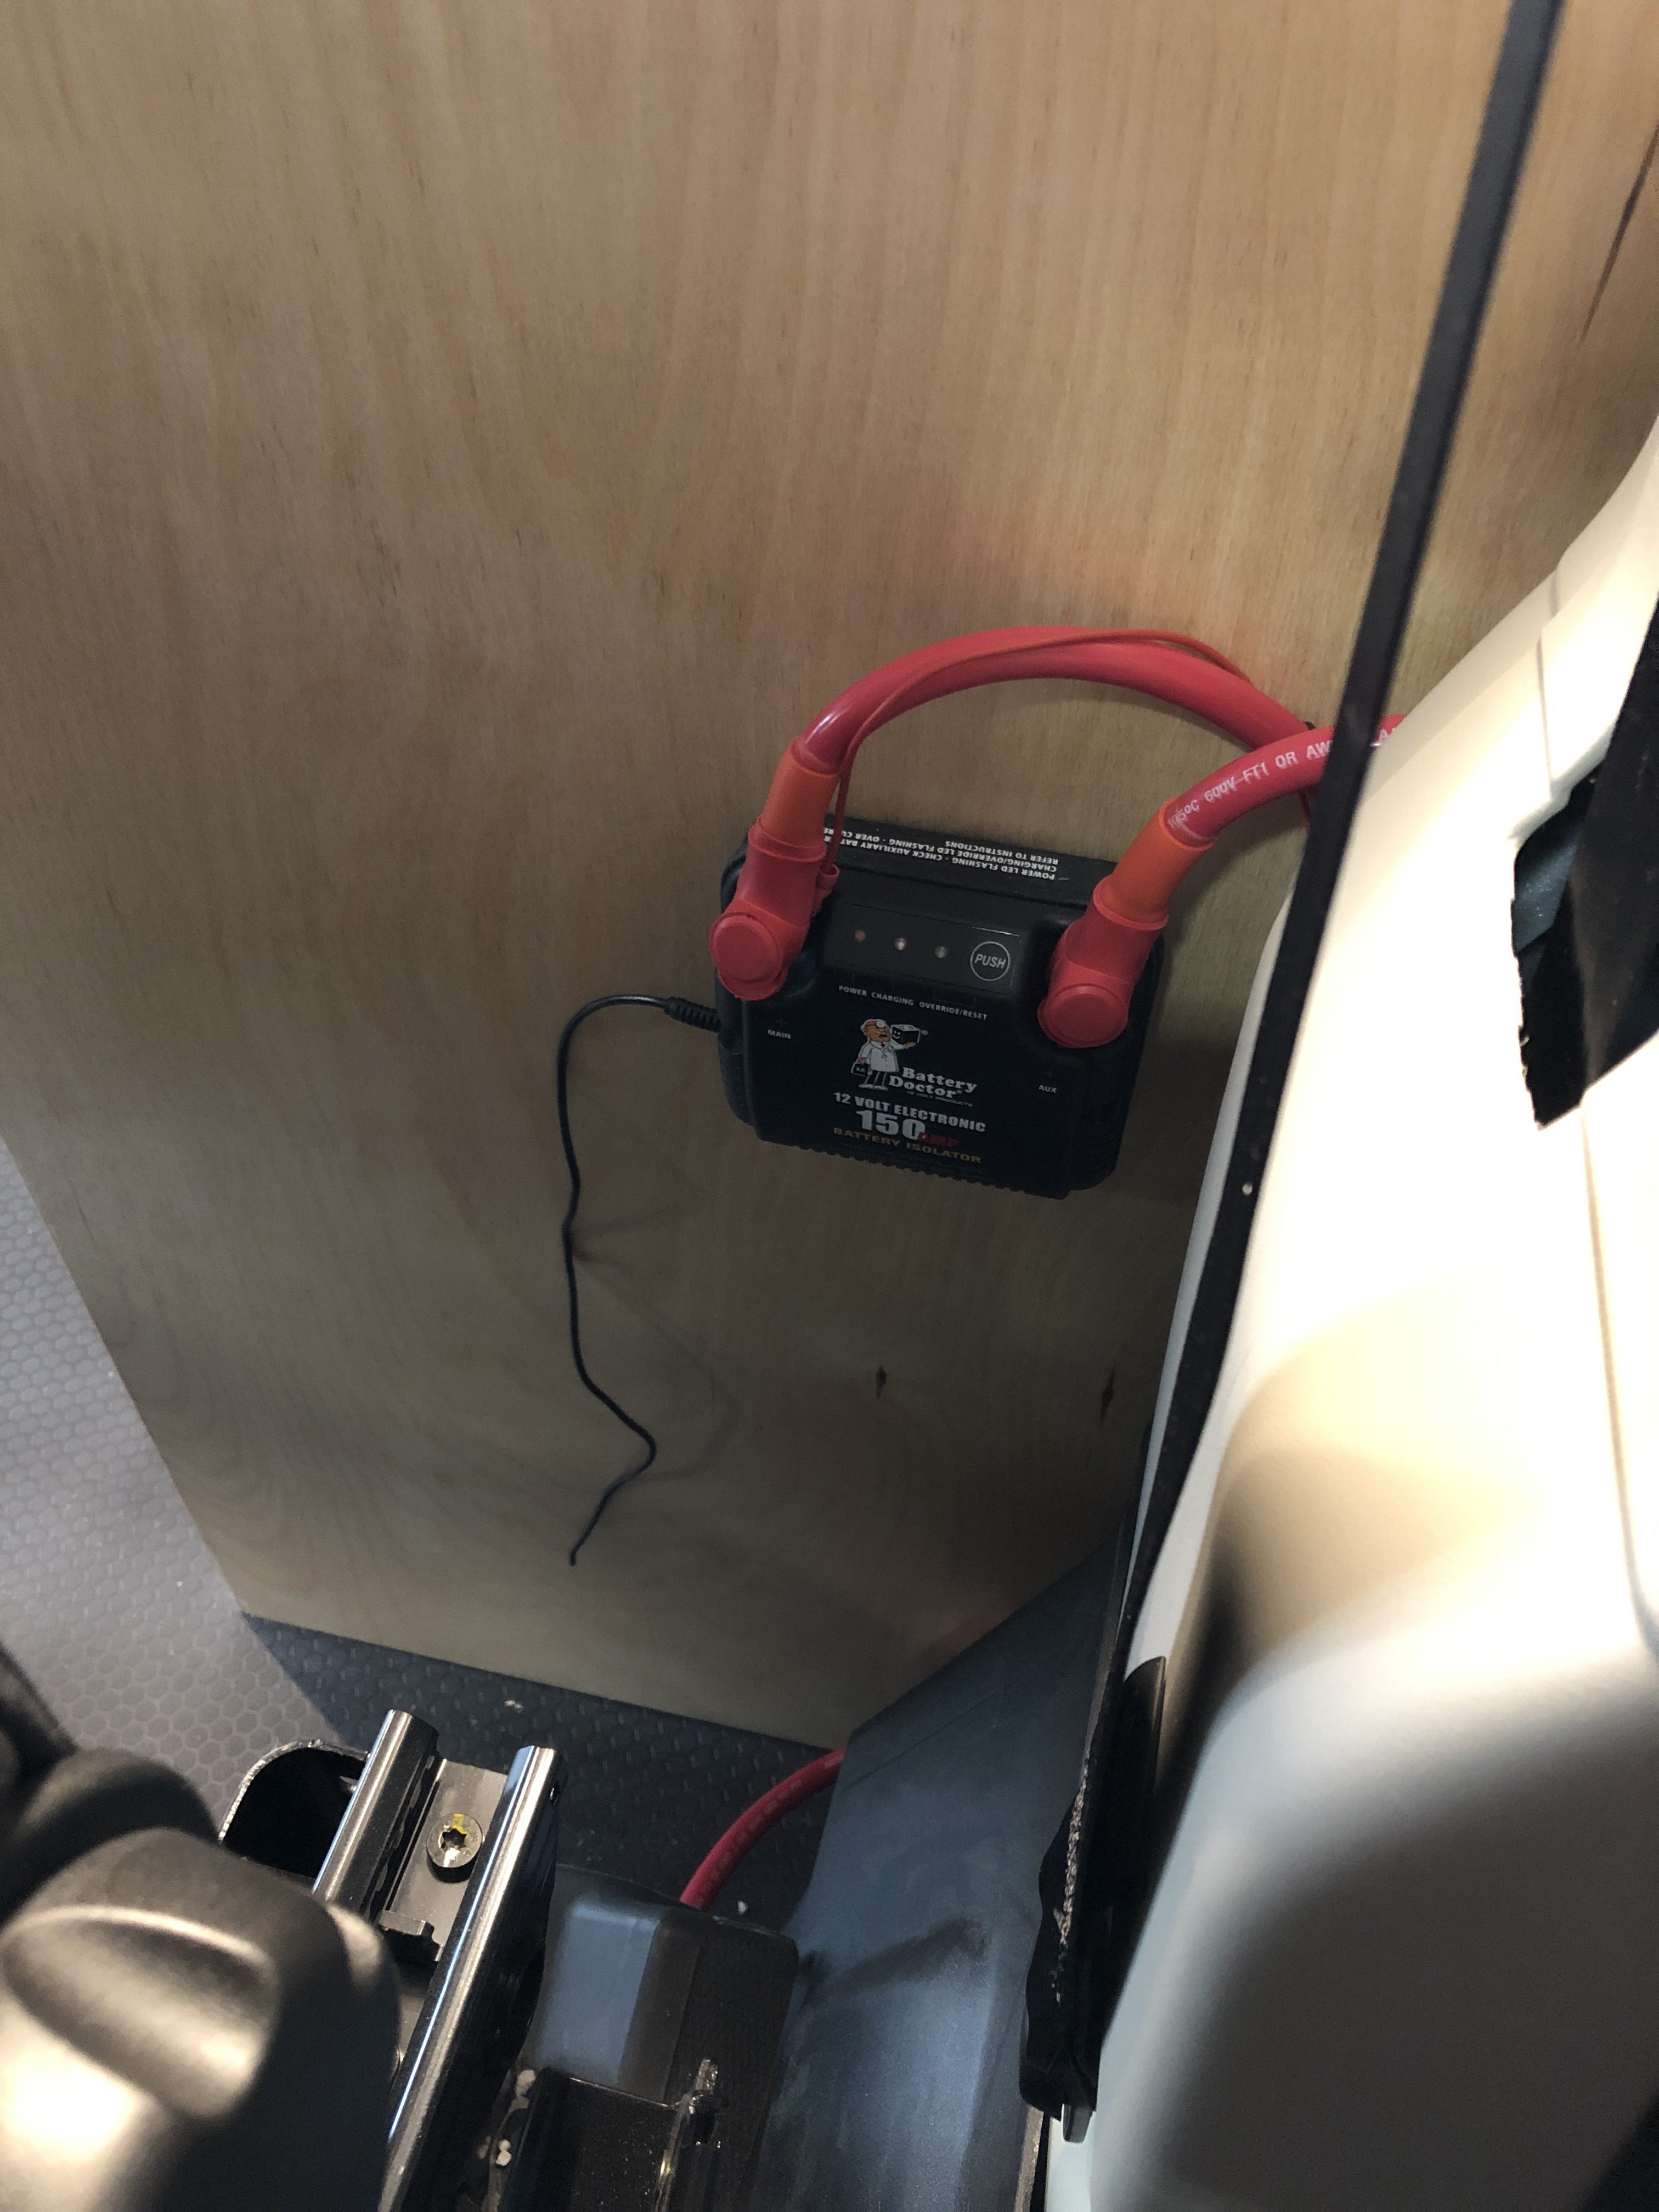
I installed the Battery Doctor behind the driver seat on the wall of the galley cabinet. This allows you to reach back if you need to put it in override mode to boost the starter battery. It’s hooked up with a 125amp fuse on the van side and a 120amp breaker on the house battery side to protect the wire run. There’s also a small wire run from the van side of the connection to the Victron battery monitor aux port so that it can display the van starter battery voltage as well as the house batteries.
I put a switch on the panel to control the charging system so you can enable or disable the van from charging the house batteries as needed.

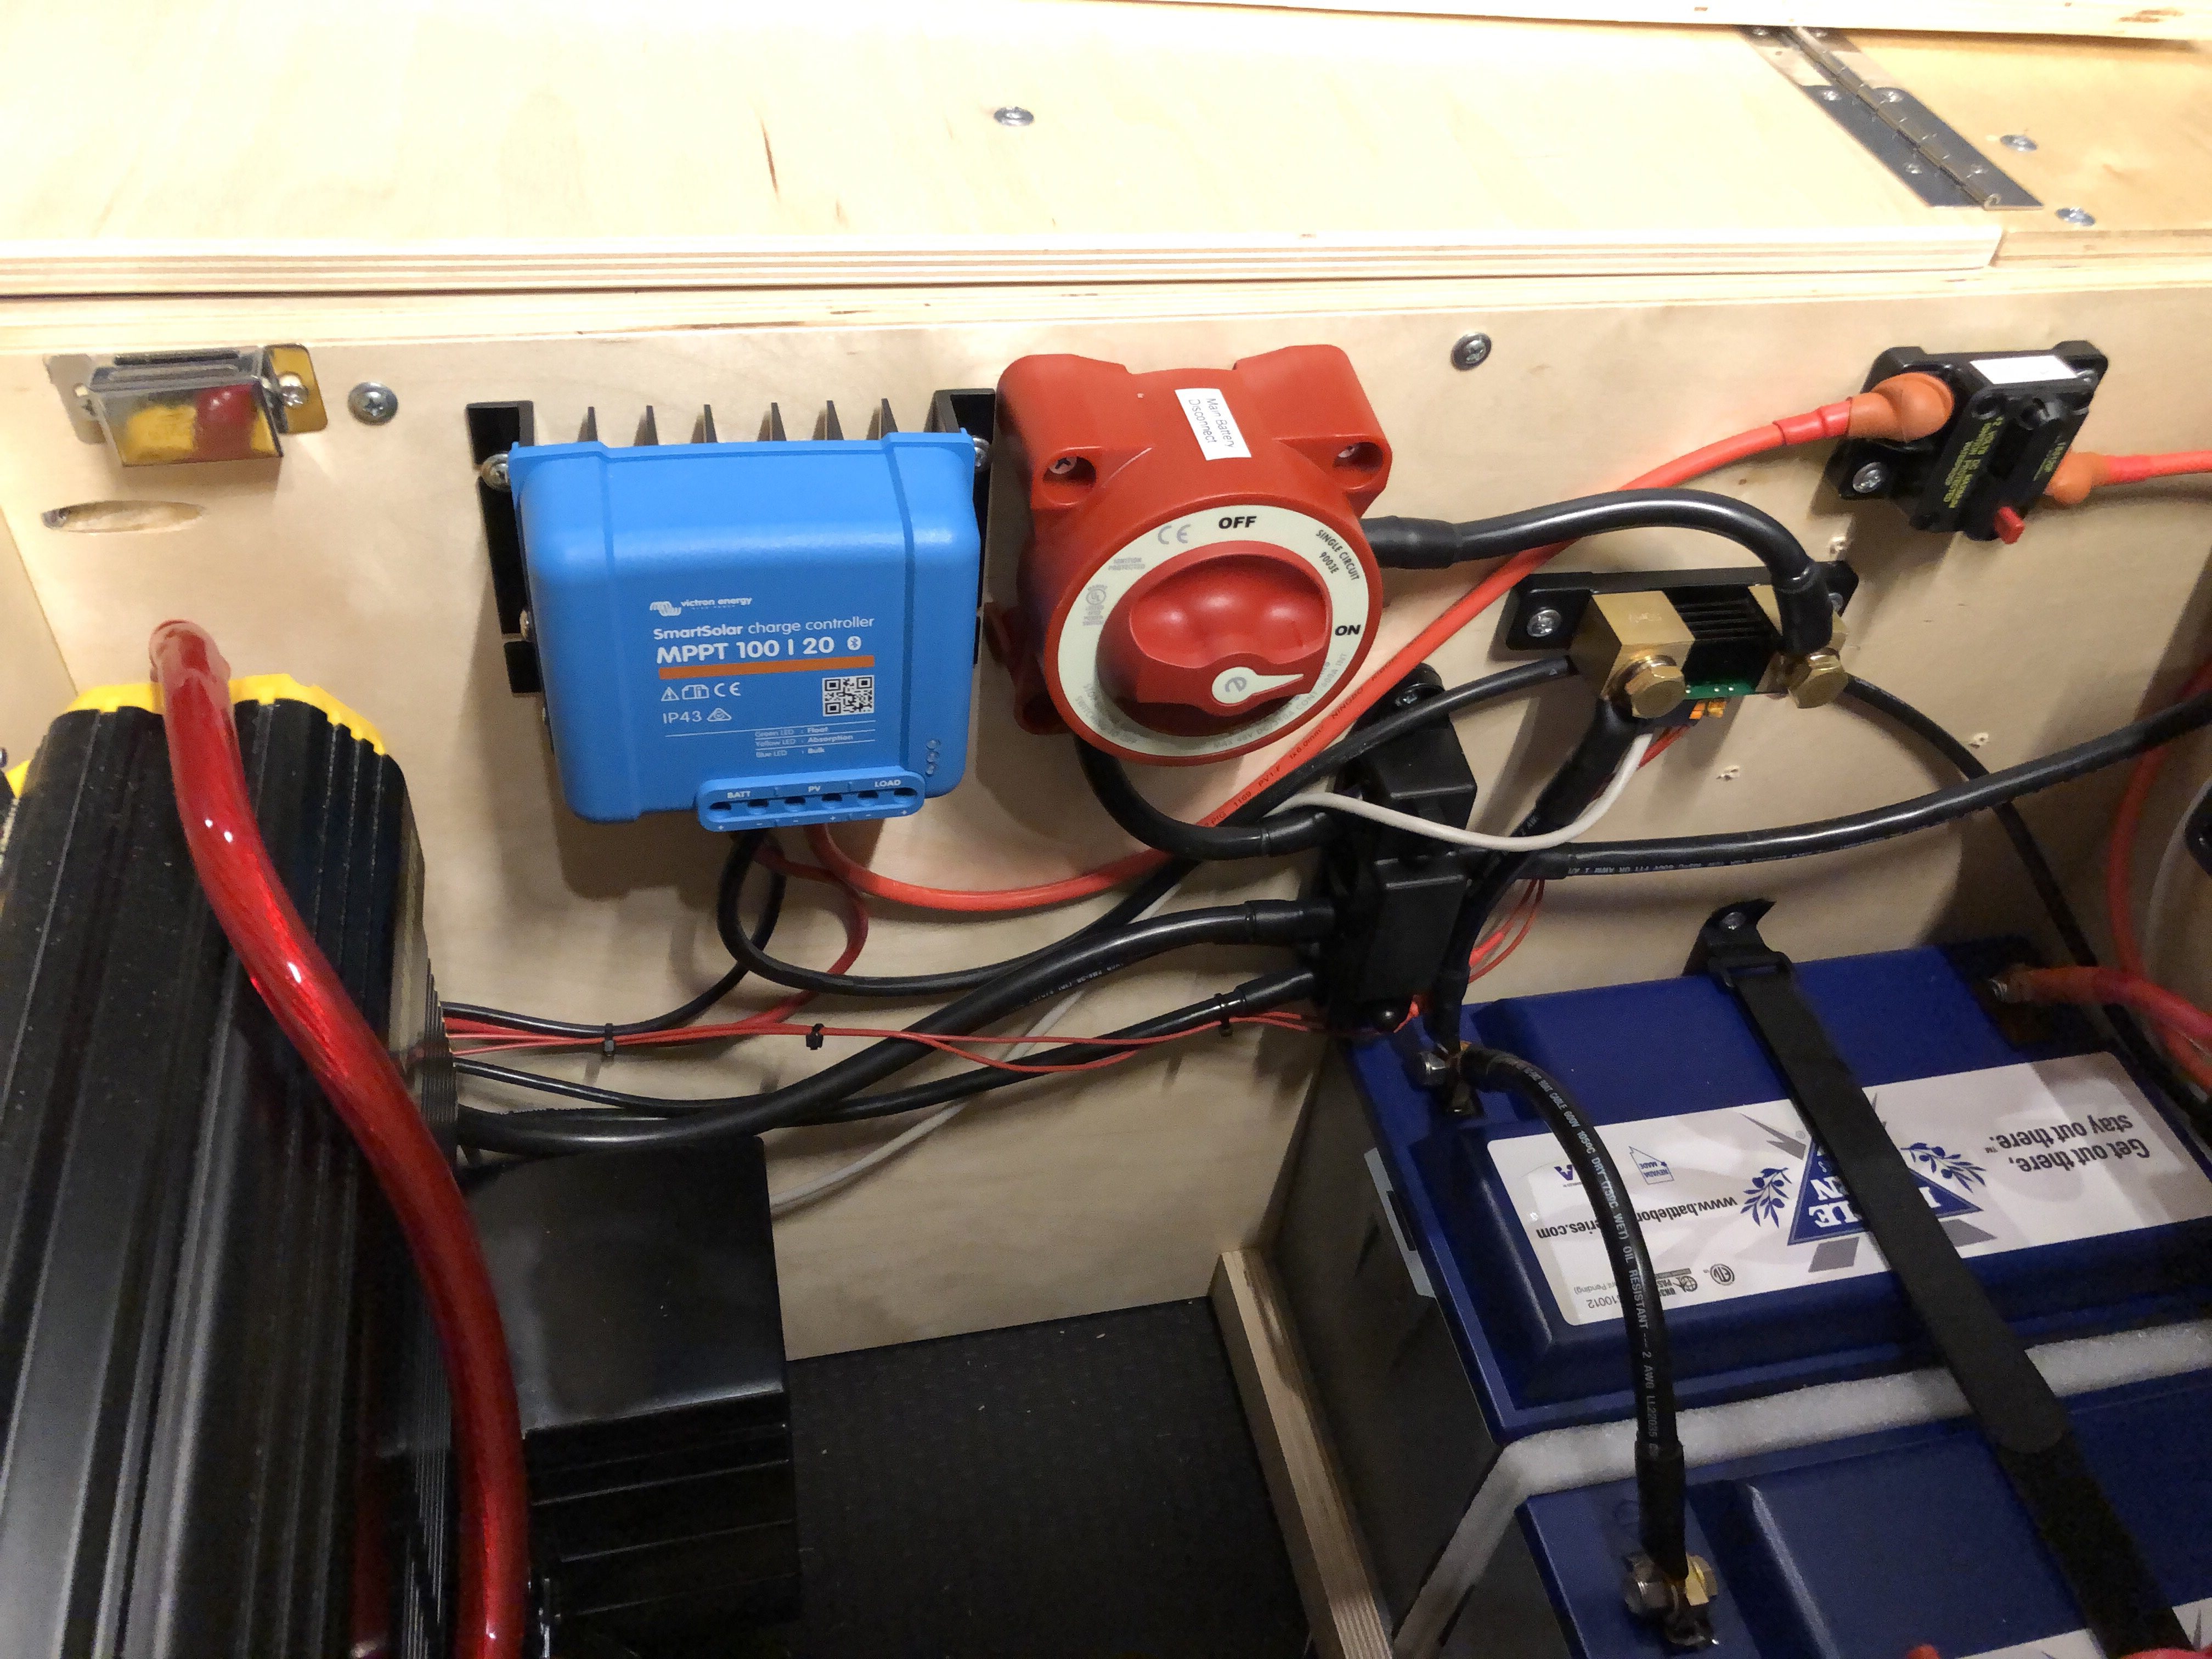
Final electrical setup. Here the Solar controller and switch are installed.
Secured the batteries and tied up the wires a bit.

Here’s the 110v inverter. No door, just pokes through the wall.