I am installing windows from Motion Windows into the sides & rear of the van. The plan is to put two in the rear doors, 1 large one in the passenger slider door, and finally one small window on the driver side wall in the kitchen area. It will mean a bunch of cutting to get them installed, but should be a fun project. It takes a few months to get the windows built as Motion Windows have a heavy demand for the product currently. Guess it’s a good sign that people like what they are building.
First you go to the Motion windows site and decide which windows you want to get…

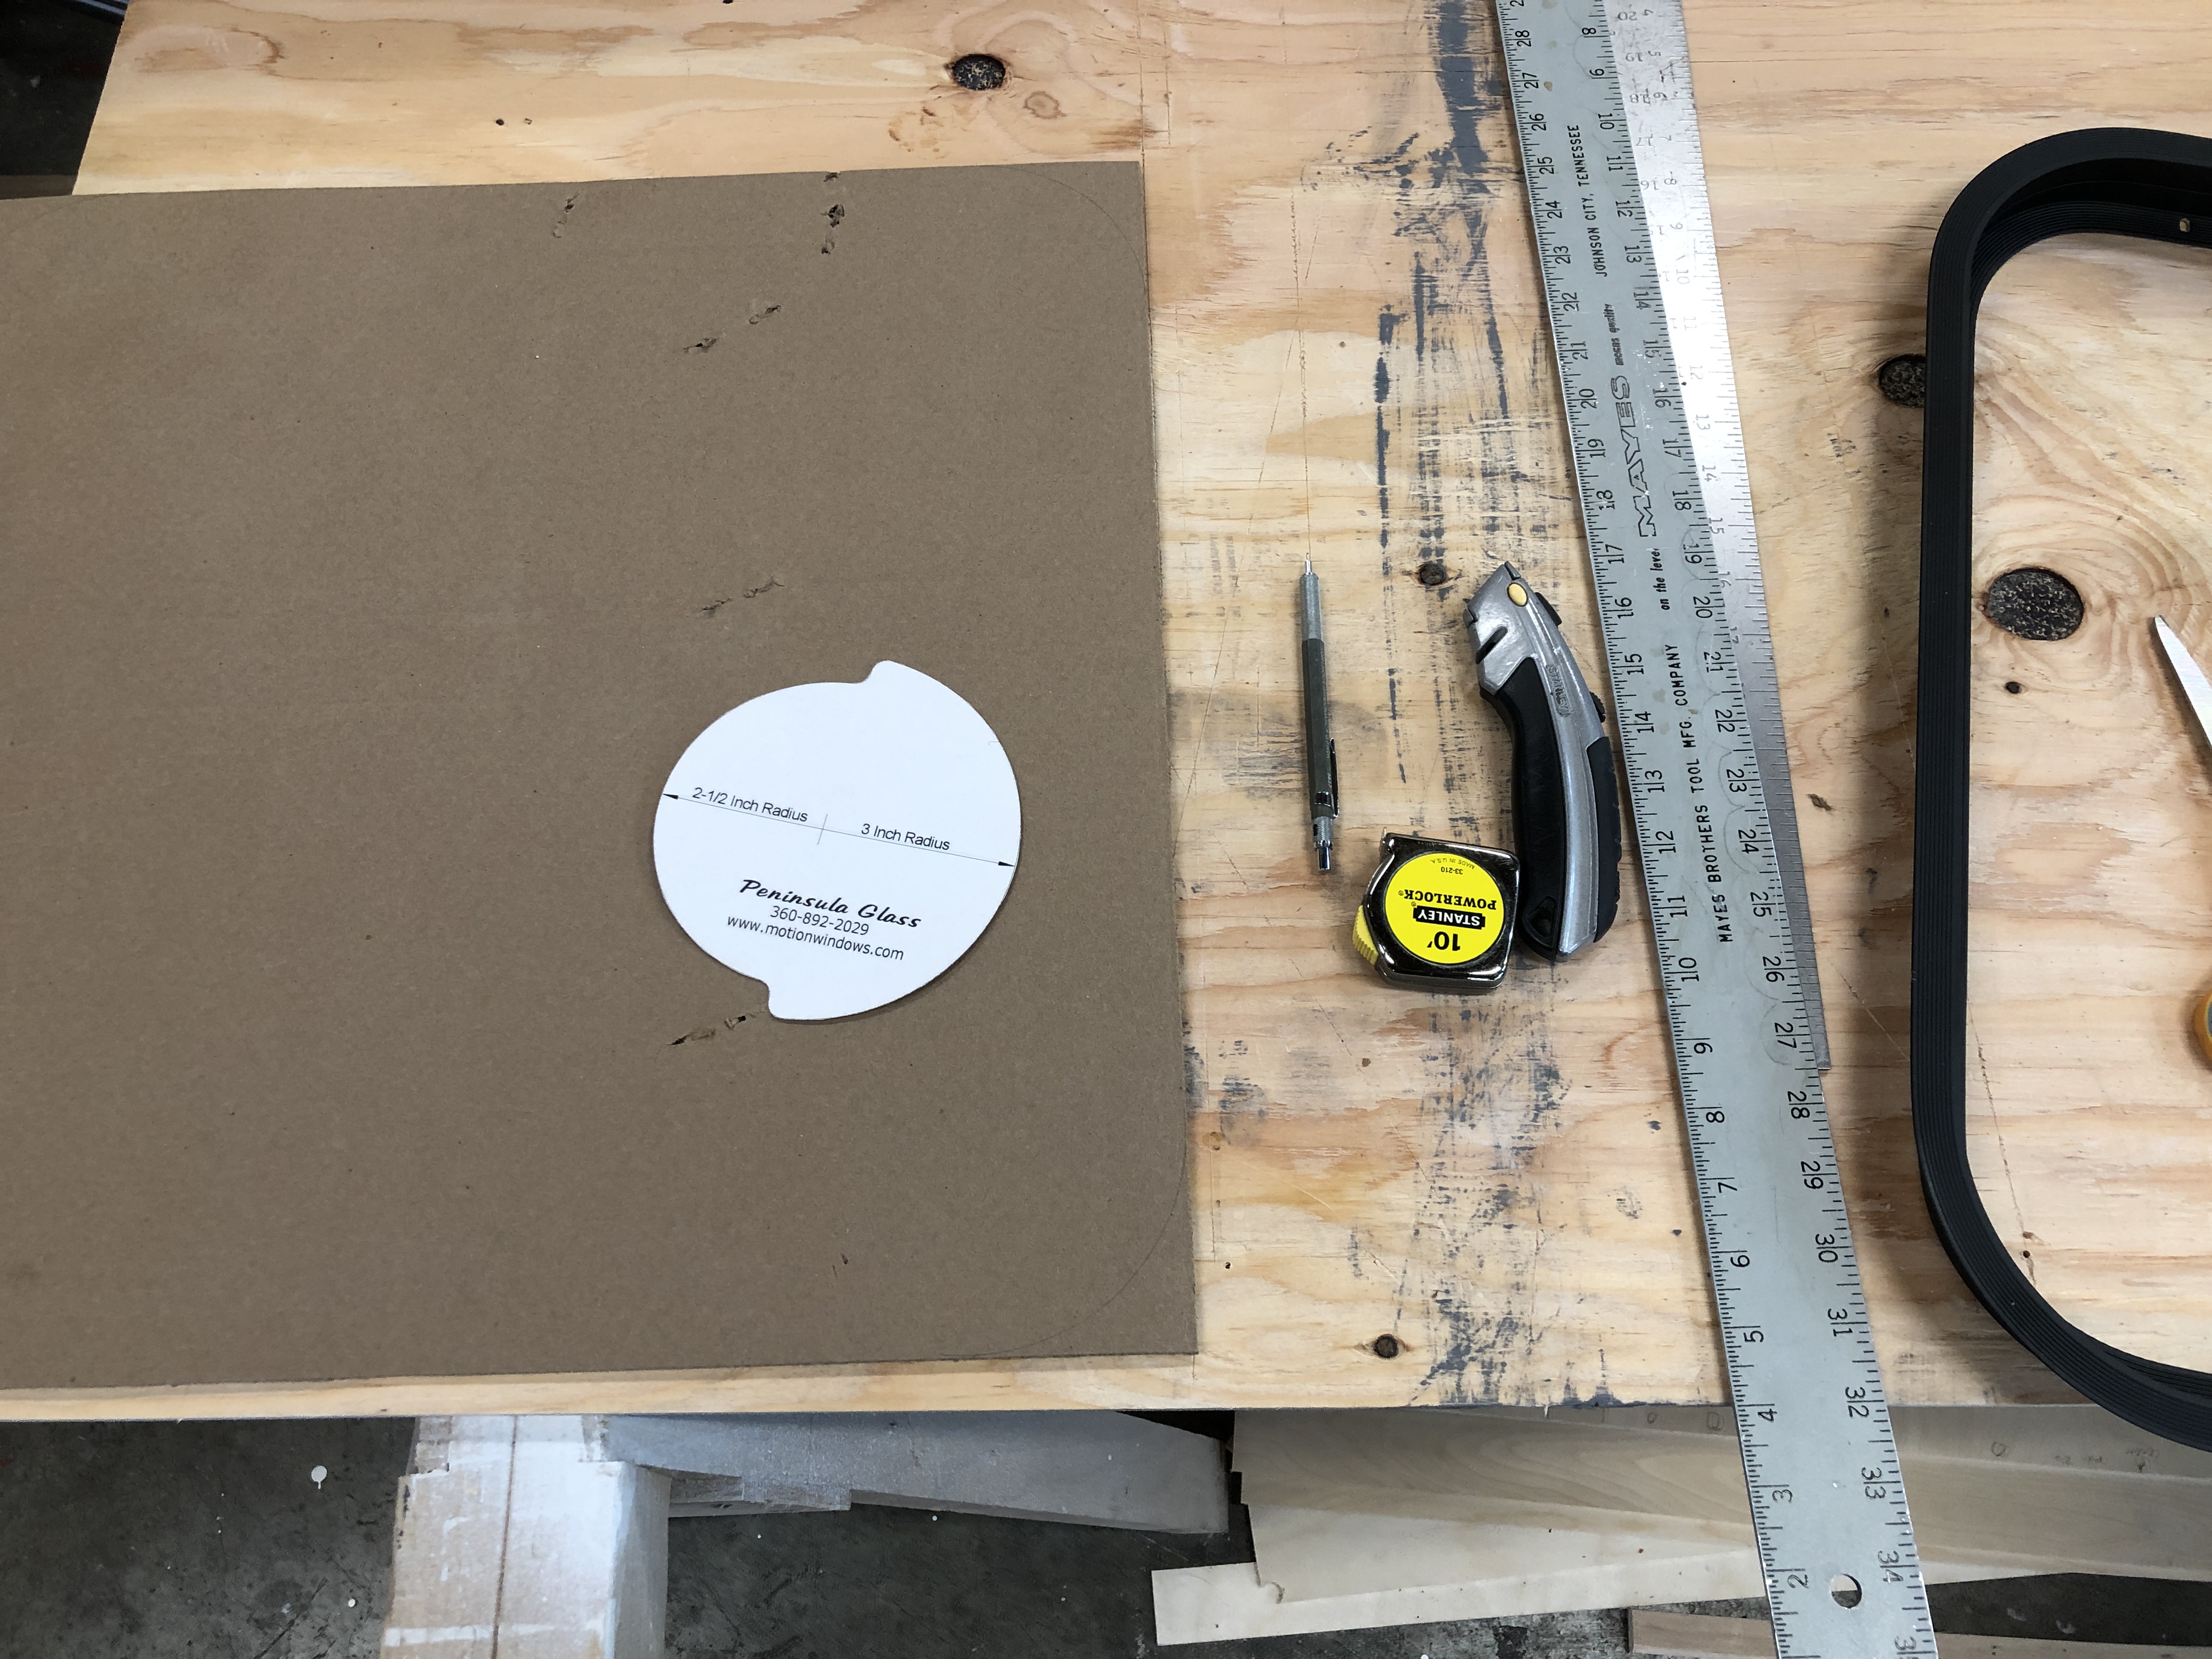
Motion gives some good instructions on their website to get you going with the install. They also have a corner template you can download and print to make the layout easy.
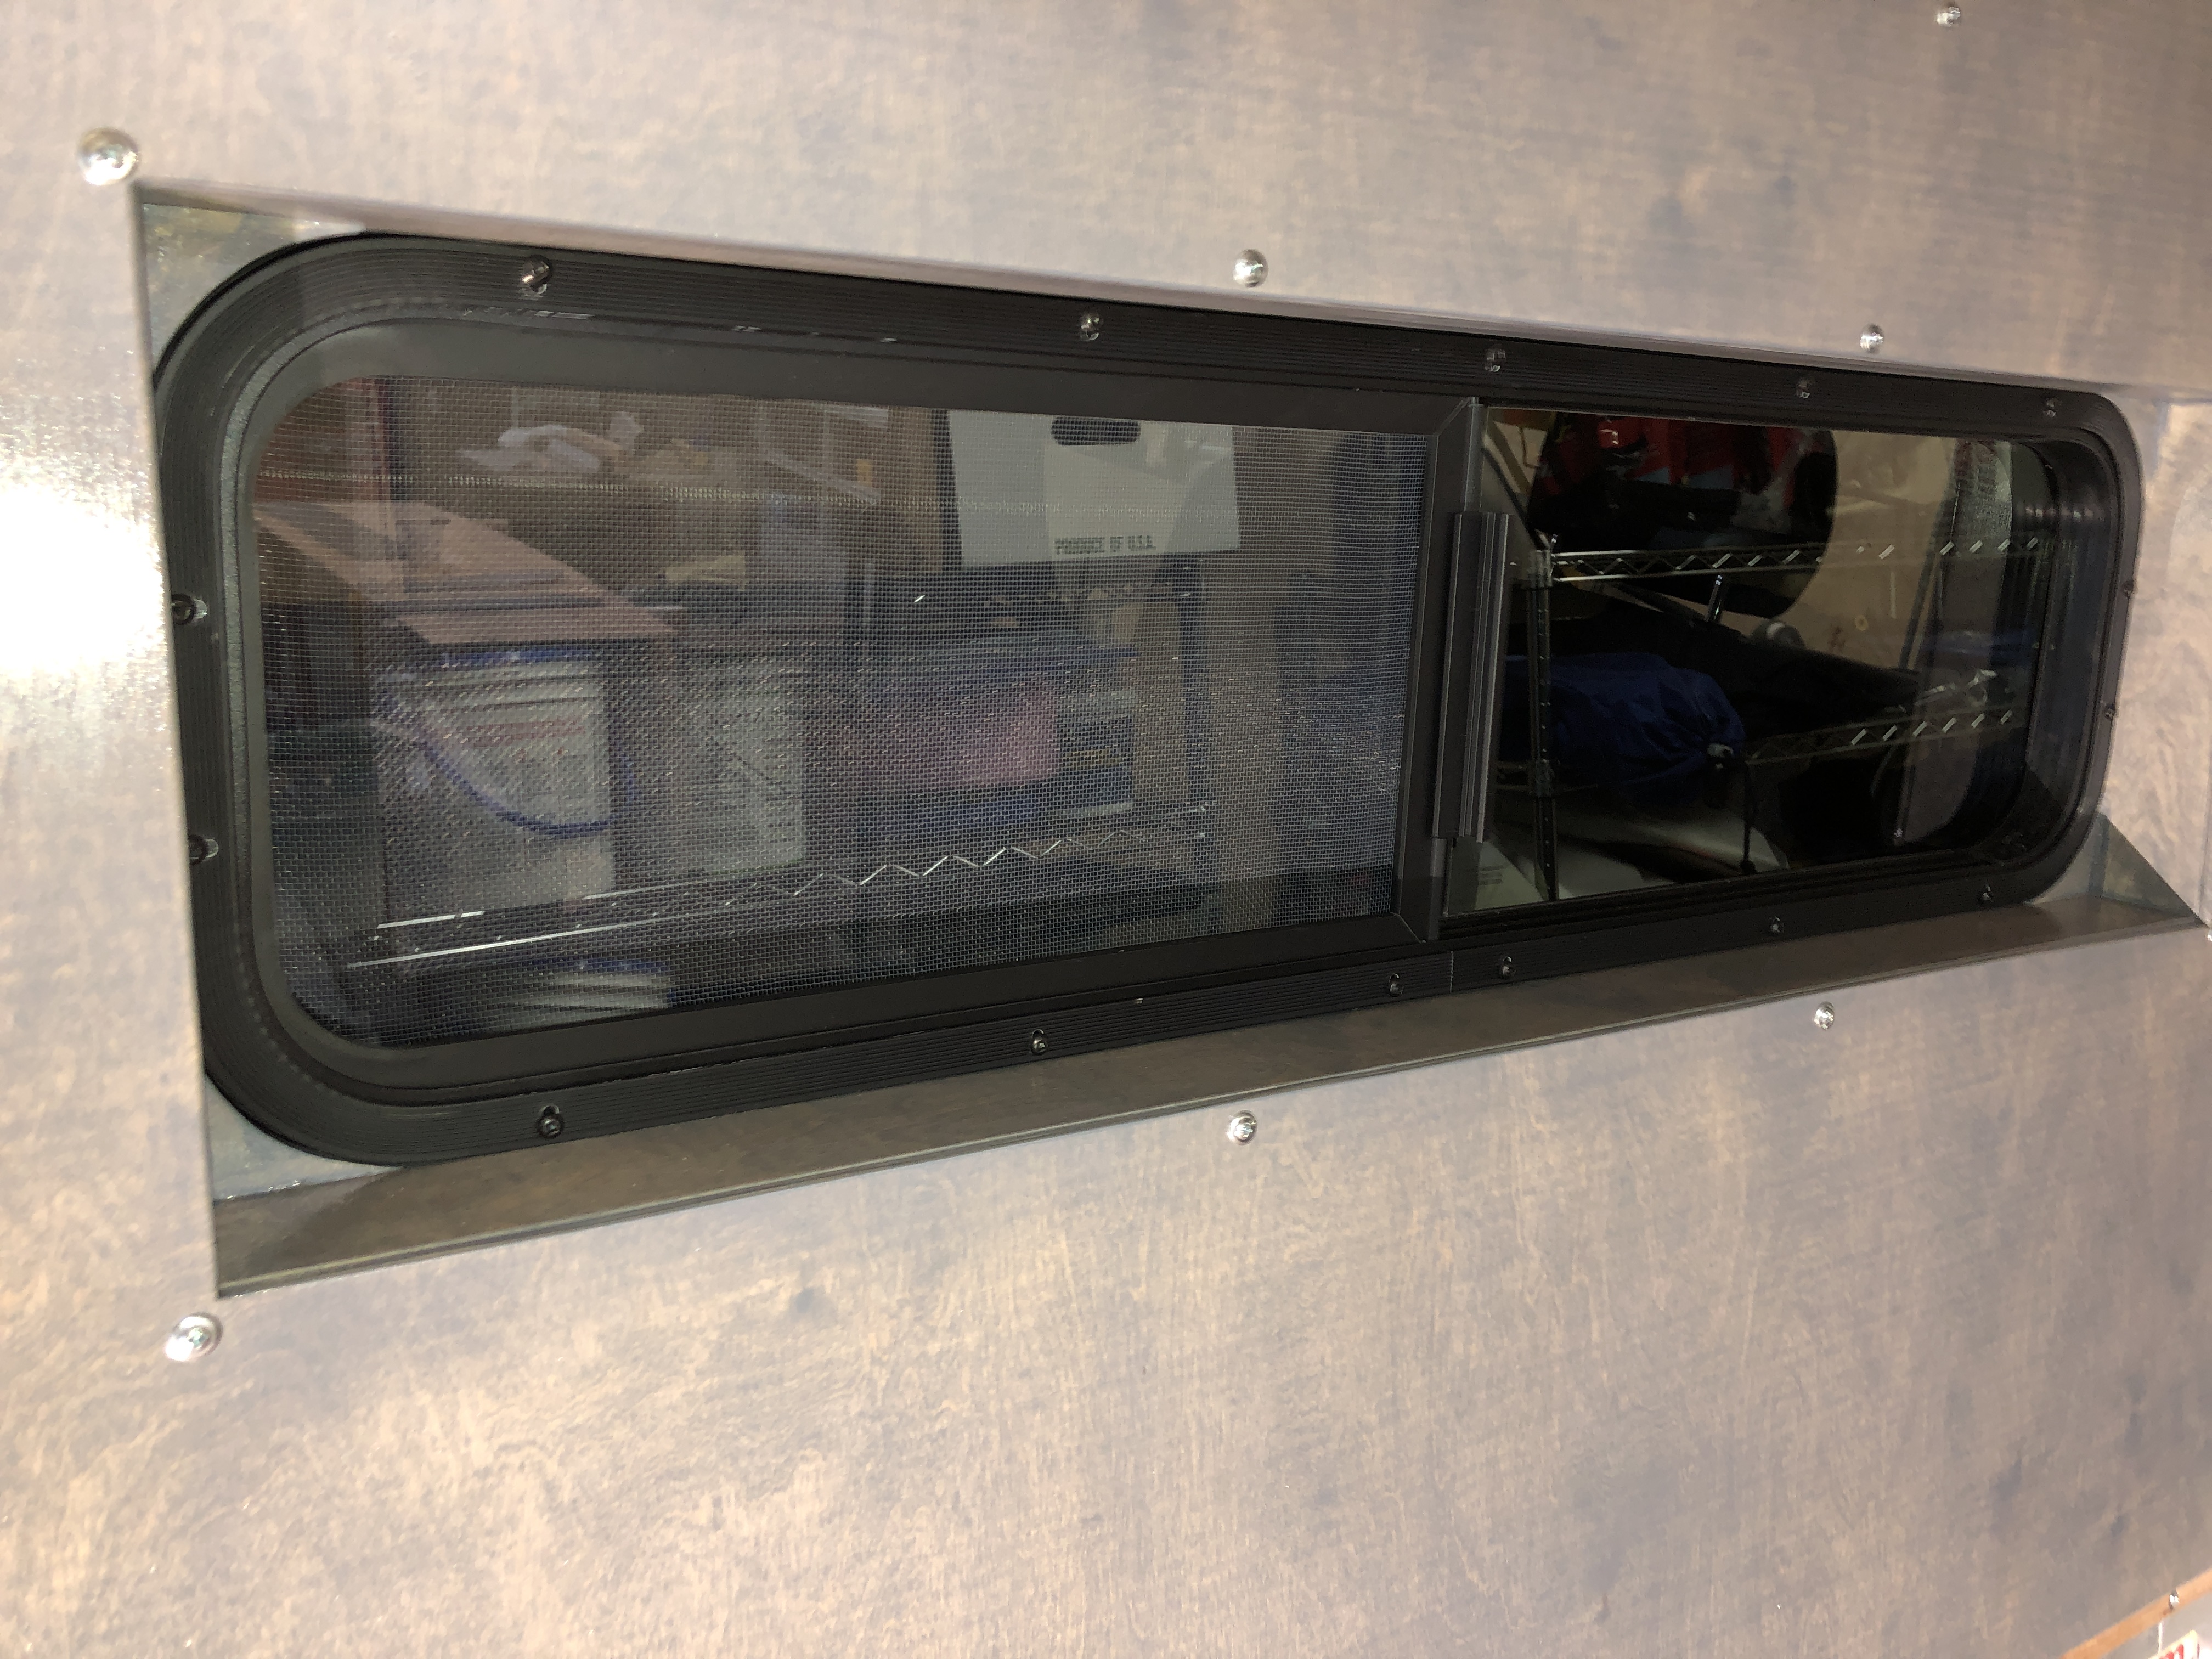
Here are the 2 windows I will be installing in the rear of the van. They have a slider in the bottom with screen. They also have a distinctive bend in the middle of the window which helps it conform to the shape of the van which is curved vertically.

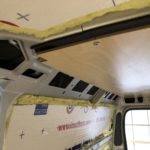
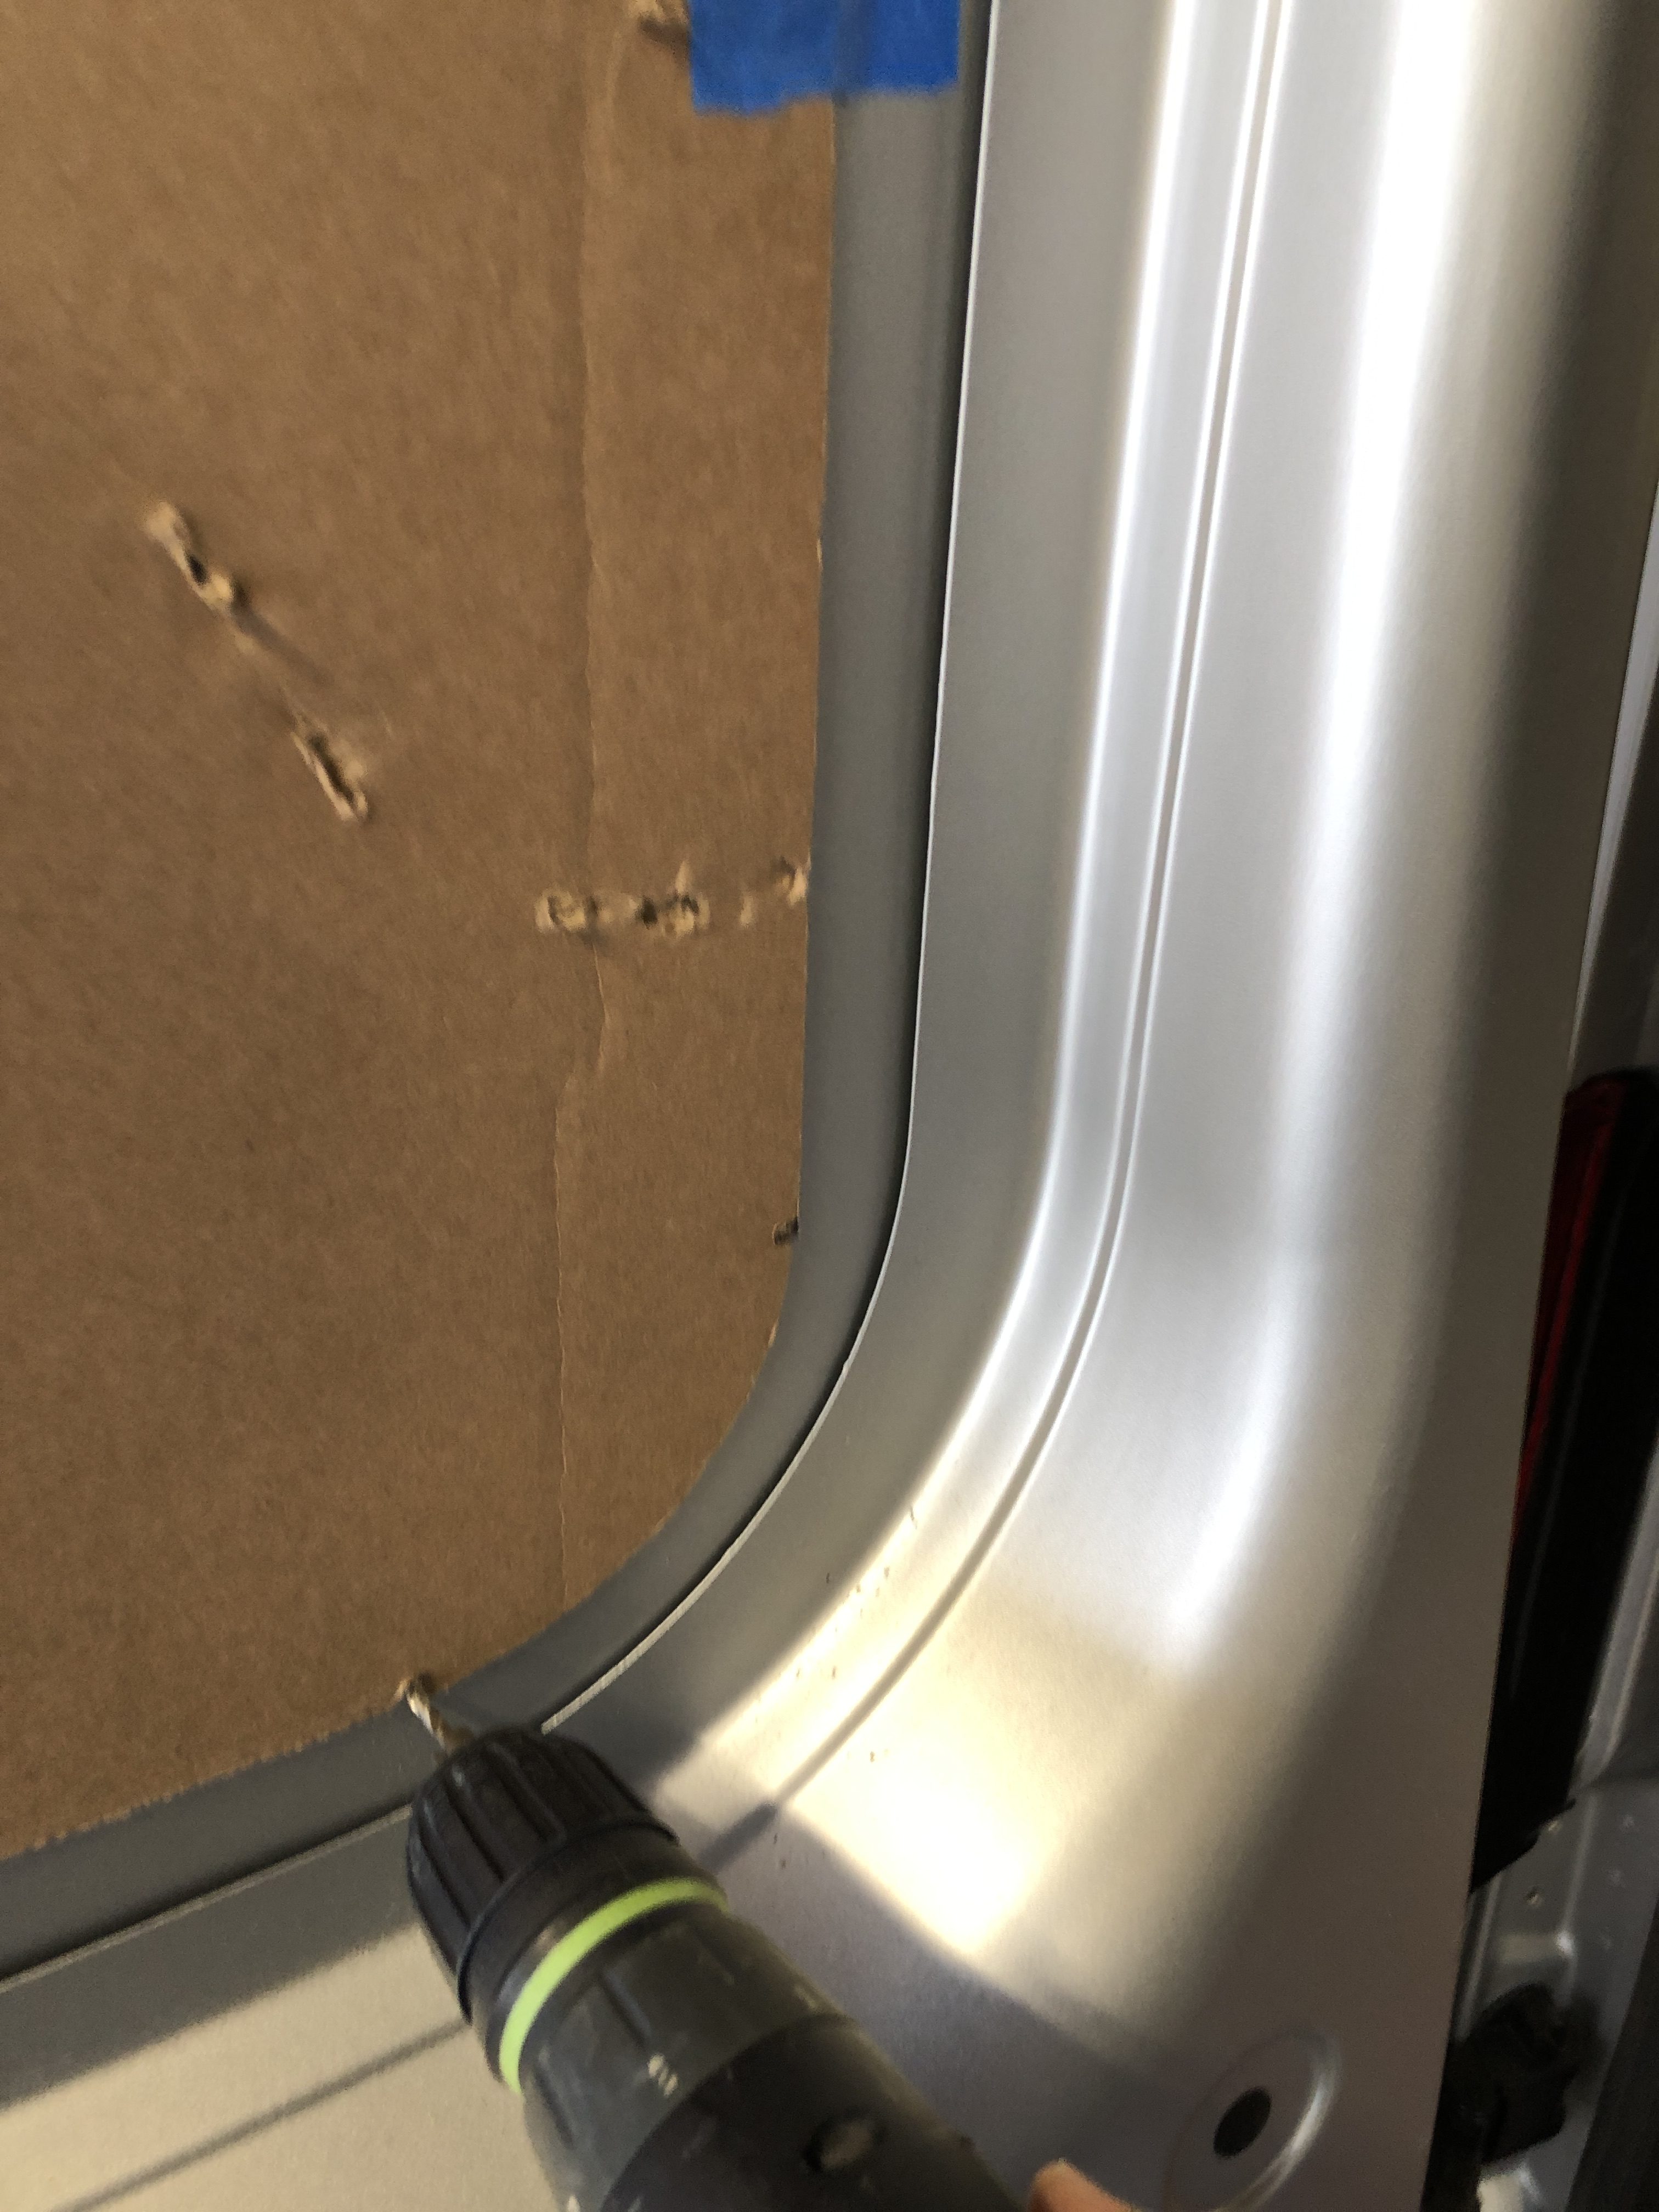
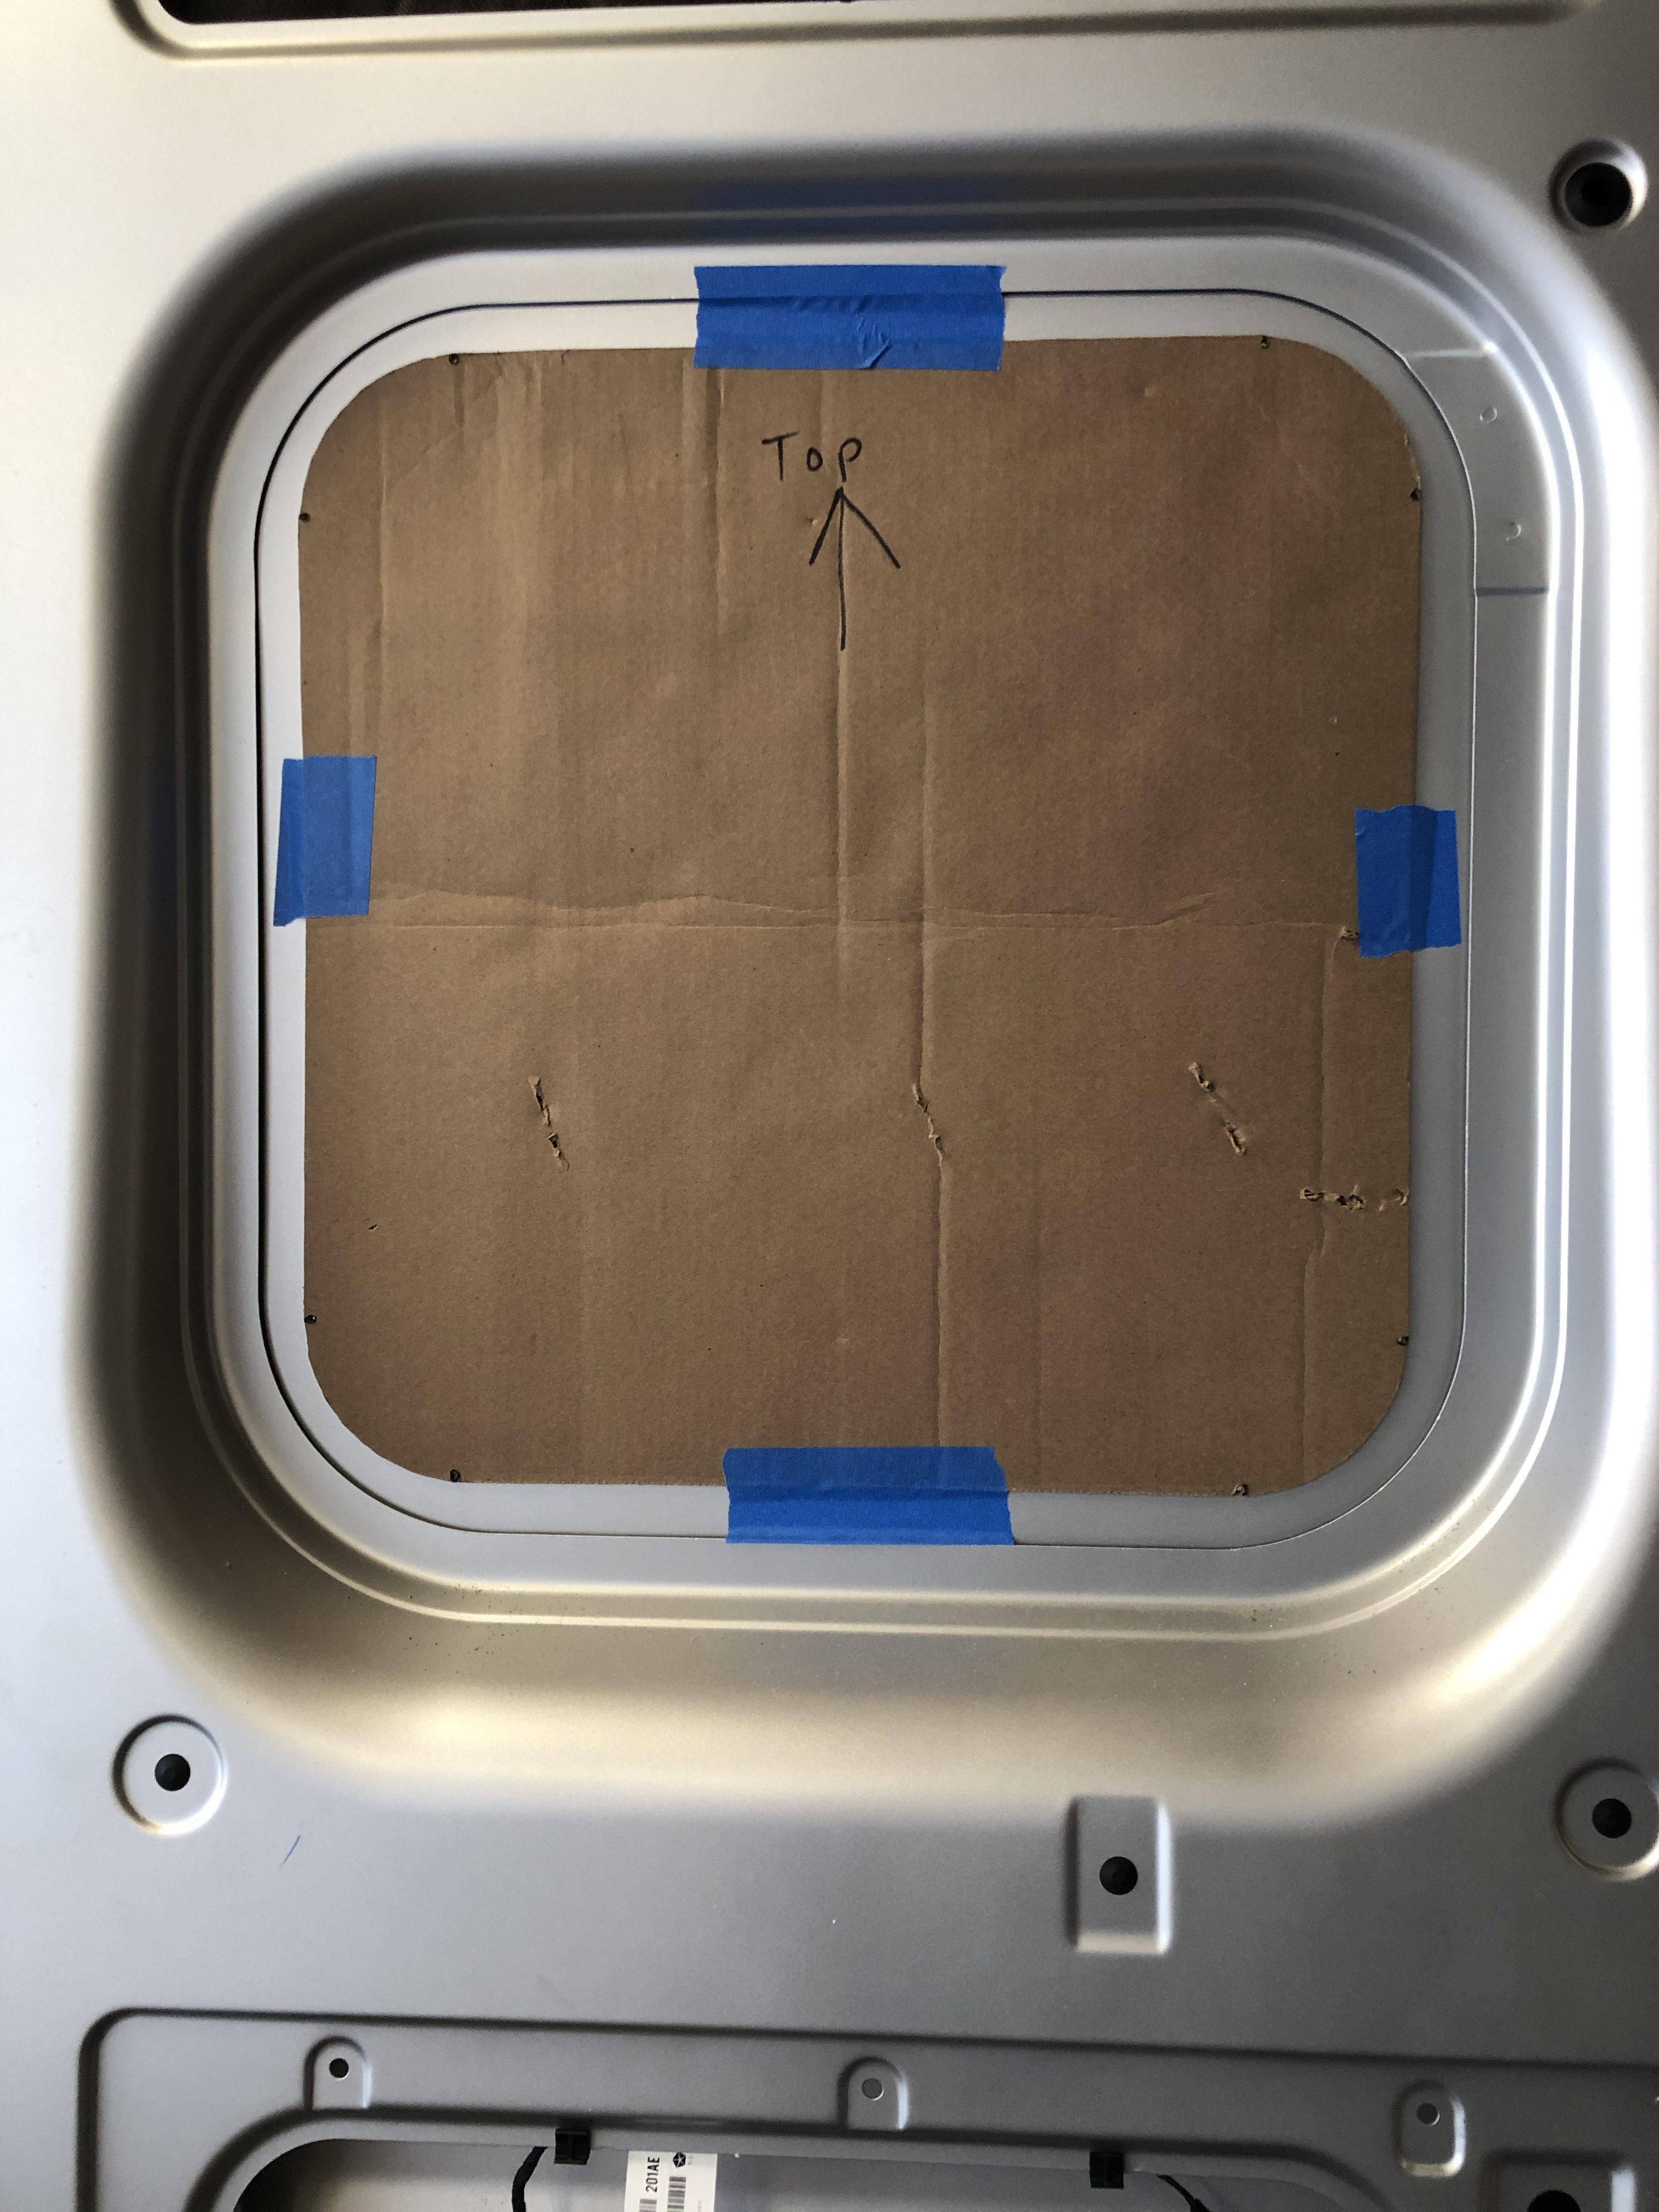
First I made a cardboard template of the cutout shape and size. I taped the template into place on the inside of the van to get the location right. I measured carefully to align the template even from the edge of the door, then I drilled 1/8″ holes through the template to mark the ends of the straight sections. Then it’s a simple task to connect the dots for the straight lines and use the corner template to trace out the 3″ circle radius for the corners.
Here you can see the template installed on the inside.
After drilling the corner holes I used a countersink to take off the shards on the outside to clean up the holes before taking a sharpie and laying out the cut line.

Once the line is in place I wrapped the outside of the cutout with 2″ tape to protect the side of the van from the shoe of the jigsaw.

One big hole cut out and ready for cleanup. I filed down the edges inside and out. Then painted the edge with some clean metal primer I had on hand. I applied the double sided foam tape to the window flange, then sprayed the tape with some auto glass cleaner. This allows the window to be moved around for a bit without sticking to the van.

Once everything is lined up and measured the interior clamp ring is secured in place with the provided screws which suck the windows down tight to the skin. Here they are all done for the rear windows.
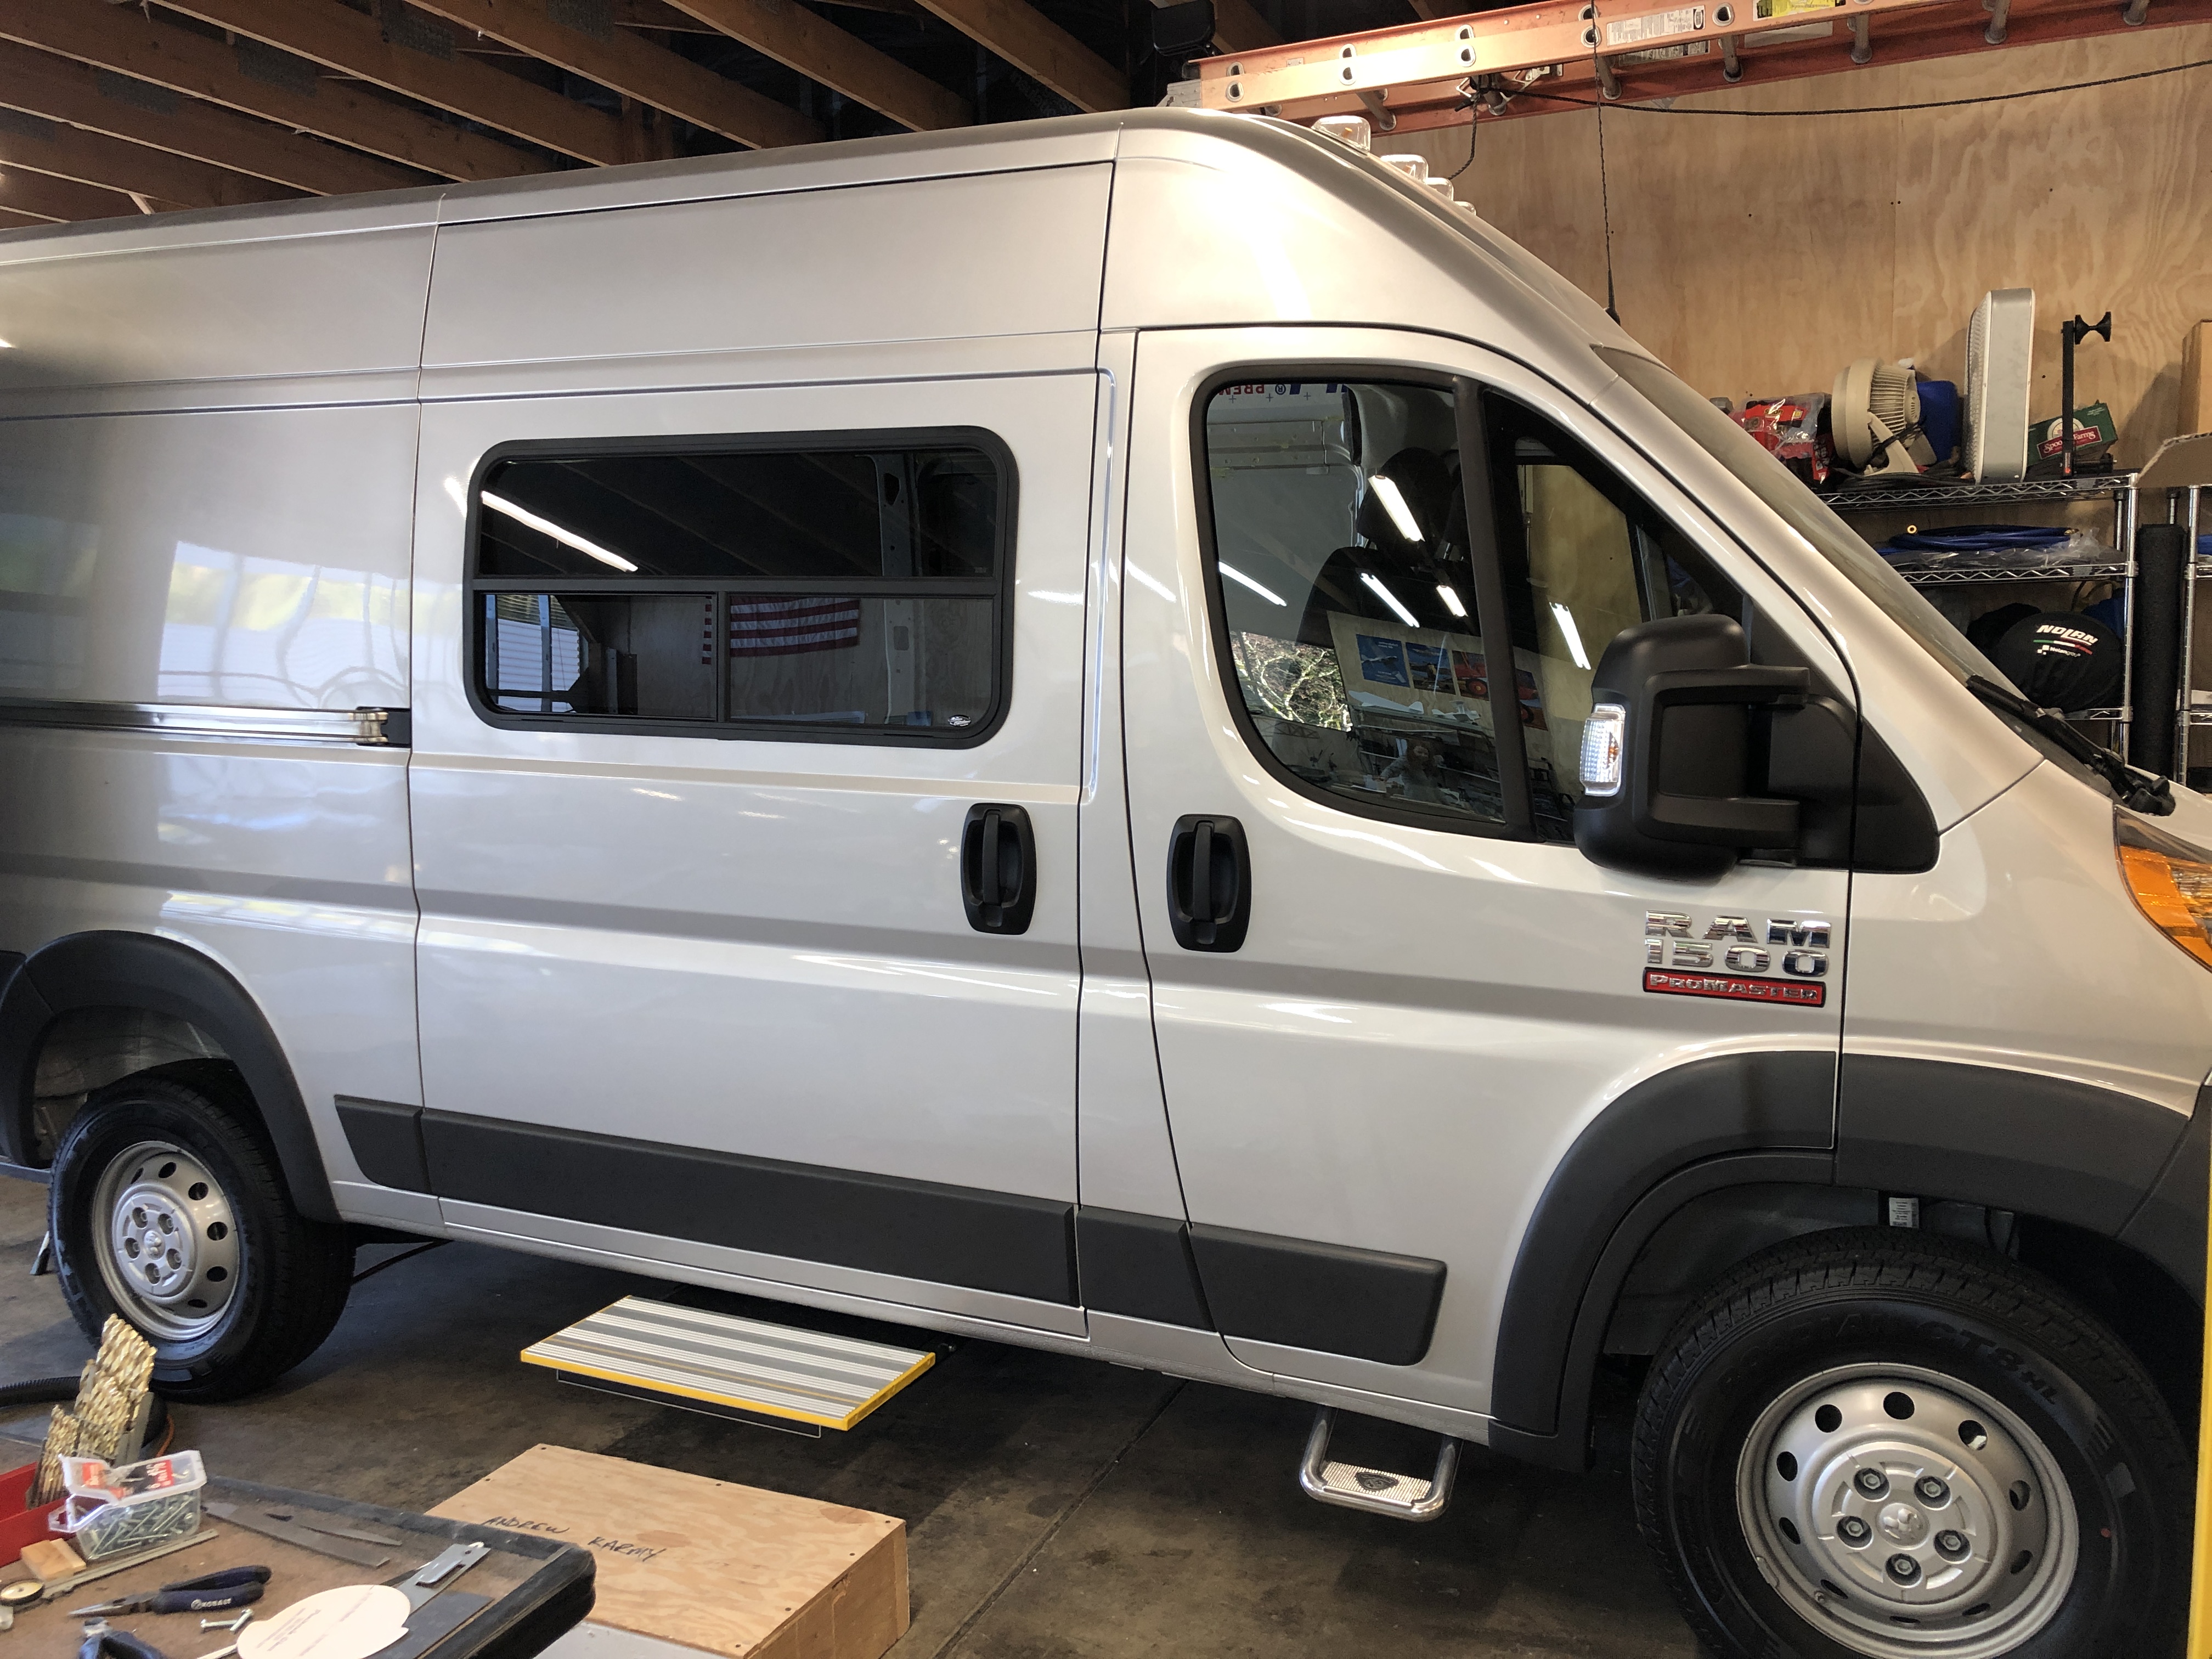
And then I installed the sliding door window. I used the same method of building a template and drilling the indexing holes. The only difference is that the slider has a metal backing strip in the middle. It cuts just fine as you are cutting the opening. Then you slip the interior clamp ring into place before inserting the window. The flange of the clamp ring goes behind the backing strip so that it sits flush to the outside of the van skin. Once you tighten the screws it pulls the window in nice and tight.
Almost done now. Just one more window to go! The drivers side galley window. It’s a smaller one that will go in the side panel behind the drivers seat.

Interior trim details. For the driver side window I trimmed out the interior to match the paneling over the kitchen cabinet. It started with a frame, then some corner fillers to match the curve of the interior trim ring on the window.
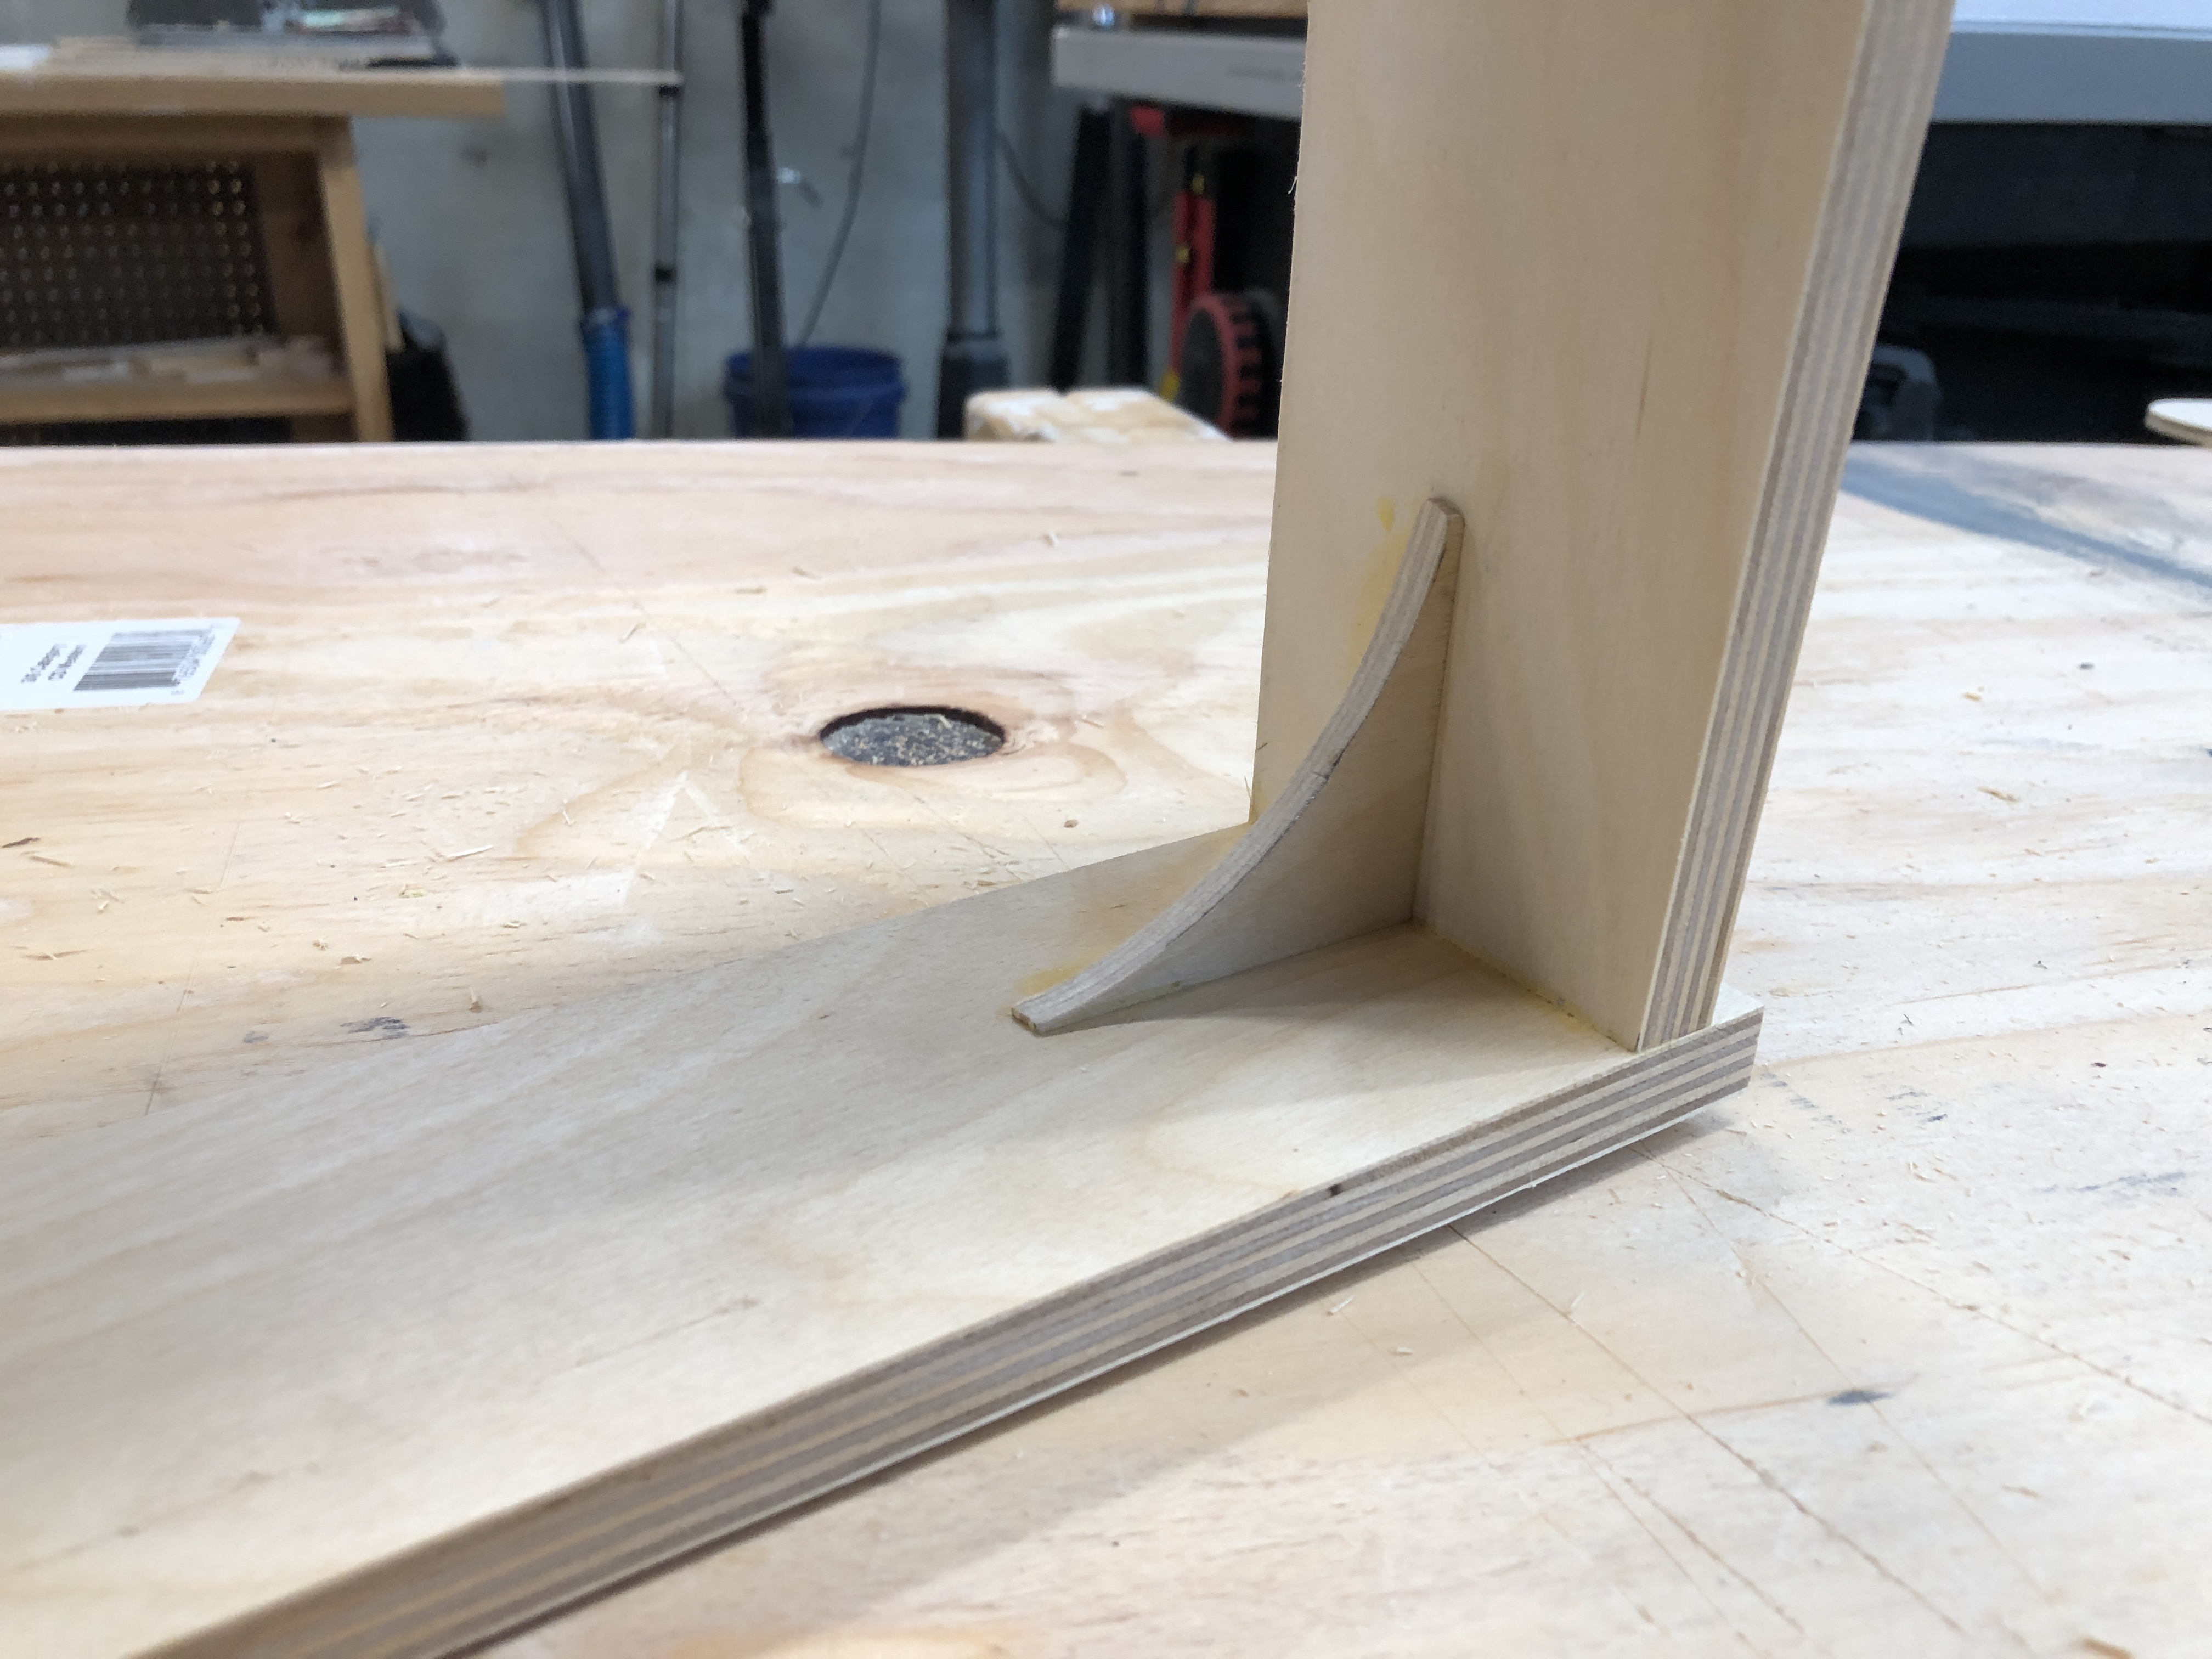
You can see how it closely follows the contour of the window.

Here it is all finished. I think it came out nice in a minimalist way 🙂